Citroen Jumper Dag (2008 year). Instruction - part 8
1
1
1
5
SA
F
ET
Y
Child safety
The child seats function is shared by
the entire CITROËN range. However,
each individual model has its own special
features.
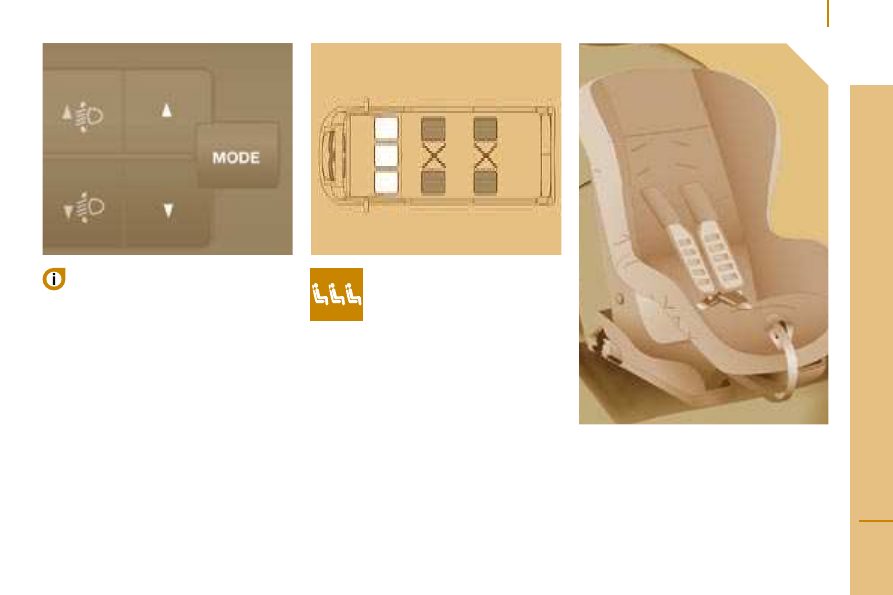
"ISOFIX" MOUNTINGS
These seats are fitted with
ISOFIX mountings.
If your vehicle is fitted with this function, the
passenger air bag must be disarmed using
the trip computer MODE button.
The intermediate longitudinal position is not
adjustable with the 2-seat bench.
The passenger must not travel with a child
on his lap.
This ISOFIX mounting system guarantees
reliable, safe and fast fitting of the child seat
in your vehicle.
These are two rings located between the
seat back and the seat cushion.
The ISOFIX child seats are fitted with two
locks which are secured easily on these
rings.