Chrysler RG Voyager. Manual - part 966
 

  Index      Chrysler     Chrysler RG Voyager - service repair manual 2005 year


Search            


Content   ..  964  965  966  967   ..


Chrysler RG Voyager. Manual - part 966


FRAME & BUMPERS

TABLE OF CONTENTS

page

page

BUMPERS

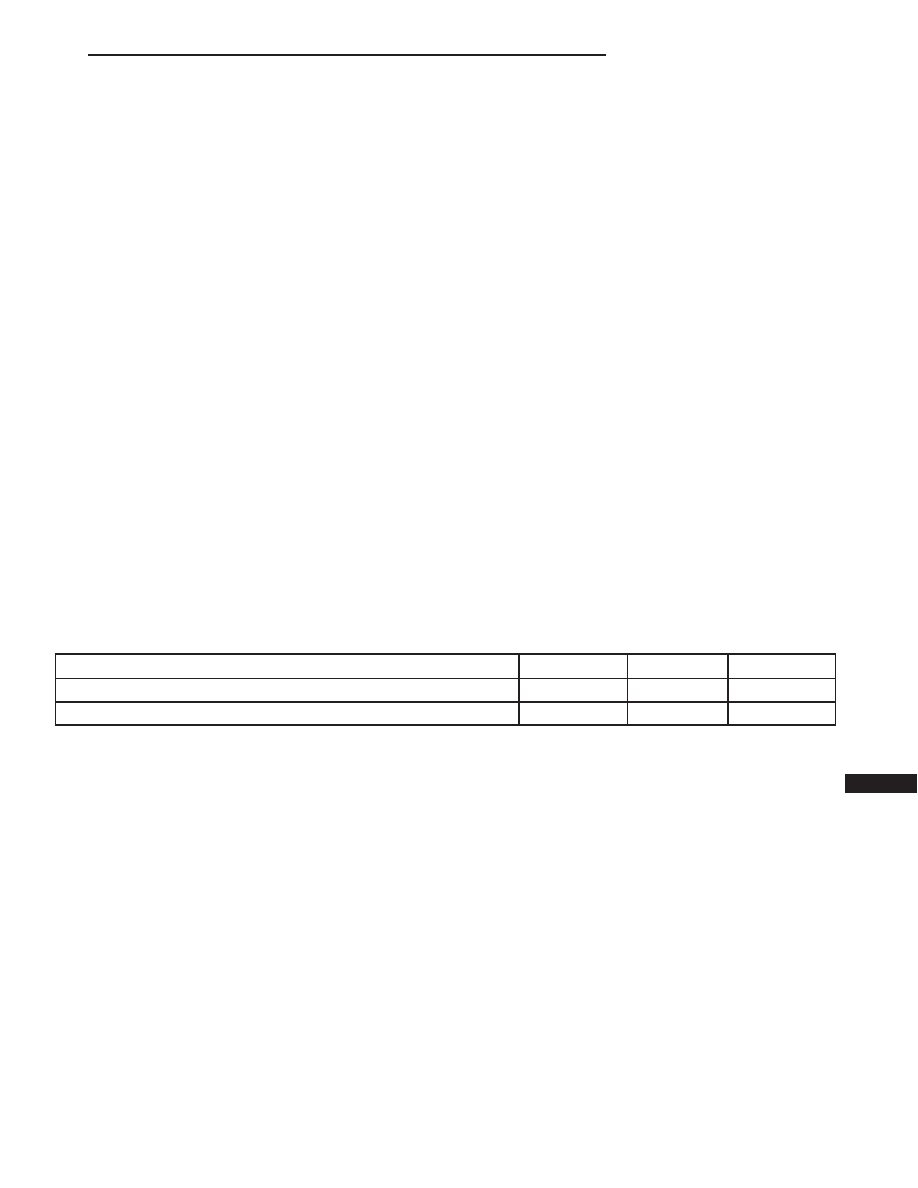
SPECIFICATIONS - TORQUE

. . . . . . . . . . . . . . . 1

FRONT FASCIA

REMOVAL

. . . . . . . . . . . . . . . . . . . . . . . . . . . . . 1

INSTALLATION

. . . . . . . . . . . . . . . . . . . . . . . . . . 1

FRONT BUMPER REINFORCEMENT

REMOVAL

. . . . . . . . . . . . . . . . . . . . . . . . . . . . . 4

INSTALLATION

. . . . . . . . . . . . . . . . . . . . . . . . . . 4

REAR FASCIA

REMOVAL

. . . . . . . . . . . . . . . . . . . . . . . . . . . . . 4

INSTALLATION

. . . . . . . . . . . . . . . . . . . . . . . . . . 6

REAR BUMPER REINFORCEMENT

REMOVAL

. . . . . . . . . . . . . . . . . . . . . . . . . . . . . 6

INSTALLATION

. . . . . . . . . . . . . . . . . . . . . . . . . . 6

REAR FASCIA - SCUFF PAD

REMOVAL

. . . . . . . . . . . . . . . . . . . . . . . . . . . . . 8

INSTALLATION

. . . . . . . . . . . . . . . . . . . . . . . . . . 8

FRAME

SPECIFICATIONS

SPECIFICATIONS - FRAME DIMENSIONS

. . . 8

SPECIFICATIONS - FRAME DIMENSIONS -

FOLD-IN-FLOOR SEATS ONLY . . . . . . . . . . . 13

SPECIFICATIONS - TORQUE

. . . . . . . . . . . . 16

FRONT CRADLE CROSSMEMBER

DESCRIPTION

DESCRIPTION - FRONT CRADLE

CROSSMEMBER . . . . . . . . . . . . . . . . . . . . . . 16

DESCRIPTION - FRONT CRADLE

CROSSMEMBER THREAD REPAIR . . . . . . . . 16

REMOVAL

. . . . . . . . . . . . . . . . . . . . . . . . . . . . . 17

INSTALLATION

. . . . . . . . . . . . . . . . . . . . . . . . . 18

FRONT CROSSMEMBER MOUNT BUSHINGS

REMOVAL

. . . . . . . . . . . . . . . . . . . . . . . . . . . . . 19

INSTALLATION

. . . . . . . . . . . . . . . . . . . . . . . . . 19

BUMPERS

SPECIFICATIONS - TORQUE

DESCRIPTION

N·m

Ft. Lbs.

In. Lbs.

Front bumper reinforcement attaching nut

54

40

Rear bumper reinforcement attaching nut

27

20

FRONT FASCIA

REMOVAL

(1) Release hood latch and open hood.
(2) Remove the headlamp assemblies (Refer to 8 -

ELECTRICAL/LAMPS/LIGHTING

-

EXTERIOR/

HEADLAMP - REMOVAL).

(3) Hoist vehicle and support with safety stands.
(4) Remove the five push pin fasteners attaching

bottom of fascia/air dam to radiator closure panel.

(5) Remove front wheels.
(6) Remove front wheelhouse splash shields fasten-

ers as necessary to gain access to bolts attaching
front fascia to fender. (Refer to 23 - BODY/EXTERI-
OR/

WHEELHOUSE

SPLASH

SHIELD

-

REMOVAL).

(7) Remove the two bolts and two nuts attaching

fascia to the front fenders (Fig. 1) and (Fig. 2).

(8) Disconnect fog lamp wire connectors, if neces-

sary.

(9) Lower vehicle.
(10) Remove two bolts attaching the upper grille

support to the headlamp mounting panel at each side
of the grille.

(11) Remove bumper fascia from vehicle.

INSTALLATION

(1) Position front bumper fascia on vehicle (Fig. 1)

and (Fig. 2).

(2) Install the two bolts attaching fascia to head-

lamp mounting panel at each side of grille.

(3) Hoist vehicle and support with safety stands.
(4) Install the two bolts and two nuts attaching

fascia to the front fenders. The fascia should be flush
to fender.

(5) Install front wheelhouse splash shields fasten-

ers. (Refer to 23 - BODY/EXTERIOR/ WHEEL-
HOUSE SPLASH SHIELD - INSTALLATION).

(6) Install front wheels.
(7) Connect fog lamp wire connectors, if necessary.

RS

FRAME & BUMPERS

13 - 1

(8) Install the five push pin fasteners attaching

bottom of fascia to radiator closure panel.

(9) Lower the vehicle.
(10) Install the headlamp assemblies. (Refer to 8 -

ELECTRICAL/LAMPS/LIGHTING

-

EXTERIOR/

HEADLAMP - INSTALLATION).

Fig. 1 FRONT FASCIA

1 - FRONT BUMPER FASCIA
2 - GRILLE
3 - BUMPER REINFORCEMENT

4 - RADIATOR ENCLOSURE
5 - AIR DAM

13 - 2

FRAME & BUMPERS

RS

FRONT FASCIA (Continued)

Fig. 2 FRONT FASCIA

1 - GRILLE
2 - FRONT BUMPER FIASCO
3 - BUMPER REINFORCEMENT

4 - RADIATOR ENCLOSURE
5 - AIR DAM

RS

FRAME & BUMPERS

13 - 3

FRONT FASCIA (Continued)

FRONT BUMPER
REINFORCEMENT

REMOVAL

(1) Remove front bumper fascia. (Refer to 13 -

FRAMES & BUMPERS/BUMPERS/FRONT FASCIA
- REMOVAL)

(2) Disconnect the solid state relay (SSR) for the

cooling module wiring connector. If bumper reinforce-
ment is being replaced, remove the solid state relay.

(3) Support front bumper reinforcement on a suit-

able lifting device.

(4) Remove the four nuts attaching front bumper

reinforcement to frame rail (Fig. 3).

(5) Remove front bumper reinforcement from vehi-

cle.

INSTALLATION

NOTE: Check position of the arrows molded into
the foam for correct orientation.

(1) Support front bumper reinforcement using a

suitable lifting device and lift into position.

(2) Install the four nuts attaching reinforcement to

frame rails. Tighten nuts to 54 N·m (40 ft. lbs.)
torque.

(3) Connect the solid state relay (SSR) wiring con-

nector. If bumper reinforcement was replaced, install
the solid state relay onto the bumper reinforcement.

(4) Install front fascia. (Refer to 13 - FRAMES &

BUMPERS/BUMPERS/FRONT FASCIA - INSTAL-
LATION).

REAR FASCIA

REMOVAL

(1) Open liftgate.
(2) Remove attaching screw from upper fascia to

the liftgate tower, right side and left side.

(3) Hoist and support vehicle with safety stands.
(4) Disconnect rear park assist wire connector (Fig.

4), if equipped.

(5) Remove the three screws attaching rear fascia

to rear fascia brackets on right side and left side
(Fig. 5) and (Fig. 6).

(6) Remove the four plastic push pin attaching bot-

tom of rear fascia to fascia support.

(7) Remove rear fascia from vehicle by lifting sides

of fascia up and outboard to release from rear fascia
brackets.

(8) Remove park assist sensor (Fig. 7), if necessary.

(Refer to 8 - ELECTRICAL/CHIME/BUZZER/PARK
ASSIST SENSOR - INSTALLATION).

Fig. 3 FRONT BUMPER REINFORCEMENT

1 - FRONT BUMPER REINFORCEMENT
2 - FRAME RAILS

Fig. 4 PARK ASSIST WIRE CONNECTOR

13 - 4

FRAME & BUMPERS

RS


Content   ..  964  965  966  967   ..