Chrysler Pacifica. Manual - part 811
(5) Remove inner belt weathersrip. (Refer to 23 -
BODY/WEATHERSTRIP/SEALS/REAR
DOOR
INNER BELT WEATHERSTRIP - INSTALLATION).
(6) Cycle glass upward and visually check that
window is properly seated in glass run.
(7) Install speaker.
(8) Install watershield. (Refer to 23 - BODY/
DOORS - REAR/WATERSHIELD - INSTALLATION).
(9) Install door trim panel. (Refer to 23 - BODY/
DOORS - REAR/TRIM PANEL - INSTALLATION).
(10) Close door.
DOOR HEADER BLACK OUT
TAPE
REMOVAL
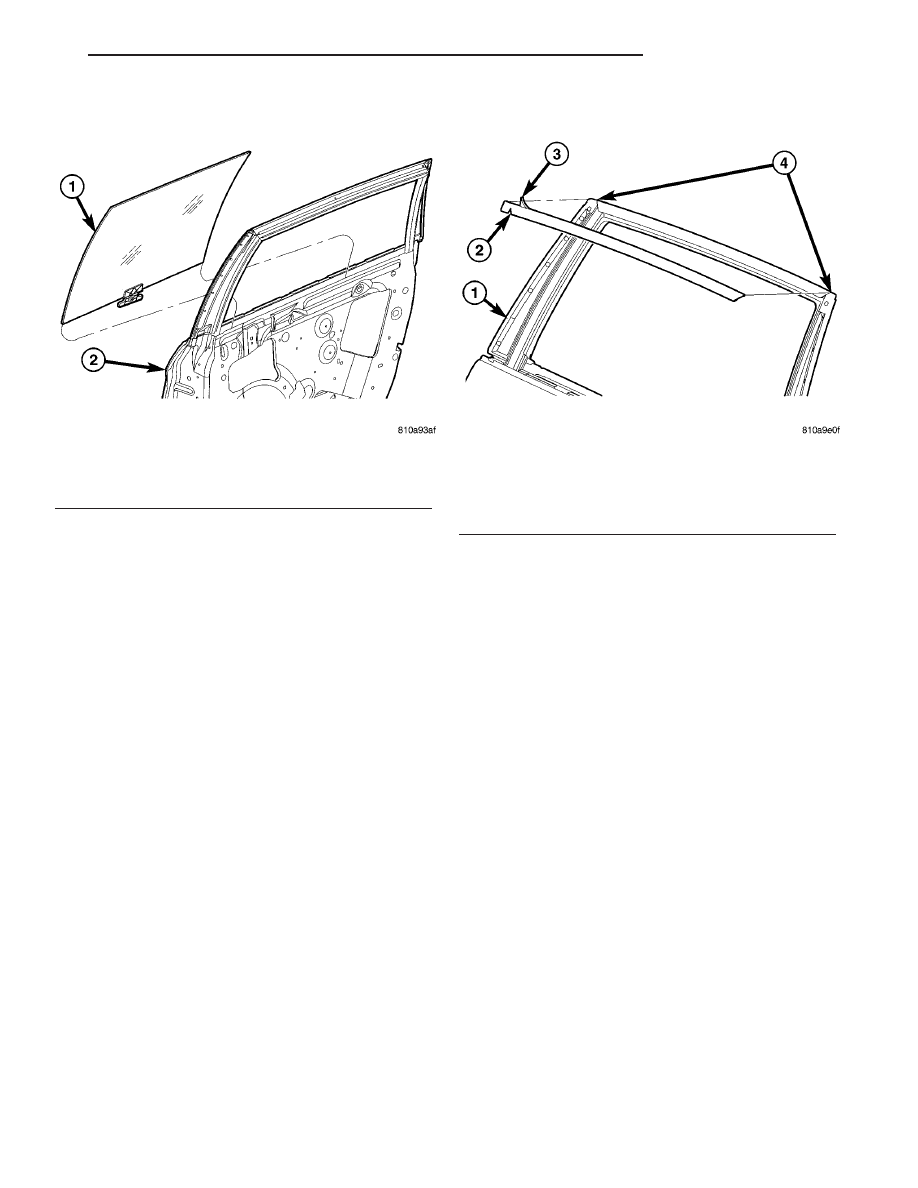
(1) Warm the door header blackout tape and door
metal to approximately 27° C (80° F) using a suitable
heat lamp or heat gun (Fig. 18).
(2) Pull stick on blackout tape from painted sur-
face.
(3) Remove adhesive tape residue from painted
surface of door.
(4) Use a 3M Scotch-Brite™ Molding Adhesive and
Stripe Removal Disc, or equivalent, to clean adhesive
residue from painted surfaces. These products are
available from automotive paint suppliers. Refer to
instructions supplied with the specific product for
proper usage.
INSTALLATION
(1) Door header blackout tape cannot be reused;
(a) Remove tape residue from door.
(b) Clean back of door header blackout tape with
Mopar
t Super Kleen, or equivalent.
(c) Wipe door header blackout tape dry with lint
free cloth.
(d) Apply a single coat of Mopar
t TPO Molding
Prep to tape side of door header blackout tape and
allow to dry thoroughly.
(e) Apply new body side molding (two sided
adhesive) tape to back of door header blackout tape
(Fig. 18).
(2) Clean body surface with Mopar
t Super Kleen,
or equivalent. Wipe surface dry with lint free cloth.
(3) Apply door header blackout tape from rear to
front of door.
(4) Using a felt pad or clean shop towel apply
enough force to assure adhesion. Do not apply exces-
sive force, or damage to door header blackout tape
may result.
EXTERIOR HANDLE
REMOVAL
(1) Roll door glass up.
(2) Remove door trim panel. (Refer to 23 - BODY/
DOORS - REAR/TRIM PANEL - REMOVAL).
(3) Remove the watershield as necessary to gain
access to the outside door handle. (Refer to 23 -
Fig. 17 GLASS AND LIFT PLATE
1 - GLASS AND LIFT PLATE
2 - DOOR ASSEMBLY
Fig. 18 DOOR HEADER BLACK OUT TAPE
1 - C-PILLAR
2 - DOOR HEADER BLACK OUT TAPE
3 - BODY SIDE MOLDING (DOUBLE SIDED) TAPE
4 - ENSURE SURFACE IS CLEAN
CS
DOORS - REAR
23 - 39
DOOR GLASS (Continued)