Chery Tiggo 5 (T21). Manual - part 284
 

  Index      Chery     Chery Tiggo 5 (T21) - service repair manual 2014 year


Search            


Content   ..  282  283  284  285   ..


Chery Tiggo 5 (T21). Manual - part 284


25–

69

25

a. Use X-431 3G diagnostic tester to clear the DTC.
b. Start the engine.
c. Drive the vehicle at 15 km/h or more, read the ABS control module assembly DTC again with X-431 3G 

diagnostic tester.

d. Check if the same DTC is output.

5

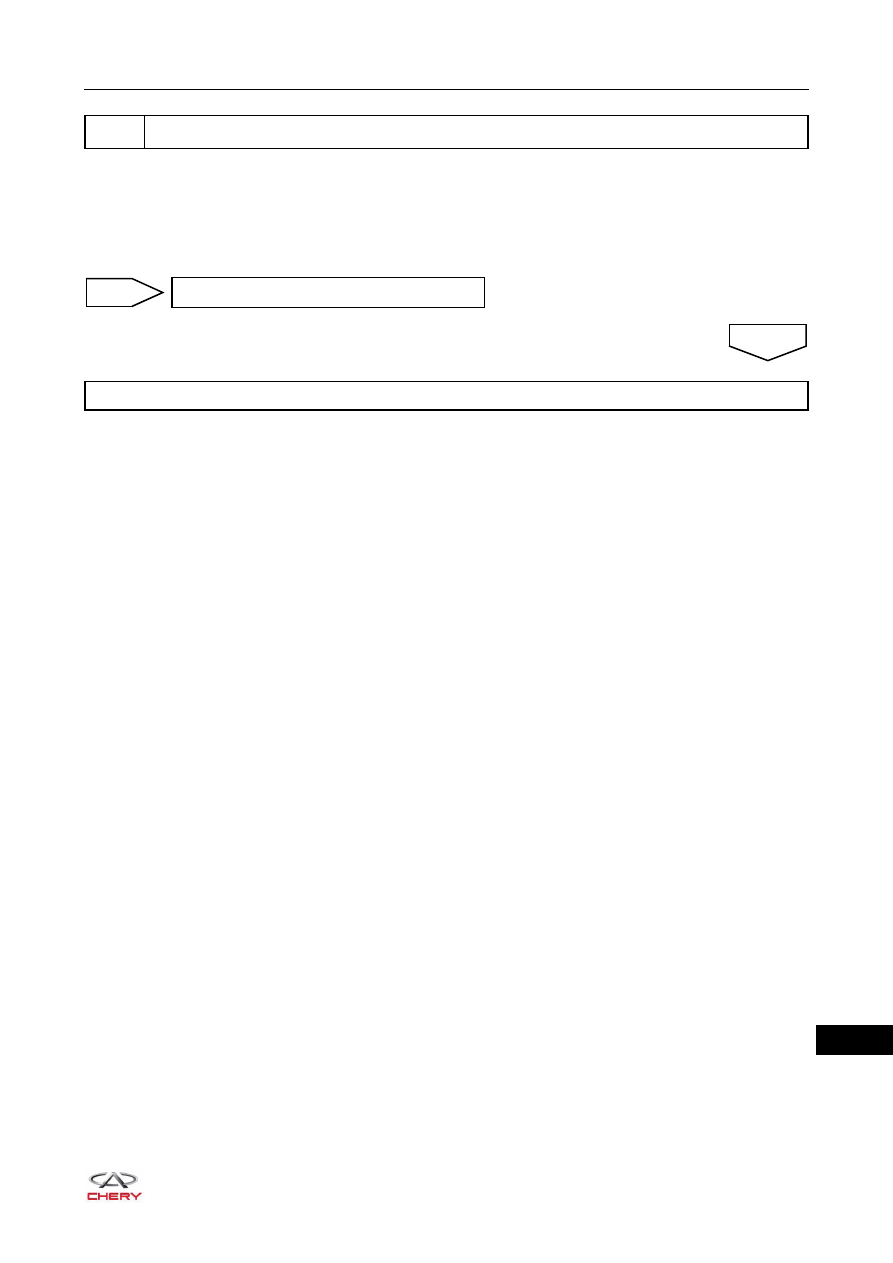
Reconfirm DTCs

System operates normally

NO

Replace ABS control module assembly

YES

25–

70

25

ON-VEHICLE SERVICE

ABS Bleeding

The bleeding procedures for brake system with X-431 3G diagnostic tester are as follows:
1. Make sure all brake lines are installed and tightened properly.
2. Check that battery voltage is normal.
3. Turn ignition switch to LOCK. 
4. Connect X-431 3G diagnostic tester (the latest software) to Data Link Connector (DLC).
5. Turn ignition switch ON.
6. Using X-431 diagnostic tester, record and clear the DTCs stored in ABS control module assembly.
7. Using X-431 3G diagnostic tester, enter Brake Control System, select Repair Bleed Function, and then 

perform operation according to the information and procedures displayed on the diagnostic tester.

HINT:

 If the bleeder plug is open, never depress the brake pedal repeatedly. Doing so will increase the 

amount of air in the system.

 Do not drain brake fluid from the brake fluid reservoir while bleeding the system. Otherwise, low fluid 

level in the brake reservoir will cause additional air to enter the brake system.

 Always check the brake fluid level at all times to ensure that brake fluid level in the brake reservoir is 

always close to the "MAX" level.

8. For X type brake circuit, the bleeding order is: rear left wheel, front left wheel, front right wheel, rear right 

wheel.

9. After bleeding is completed, fill the brake reservoir with brake fluid to the "MAX" level .
10.Drive the vehicle to perform a road test, and confirm that the ABS system operates normally and brake 

pedal feel is good.

WARNING

 When bleeding the brake system, wear safety glasses. If brake fluid gets on your eyes or skin, wash off 

with water completely.

 DO NOT drop brake fluid onto the body paint, as brake fluid can corrode the body paint.

CAUTION

 Brake fluid should meet the Chery specified type (DOT 4). DO NOT mix the brake fluid with other types 

of brake fluid.

 Brake fluid has strong water absorbability, be sure to place it in the original sealed container.
 To prevent dust and other foreign matter from entering the reservoir, wipe it off before removing the 

reservoir cap.

25–

71

25

ABS Control Module Assembly

Removal

1. Turn off all the electrical equipment and ignition switch.
2. Disconnect the negative battery cable.
3. Drain the brake fluid (

See page 26-13

).

4. Remove the engine trim cover assembly.
5. Remove the ABS control module assembly.

a. Press the lock area of ABS control module assembly 

connector, move the connector lock bracket upward 
and disconnect the ABS control module assembly 
connector (arrow).

b. Using a fixing wrench, carefully disconnect 6 brake 

pipe coupling plugs (arrow).

(Tightening torque: 16 ± 2 N·m)

WARNING

 When repairing ABS system, first release the pressure of high pressure brake fluid in the accumulator, to 

prevent the high pressure brake fluid from spraying out and causing injury.

 Operation procedures: turn ignition switch off first, and then depress and release brake pedal repeatedly 

until brake pedal becomes hard.

 In addition, never turn the ignition switch on before the ABS system is installed completely to prevent the 

hydraulic pump from energizing and running.

CAUTION

 Wash off brake fluid immediately if it comes in contact with any paint surface.

ENVIRONMENTAL PROTECTION

 Drained brake fluid should be well kept in a container. Never discard it at will.

RT21250070

RT21250080

25–

72

25

c. Remove the coupling nut (arrow) between ABS 

control module assembly mounting bracket and body.

(Tightening torque: 23 ± 2 N·m)

d. Remove 3 coupling bolts (arrow) between ABS control 

module assembly mounting bracket and body.

(Tightening torque: 23 ± 2 N·m)

e. Remove the ABS control module with mounting bracket assembly.

Disassembly

1. Remove the ABS control module assembly.

a. Remove the coupling nuts (arrow) between the lower 

part of ABS control module assembly and mounting 
bracket.

(Tightening torque: 8 ± 2 N·m)

b. Detach the rubber shock pad (1) from the bottom of 

ABS control module assembly.

c. Detach the ABS control module assembly (3) from the 

mounting bracket (2).

CAUTION

 When removing brake line, prevent foreign matter form entering the ABS control module assembly 

thread holes.

 After disconnecting brake line, sealing measure should be taken to prevent foreign matter form entering.

RT21250081

RT21250090

RT21250100

1

2

3


Content   ..  282  283  284  285   ..