Acura CSX. Manual - part 536
 

  Index      Acura     Acura CSX - P/NO. 61SNR03 - service repair manual 2006-2009 year


Search            


Content   ..  534  535  536  537   ..


Acura CSX. Manual - part 536


Cavity

Wire

Test condition

Test: Desired result

Possible cause if desired result is

not obtained

22-191

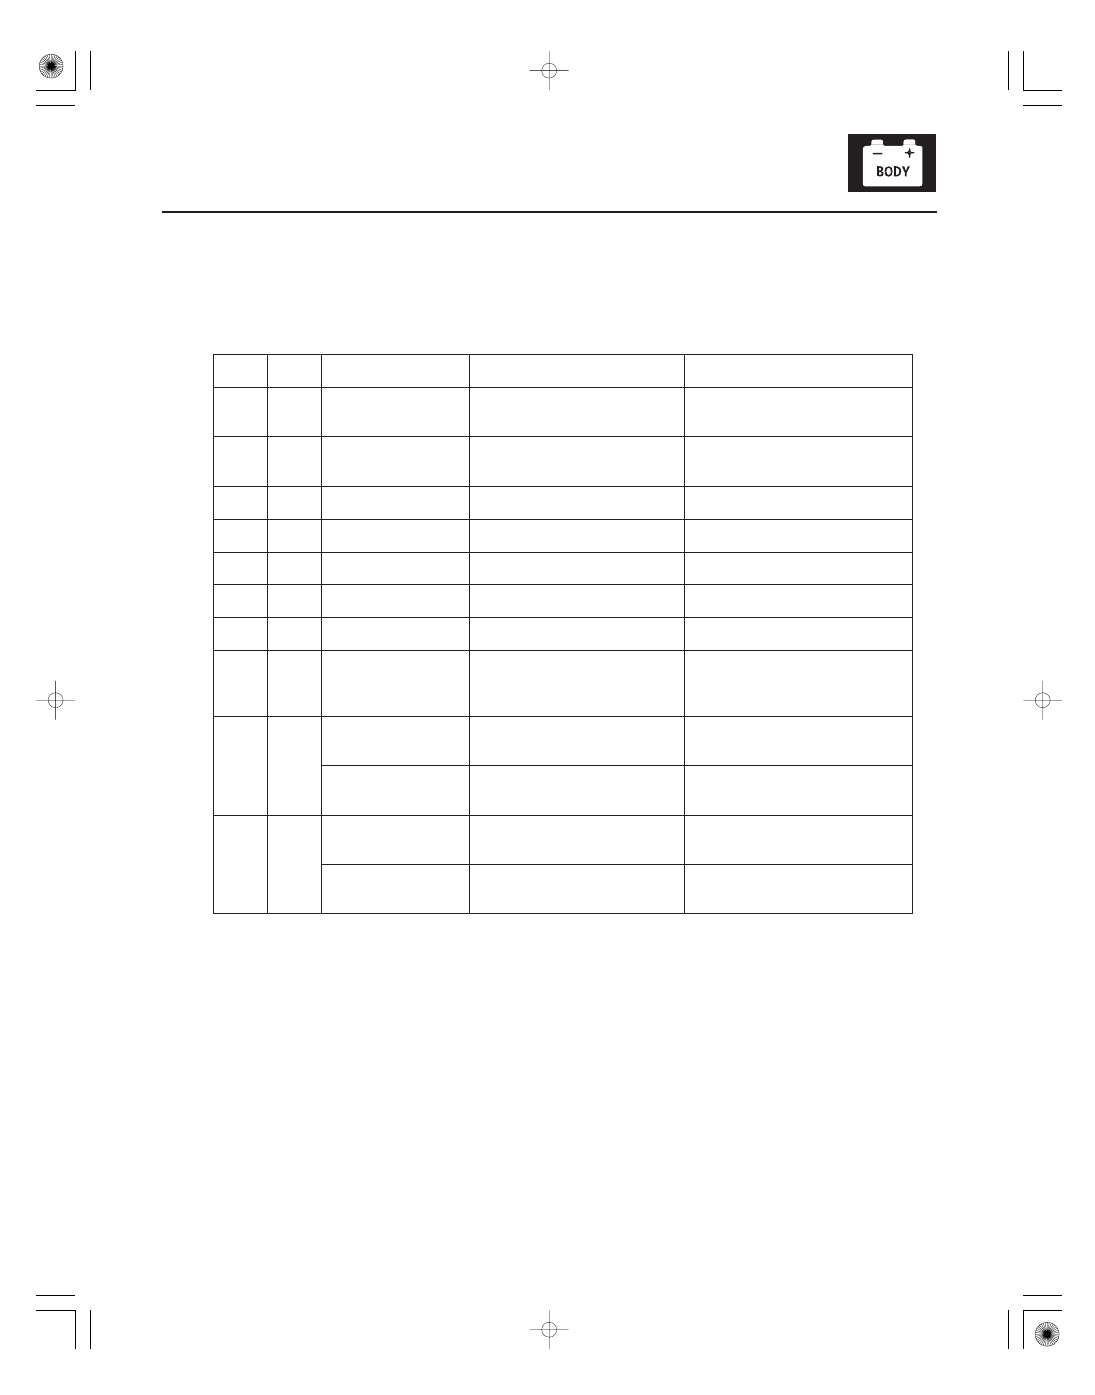
6. Reconnect connectors to the under-dash fuse/relay box, and do these input tests at the following connectors.

• If any test indicates a problem, find and correct the cause, then recheck the system.
• If all the input tests prove OK, the MICU must be faulty; replace the under-dash fuse/relay box.


G2

ORN

Under all conditions

Measure the voltage between
terminal G2 and body ground:
There should be battery voltage.

Blown No. 23 (10 A) fuse in the
under-hood fuse/relay box
An open in the wire

G6

YEL

Under all conditions

Measure the voltage between
terminal G6 and body ground:
There should be battery voltage.

Blown No. 10 (10 A) fuse in the
under-hood fuse/relay box
An open in the wire

E6

BLK

Under all conditions

Measure the voltage to ground:
There should be less than 0.5 V.

Poor ground (G602)
An open in the wire

E33

BLK

Under all conditions

Measure the voltage to ground:
There should be less than 0.5 V.

Poor ground (G601)
An open in the wire

F20

BLK

Under all conditions

Measure the voltage to ground:
There should be less than 0.5 V.

Poor ground (G401)
An open in the wire

T34

BLK

Under all conditions

Measure the voltage to ground:
There should be less than 0.5 V.

Poor ground (G501)
An open in the wire

R1

WHT

Under all conditions

Measure the voltage to ground:
There should be battery voltage.

Faulty under-dash fuse/relay box

Q11

GRN

Hazard warning
switch ON

Measure the voltage to ground:
There should be battery voltage.

Blown No. 23 (10 A) fuse in the
under-hood fuse/relay box
Faulty hazard warning switch
An open in the wire

S18

·

S5

BRN

·

BLK

Turn signal switch in
right position

Measure the voltage between
terminals S18 and S5:
There should be less than 0.5 V.

Faulty combination light switch
An open in the wire

Turn signal switch in
left or neutral
position

Measure the voltage between
terminals S18 and S5:
There should be 5 V or more.

Faulty combination light switch
A short to ground in the wire

S19

·

S5

LT

GRN

·

BLK

Turn signal switch in
left position

Measure the voltage between
terminals S19 and S5:
There should be less than 0.5 V.

Faulty combination light switch
An open in the wire

Turn signal switch in
right or neutral
position

Measure the voltage between
terminals S19 and S5:
There should be 5 V or more.

Faulty combination light switch
A short to ground in the wire

08/08/21 14:27:44 61SNR030_220_0193

01

02

03

SNR9A00J32173631001FHAT00

01

02

SNR9A00J32173660726KBAT01

22-192

22-192

Turn Signal/Hazard Warning Lights

Hazard Warning Switch Test/
Replacement

Side Turn Signal Light Replacement

A

A

Terminal

Position

1

2

4

5

OFF

ON

A

A

B

1. Remove the center panel.

• With audio:

– ’06-08 models (see page 23-80)
– ’09 model (see page 23-256)

• With navigation:

– ’06-08 models (see page 23-155)
– ’09 model (see page 23-355)

2. Remove the screws and the hazard warning switch

(A).

3. Check for continuity between the terminals in each

switch position according to the table.

4. If the continuity is not as specified, replace the bulb

(A) or the hazard warning switch.

5. Install the hazard warning switch in the reverse

order of removal.

1. Remove the mirror holder (see page 20-34).

2. Remove the four screws and the mirror visor (A).

3. Disconnect the 2P connector (A) from the side turn

signal light (B), then remove the side turn signal
light.

4. Install the side turn signal light in the reverse order

of removal.

08/08/21 14:27:45 61SNR030_220_0194

*01

SNR9A00J32300000000DAAT00

22-193

Interior Lights

Component Location Index

TRUNK LIGHT

FRONT INDIVIDUAL MAP LIGHTS

AMBIENT LIGHT

INTERIOR LIGHT SWITCH*

TRUNK LID LATCH SWITCH

GLOVE BOX LIGHT

MICU
(Built into the under-
dash fuse/relay box)

CEILING LIGHT

DRIVER’S DOOR
COURTESY LIGHT

FRONT PASSENGER’S
DOOR COURTESY LIGHT

*1: With moonroof
*2: ’08-09 models
*3: TYPE S model

FRONT PASSENGER’S FOOTWELL LIGHT*

DRIVER’S FOOTWELL
LIGHT*

DRIVER’S VANITY MIRROR LIGHT*

PASSENGER’S VANITY MIRROR LIGHT*

1

3

3

2

2

Test/Replacement,

page 22-197

Test/Replacement, page 22-196

Test/Replacement, page 22-198

Test/Replacement, page 22-200

Test, page 22-200

Test/Replacement, page 22-199

Input Test,

page 22-204

Test/Replacement, page 22-197

Replacement,

page 22-198

Replacement, page 22-198

Test/Replacement, page 22-201

Test/Replacement,

page 22-201

Test/Replacement, page 22-199

Test/Replacement, page 22-199

08/08/21 14:27:48 61SNR030_220_0195

*90

SNR9A00J32300000000EAAT11

22-194

Interior Lights

Circuit Diagram

D

A

B

A

C

GRN

MICU

UNDER-DASH FUSE/RELAY BOX

GRN

E37

E3

LT GRN

BRN

E17

E2

GRY

K4

(8 W)

(8 W)

1

(Without moonroof)

LT BLU

PNK

DOOR

OFF

PNK

BLU

3

LT BLU

LT BLU

LT BLU

(With moonroof)

1

2

(8 W)

(8 W)

PNK

1

ON

OFF

(8 W)

RED

UNDER-HOOD FUSE/RELAY BOX

No. 22 (7.5 A)

No. 1 (BAT) (100 A)

BATTERY

CEILING
LIGHT

INTERIOR
LIGHT SWITCH
(In the moonroof
switch)

RIGHT REAR
DOOR
SWITCH
(Closed:
Door open)

LEFT REAR
DOOR
SWITCH
(Closed:
Door open)

FRONT
PASSENGER’S
DOOR SWITCH
(Closed:
Door open)

DRIVER’S
DOOR
SWITCH
(Closed:
Door open)

D2

1

1

1

9*2

8*1

1*1

7*2

LT BLU

LT BLU

FRONT
PASSENGER’S
DOOR
COURTESY
LIGHT

LT BLU

VANITY
MIRROR
LIGHTS

*2

No. 22 (7.5 A)FUSE
(UNDER-HOOD
FUSE/RELAY BOX)

LT BLU

GRN

(3.4 W)

DRIVER’S
DOOR
COURTESY
LIGHT

GRN

1

No. 22 (7.5 A)FUSE
(UNDER-HOOD
FUSE/RELAY BOX)

LT GRN

GRN

(3.4 W)

FRONT
PASSENGER’S
DOOR
COURTESY
LIGHT

BLU

BLK

3

2

G701

E36

BLU

TRUNK LID
LATCH
SWITCH
(Closed:
Trunk lid open)

BLU

TRUNK
LIGHT

FRONT
INDIVIDUAL
MAP LIGHTS

FRONT
INDIVIDUAL
MAP LIGHTS

08/08/21 14:27:49 61SNR030_220_0196


Content   ..  534  535  536  537   ..