Acura CSX. Manual - part 162
*01
−
−
−
−
−
−
−
−
YES
NO
YES
NO
YES
NO
YES
NO
11-317
A
F
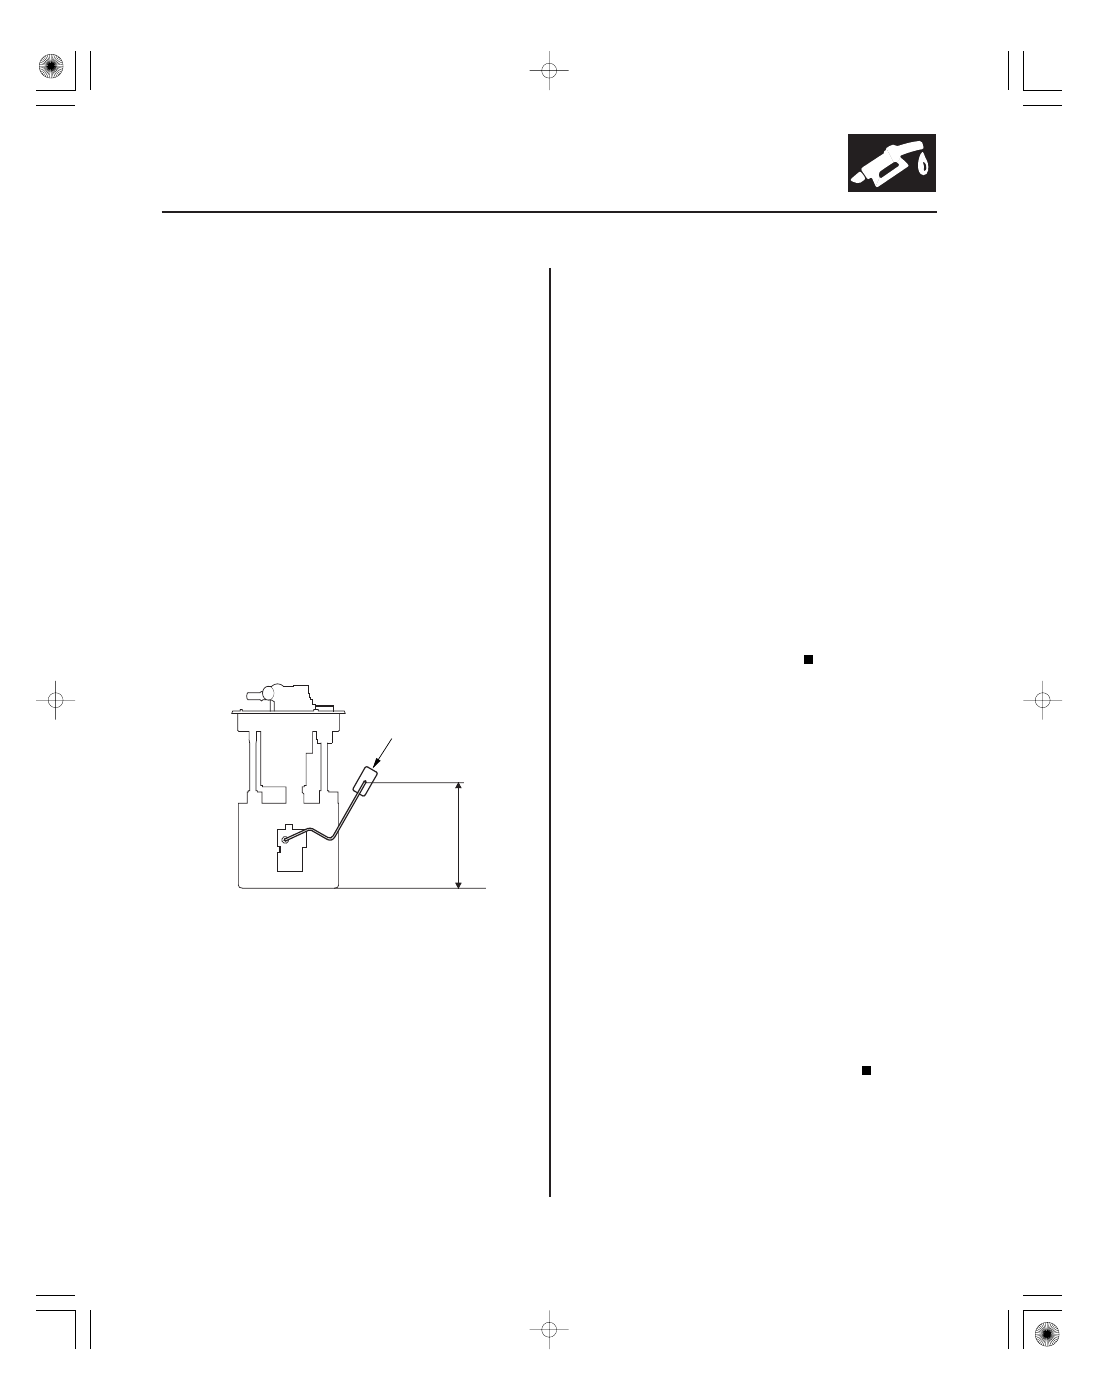
139.8 mm
(5.5 in.)
14. Remove the jumper wire from the fuel tank unit 4P
connector.
15. Remove the fuel tank unit (see page 11-334).
16. Test the fuel gauge sending unit (see page 11-340).
Go to step 17.
Replace the fuel gauge sending unit (see page
11-338), then go to step 23.
17. Connect the fuel tank unit 4P connector.
18. Reconnect the gauge control module (tach) 36P
connector.
19. Turn the ignition switch to ON (II).
20. Clear the DTC with the HDS.
21. Set the float (A) to the F position.
22. Check the fuel gauge.
Go to step 30.
Replace the gauge control module (tach)
(see page 22-277), then go to step 23.
23. Turn the ignition switch to LOCK (0).
24. Reconnect all connectors.
25. Install the parts in the reverse order of removal.
26. Turn the ignition switch to ON (II).
27. Reset the ECM/PCM with the HDS.
28. Do the ECM/PCM idle learn procedure (see page
11-310).
29. Check for Temporary DTCs or DTCs with the HDS.
Check for poor connections or loose
terminals at the gauge control module (tach) and
the fuel gauge sending unit, then go to step 1.
Troubleshooting is complete. If any other
Temporary DTCs or DTCs are indicated, go to the
indicated DTC’s troubleshooting.
30. Reconnect all connectors.
31. Install the parts in the reverse order of removal.
32. Update the ECM/PCM if it does not have the latest
software (see page 11-227), or substitute a known-
good ECM/PCM (see page 11-7).
33. Check for Temporary DTCs or DTCs with the HDS.
Check for poor connections or loose
terminals at the gauge control module (tach) and
the fuel gauge sending unit. If the ECM/PCM was
updated, substitute a known-good ECM/PCM
(see page 11-7), then recheck. If the ECM/PCM was
substituted, go to step 1.
If the ECM/PCM was updated, troubleshooting
is complete. If the ECM/PCM was substituted,
replace the original ECM/PCM (see page 11-228). If
any other Temporary DTCs or DTCs are indicated,
go to the indicated DTC’s troubleshooting.
Is the f uel gauge sending unit OK ?
Does the gauge move to the f ull position?
Is DT C P0463 indicated?
Is DT C P0463 indicated?
08/08/21 14:29:44 61SNR030_110_0317