Haima S5. Owners Manual - part 13


  Index      Haima     Haima S5. Owners Manual


Search            copyright infringement  


Content      ..     11      12      13      14     ..


Haima S5. Owners Manual - part 13


-------------------------------------------------------------------------------------------------------------------------------------------------------------
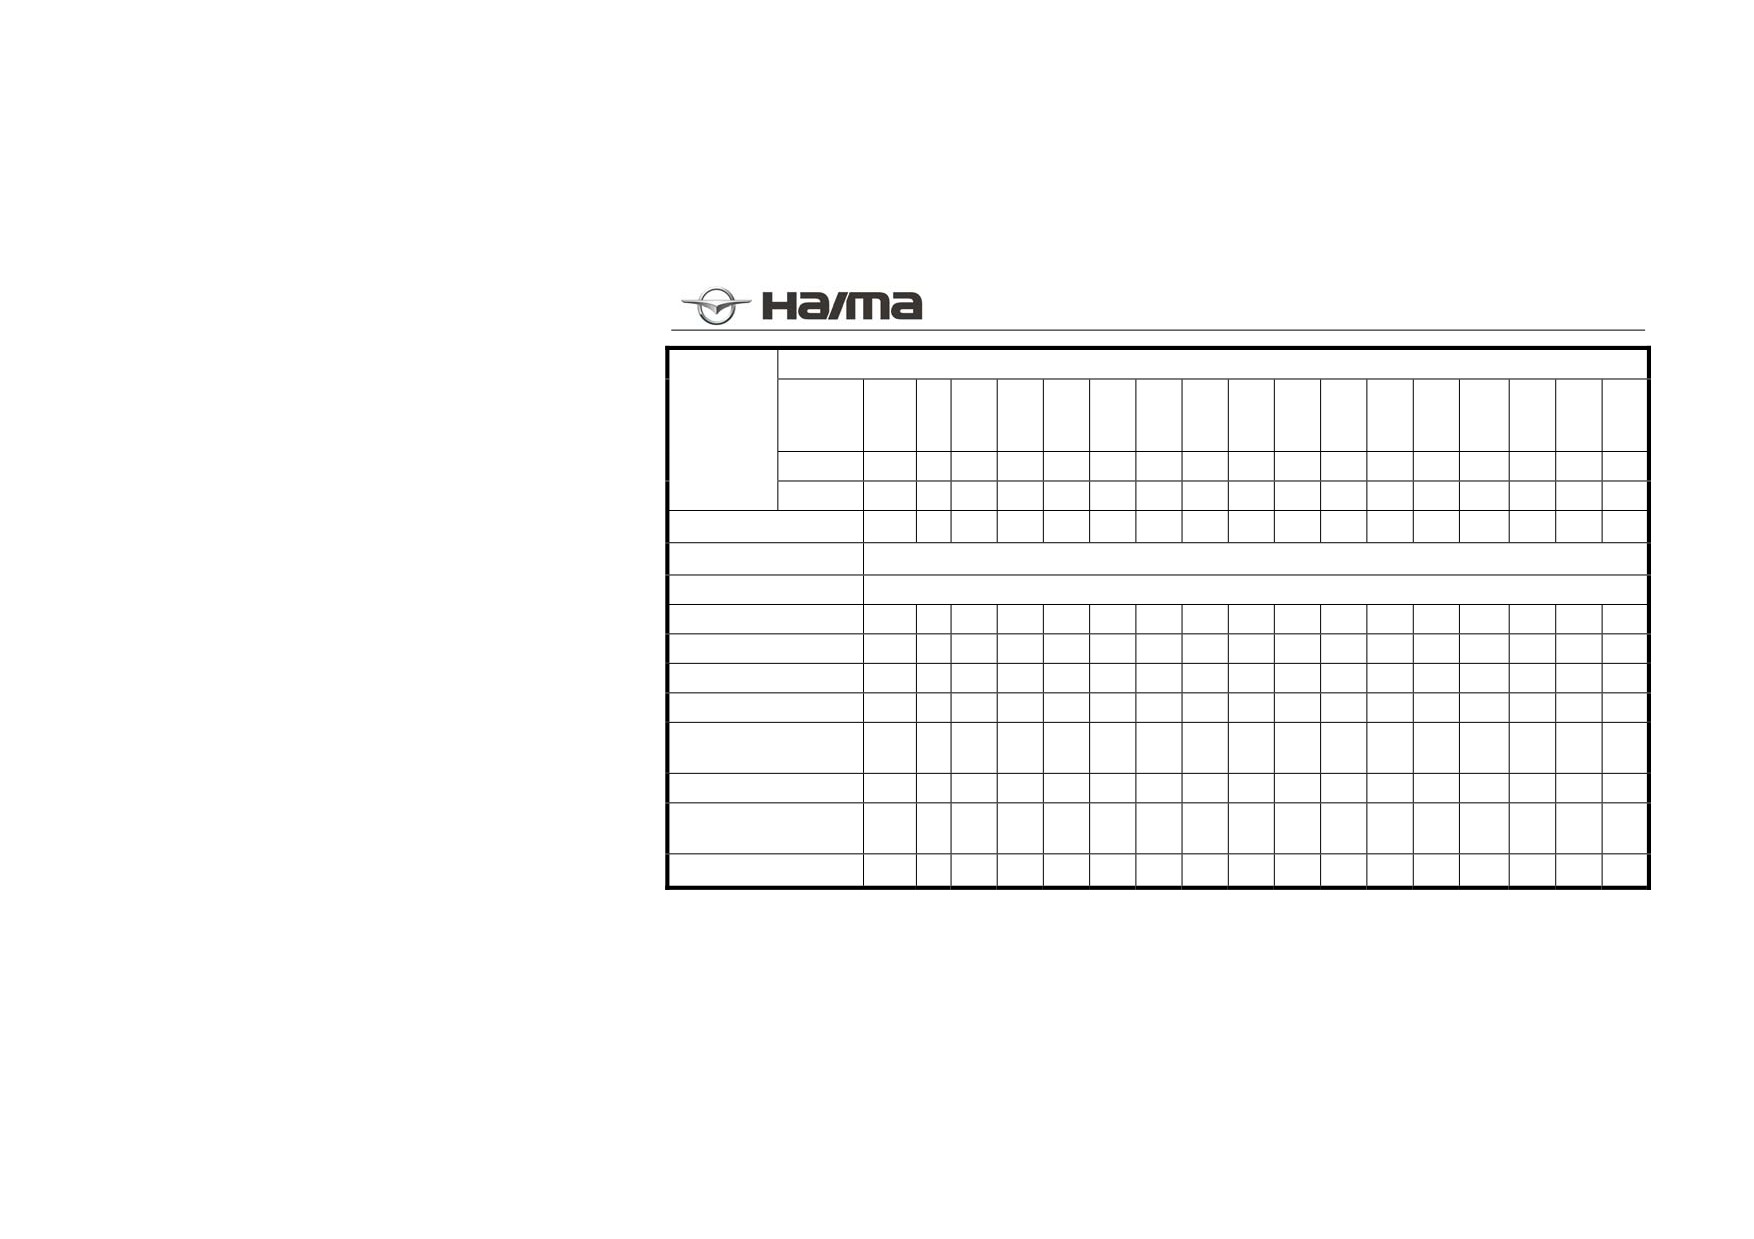
Maintenance
Maintenance period is based on the odometer reading or number of months (whichever comes first)
Maintenance
Item
Maintenan
ce
1st
2nd
3rd
4th
5th
6th
7th
8th
9th
10th
11th
12th
13th
14th
15th
16th
17th
sequence
Maintenance
Month
2
6
12
18
24
30
36
42
48
54
60
66
72
78
84
90
96
Period
×1000km
2.5
7.5
12.5
17.5
22.5
27.5
32.5
37.5
42.5
47.5
52.5
57.5
62.5
67.5
72.5
77.5
82.5
Air cleaner element 4
I
I
R
I
I
I
R
I
I
I
R
I
I
I
R
I
I
A/C air cleaner4
Replace once every year or 10,000km
Fuel filter
Replace once every 2 years or 20,000km
Fuel pipes and hoses
I
I
I
I
I
I
I
I
Spark plug
I
I
I
I
R
I
I
I
R
I
I
I
R
I
I
I
R
Fuel evaporation system
I
I
I
I
I
I
I
I
E.G.R system
Battery performance
I
I
I
I
I
I
I
I
checking
Brake and clutch pedals
I
I
I
I
I
I
I
I
I
I
I
I
I
I
I
I
I
Brake pipes, hoses, and
I
I
I
I
I
I
I
I
connectors
Brake fluid 5
I
I
I
I
R
I
I
I
R
I
I
I
R
I
I
I
R
Page 192 of 250

-------------------------------------------------------------------------------------------------------------------------------------------------------------

Maintenance
Maintenance period is based on the odometer reading or number of months (whichever comes first)
Maintenance Item
Maintenanc
1st
2nd
3rd
4th
5th
6th
7th
8th
9th
10th
11th
12th
13th
14th
15th
16th
17th
e sequence
Maintenance
Month
2
6
12
18
24
30
36
42
48
54
60
66
72
78
84
90
96
Period
×1000km
2.5
7.5
12.5
17.5
22.5
27.5
32.5
37.5
42.5
47.5
52.5
57.5
62.5
67.5
72.5
77.5
82.5
Parking brake
I
I
I
I
I
I
I
I
I
I
I
I
I
I
I
I
I
Brake assisting device and hoses
I
I
I
I
I
I
I
I
Disc brake
I
I
I
I
I
I
I
I
I
I
I
I
I
I
I
I
I
Drum brake
I
I
I
I
I
I
I
I
Power steering fluid and
I
I
I
I
I
I
I
I
I
I
I
I
I
I
I
I
I
pipeline
Steering operations and gear
I
I
I
I
I
I
I
I
cover
Steering linkage guide rod and
I
I
I
I
I
I
I
I
lateral ball tie rod
Manual transmission oil
R
I
R
I
R
I
R
I
R
Automatic transmission fluid
I
I
I
I
I
I
I
I
level
Automatic transmission fluid
Replace once every 30 months or 45,000km
Drive shaft dust cover
I
I
I
I
Page 193 of 250

-------------------------------------------------------------------------------------------------------------------------------------------------------------

Maintenance
Front and rear suspensions and
I
I
I
I
I
I
I
I
ball joints
Wheel nuts
T
T
T
T
T
T
T
T
T
Exhaust system heat shield
I
I
I
I
I
I
I
I
Chassis and body bolts and nuts
T
T
T
T
T
T
T
T
T
Page 194 of 250

-------------------------------------------------------------------------------------------------------------------------------------------------------------

Maintenance
Maintenance period is based on the odometer reading or number of months (whichever comes first)
Maintenance Item
Maintenanc
1st
2nd
3rd
4th
5th
6th
7th
8th
9th
10th
11th
12th
13th
14th
15th
16th
17th
e sequence
Maintenance
Month
2
6
12
18
24
30
36
42
48
54
60
66
72
78
84
90
96
Period
×1000km
2.5
7.5
12.5
17.5
22.5
27.5
32.5
37.5
42.5
47.5
52.5
57.5
62.5
67.5
72.5
77.5
82.5
Entire electric system6
I
I
I
I
I
I
I
I
Headlamp lighting calibration
I
I
I
I
I
I
I
Body status (rusting, corrosion,
Check once a year
and cavitation)
Tires (including spare tire. The
I
I
I
I
I
I
I
pressure shall be adjusted)
Hinges and clamps
L
L
L
L
L
L
L
L
Body bottom
I
I
I
I
I
I
I
Road test
I
I
I
I
I
I
I
I
Engine protection7
M8
M
M
M
M
M
M
M
M
Cleaning of engine7
M
M
M
M
M
M
M
M
Cleaning of fuel injector 7
M
M
M
M
M
M
M
M
Cleaning of combustion
M
M
M
M
M
M
M
M
chamber/intake system 7
Page 195 of 250

-------------------------------------------------------------------------------------------------------------------------------------------------------------

Maintenance
Maintenance of A/C system 7
M
M
M
M
M
M
M
M
Maintenance of brake system
M
M
M
M
7
Maintenance of hydraulically
M
M
M
M
assisted steering system 7
Maintenance of cooling system
M
M
M
M
7
Protection of manual
M
M
M
M
transmission (MT) 7
Protection of automatic
transmission (CVT) 7
Every 30 months or 45,000km
*1: The timing chain is under same service life with the engine.
*2: If the vehicle is equipped with power steering system or A/C system, check the drive belts of these two systems as well.
*3: If the vehicle is used under following conditions, shorten the replacement intervals of the engine oil and engine oil filter: a)
Driving under heavily dusty condition; 2) Long-term idling or driving at low speed.
*4: If the vehicle is driving frequently under heavily dusty or sandy roads, shorten the checking, cleaning, and replacement
intervals for the air cleaner.
Page 196 of 250

-------------------------------------------------------------------------------------------------------------------------------------------------------------

Maintenance
*5: For the vehicles with frequent use of brake (such as continuously harsh driving or driving in mountainous region) or those
used under heavy humidity, the brake fluid shall be replaced once a year.
*6: All functions of electric system, including lighting, wiper system, and power windows.
* 7: For recommended items, it’s recommended to use the professional maintenance equipment and articles developed
specially for Haima Car Co.,Ltd, in order to provide in-depth and fine maintenance for the vehicle and maintain the vehicle
under good status at all times.
*8: Such item is not included in the 1st free maintenance provided by Haima Car Co.,Ltd
Page 197 of 250

-------------------------------------------------------------------------------------------------------------------------------------------------------------

Maintenance
1.3 Checking of fluid levels
wait for 5min for the engine oil
After adding or replacing
to return to oil sump.
the engine oil, run the engine for
Withdraw the engine oil
several minutes. After the engine
Full
dipstick,
wipe clean, and
is stopped for 5min, re-check the
Low
re-insert the oil dipstick. Then,
engine oil level.
withdraw the oil dipstick again
Tip: After the engine oil is added,
(Checking of fluid levels)
and check the engine oil level.
the engine oil level shall not
The engine oil level shall be
exceed the marking max (F), or
between the markings min (L)
it will impair the performance
and max (F) of the oil dipstick.
and service life of the engine.
The difference is approximate
Notice: Do not add the engine
1L engine oil between the min
oil of the specification different
(L) and max (F). If the oil level
from the available engine oil
(Checking of radiator coolant)
closes to or is lower than
within the engine. The engine oil
1.3.1 Checking of engine oil
marking min (L), add the engine
added into the engine is a
Park the vehicle on a level
oil through filler port to reach or
mineral oil, for which the
ground, stop the engine, and
close to marking max (F).
replacement period is 5,000km.
Page 198 of 250

-------------------------------------------------------------------------------------------------------------------------------------------------------------

Maintenance
If the synthetic engine oil is used,
auxiliary water tank assembly,
the performance and use of
make sure to replace the engine
till the level reaches marking
engine coolant.
oil and engine oil filter element
MAX.
1.3.3 Checking of brake fluid
once every 20,000km.
Notice: Do not check or add the
1.3.2 Checking of radiator
coolant under hot state of the
coolant
engine, or it will probably lead
While checking the coolant
to scalding accident.
level within auxiliary water tank
Tip: If the coolant color
assembly, the engine must be
becomes brown, please continue
(Checking of brake fluid)
under cold status.
the use and take it easy. This is
Normally, the level in the
because a small amount of
auxiliary water tank assembly
detergent residues was left
shall be between markings MAX
within the engine water line
and MIN. If the level is low,
during the manufacture of
slowly pour qualified engine
engine, which will not impair
coolant through the filler port of
(Checking of washing fluid)
Page 199 of 250

-------------------------------------------------------------------------------------------------------------------------------------------------------------

Maintenance
The brake system and
of the braking liner and clutch
Notice: It’s prohibited to use the
clutch system share one same
friction plate. If the brake fluid
radiator coolant as the washing
reservoir.
level is frequently low, please
fluid, which is really dangerous.
Periodically check the fluid
check the brake system and
The use of coolant as washing
level of the reservoir. If the level
clutch system and add the brake
fluid will contaminate the
is low, add the brake fluid till the
fluid at the sales and service
windscreen, impair the vision,
fluid level reaches the marking
shop of Haima Car Co.,Ltd
and probably lead to traveling
MAX.
Tip: To ensure the braking
accidents.
Before adding the brake
performance of the vehicle,
Therefore,
only add the
fluid, clean the surrounding area
make sure to add the brake fluid
windscreen washing fluid to the
of the reservoir cap, in order to
of specified trademark.
fluid reservoir.
prevent the ingress of impurity
1.3.4 Checking of washing fluid
Tip: Before driving, check all
into the reservoir.
Check the washing fluid
reservoirs that may require the
Following the increasing of
level within the fluid reservoir
addition
of
fluid.
When
the driving mileage, the brake
and when necessary add the
necessary, add some fluids to
fluid level will drop due to wear
washing fluid.
Page 200 of 250

-------------------------------------------------------------------------------------------------------------------------------------------------------------

Maintenance
prevent unnecessary troubles on
depleted and shall be charged
the vehicle, charge as per the
the road.
timely. If it’s impossible to
battery specification and charge
1.4 Maintenance
and
charge the battery normally,
capacity.
replacement of parts
please contact the sales and
If the vehicle is left unused
1.4.1 Maintenance and charging
service
shop
of
Haima
for a long period, disassemble
of battery
Automobile Co, Ltd.
the battery cables and charge the
The maintenance-free
If the battery is discharged
battery at least once every
6
battery is fitted with a charge
rapidly due to certain cause (For
weeks.
indicator. Frequently check the
instance: the long-term light-up
Tip: Before the maintenance or
color of the charge indicator.
of vehicle lamps with engine
charging of the battery, turn off
The charge indicator is in
stopped), conduct the low speed
all electric devices and stop the
dark color, with a green central
charging in accordance with the
engine. If the vehicle is to be left
area. If the charge indicator is in
battery specification and the
unused for a long period under
bright color or dark color
charger capacity. If the battery
cold
weathers,
please
without the green central area, it
has slow discharging due to
disassemble the battery and store
indicates that the battery is
over-high electric load within
in a warm place, in order to
Page 201 of 250

-------------------------------------------------------------------------------------------------------------------------------------------------------------

Maintenance
prevent the electrolyte from
contaminated
environment,
Shorten the replacement
being frozen.
shorten the checking and
period under harsh working
Notice: The fluid within the
maintenance periods.
conditions.
battery is a toxic and corrosive
Open the cap of the air
1.4.4 Replacement of fuel filter
substance. Keep the fluid away
cleaner and disassemble the air
The fuel filter is integrated
from contact with eyes and skin.
cleaner element for checking or
on the fuel pump and is located
Keep the open fire and other
replacement.
within the fuel tank.
possible fire source away from
Tip: Do not clean the air cleaner
Replace the fuel filter at the
the battery, as there is a danger
element with water, or it will
sales and service shop of Haima
of fire and explosion.
damage the air cleaner element
Automobile
as
per
the
1.4.2 Maintenance of air cleaner
and lead to earlier wear of the
maintenance schedule.
Check or replace the air
engine.
1.4.5 Maintenance of spark
cleaner element as per the
1.4.3 Maintenance of engine oil
plugs
maintenance schedule. If the
filter
The cleanliness and
vehicle is driving frequently
Replace the engine oil filter
intactness of the spark plugs are
under heavily dust or heavily
as per the maintenance schedule.
of
great
importance
for
Page 202 of 250

-------------------------------------------------------------------------------------------------------------------------------------------------------------

Maintenance
maintaining the power and
expected service life can’t be
replace the air cleaner once
emission indicators of the
guaranteed
and
the
every 5,000km. The air cleaner
engine.
performances and operations of
shall not be neglected as it's
Check the appearance of
the engine will be impaired.
related to the system functions
spark plugs, measure the spark
1.4.6 Maintenance of A/C air
and health of driver and
intensity, and judge for presence
cleaner (Optional)
passengers.
of electric leakage at sales and
The A/C air cleaner can
If the airflow outputted by
service
shop
of
Haima
filter away the pollens and dusts
the heating and air conditioning
Automobile.
inhaled by intake system and
system is hindered, replace this
Tip: The spark plugs must be
A/C system from the outside air.
air cleaner as soon as possible.
replaced as per the specified
Under normal conditions,
Replacement method
periods of the maintenance
make sure to replace this air
schedule. Make sure to use the
cleaner once every 10,000km. If
specified spark plug types. If the
the vehicle drives frequently
thermal ratio of the spark plug is
under heavily dusty region or
less than the required value, the
region with dense smoke,
Page 203 of 250

-------------------------------------------------------------------------------------------------------------------------------------------------------------

Maintenance
cleaner from the glovebox.
must be removed. The common
Remove the used cleaner and
foreign materials include insects
replace with new one.
and tree leaves.
1.4.7 Maintenance of wiper
Clean the windscreen and
blades
wiper
blades with neutral
detergent or neutral washing
fluid.
After the cleaning,
thoroughly flush with clean
water.
This air cleaner is located within
Notice: Do not clean the wiper
the instrument panel, behind the
Plastic lock
blades with gasoline, kerosene,
glovebox. To replace the air
The performance of the
paint thinner, or other detergent,
cleaner, directly push down the
wiper will be impaired if the
or it will easily damage the
buckles on the right side of the
wiper blade or windscreen is
wiper blades.
glovebox from the bottom of the
contaminated
by
foreign
If the wiper blades still
glovebox to separate the air
material. All foreign materials
can’t wipe clean the windscreen
Page 204 of 250

-------------------------------------------------------------------------------------------------------------------------------------------------------------

Maintenance
after being cleaned, it indicates
1.5 Replacement of lamps
Carefully pull out the
that the wiper blades are
1.5.1 Replacement of headlamp
headlamp
bulb
straightly
probably worn or cracked and
bulb
rearward and then disassemble
shall be replaced.
To replace the bulb of high
the headlamp bulb from the bulb
To replace the wiper blade,
beam/low beam, operate as per
holder.
lift the wiper arm and rotate the
the following procedure:
Replace with prepared
wiper blade assembly to expose
At the time of replacement,
bulb.
the plastic lock. Hold the plastic
turn off the headlamp and erect
Install as per reverse order
lock and move downward and
the engine hood.
of disassembly procedure. At the
then lift the wiper blade to
Open the rear cap of the
same time, the bulb of position
separate the wiper blade from
headlamp.
lamp bulb
(W5W) may be
the wiper arm.
Hold the harness sheath and
replaced as well. The bulb for
pull rearward to separate the
high/low beams is H1.
sheath from the bulb. Unplug the
Tip: At the replacement of bulb,
dust cover to unhook the bulb
handle with care and caution and
fixing spring.
Page 205 of 250

-------------------------------------------------------------------------------------------------------------------------------------------------------------

Maintenance
do not apply excessive force or
the body oil adhered on the bulb
operate too haste.
will
probably
lead
to
Notice: The burst of the halogen
overheating and explosion of the
bulb for headlamp is dangerous.
bulb when the bulb is turned on.
This bulb contains compressed
Therefore, make sure to wear the
air. The burst of this bulb will
gloves during the operations.
lead to explosion and the
It’s a normal symptom if the
(Front turn signal lamp bulb)
splashed glass fragments will
mist formation emerges on the
probably cause serious personal
headlamp and then disappears
injuries.
Therefore,
while
within 30min during use.
replacing the halogen bulb, the
1.5.2 Replacement of front turn
operator
and
surrounding
signal lamp bulb
(rear lamp bulb)
personnel shall wear the safety
To replace the front turn
goggles.
signal lamp bulb, operate as per
If the glass part of the bulb
the following procedure:
is ever directly touched by hand,
Page 206 of 250

-------------------------------------------------------------------------------------------------------------------------------------------------------------

Maintenance
At the time of replacement,
signal lamp shall be replaced
Install as per reverse order
turn off the front turn signal
immediately.
of disassembly procedure.
lamp and erect the engine hood.
1.5.3 Replacement of rear lamp
1.5.4 Replacement of front fog
Unplug the harness
bulb
lamp bulb
connector.
To replace the bulbs of rear
To replace the front fog
Unscrew the bulb with
turn signal lamp, brake lamp,
lamp bulb, operate as per the
hands wearing gloves.
rear position lamp, reversing
following procedure:
Replace with prepared
lamp, and rear fog lamp, the
At the time of replacement,
bulb.
trunk rear trim panel must be
turn off the front fog lamp and
Install as per reverse order
disassembled. Pull outward to
erect the engine hood.
of disassembly procedure.
separate the plastic buckles and
Unscrew the front fog lamp
Tip: The normal functioning of
then disassemble the buckles
holder.
the turn signal lamps are related
and rear trim panel.
Unscrew the bulb with
to the driving safety of the
Rotate to take out the lamp
hands wearing gloves.
vehicle. Any damaged turn
holder.
Replace with prepared
Replace with new bulbs.
bulb.
Page 207 of 250


Content      ..     11      12      13      14     ..