Vauxhall Meriva (2016 year). Manual - part 2
-------------------------------------------------------------------------------------------------------------------------------------------------------------
22
Keys, doors and windows
Colour-Info-Display, the
Unlocking
The setting can be saved for the key
personalisation is permanently
being used.
activated.
Memorised settings 3 21.
Vehicle personalisation 3 111.
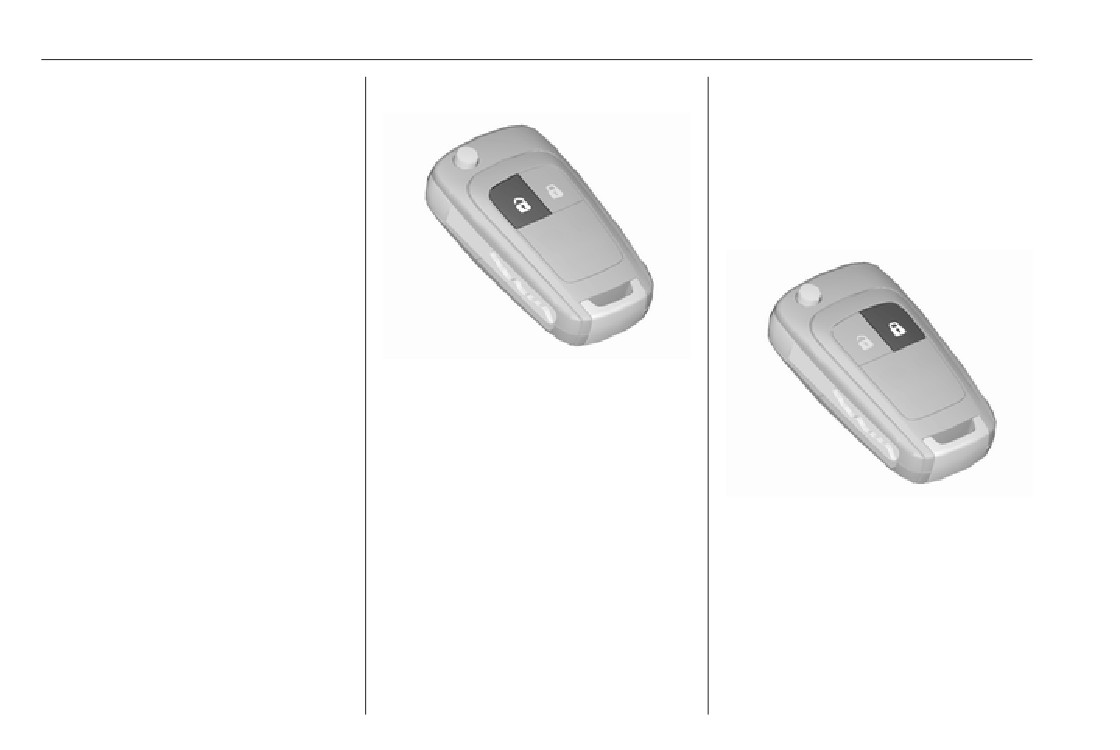
Locking
Central locking system
Close doors, load compartment and
fuel filler flap.
Unlocks and locks doors, load
compartment and fuel filler flap.
A pull on an interior door handle
unlocks the respective door. Pulling
the handle once more opens the door.
Notice
In the event of an accident in which
Press c.
airbags or belt pretensioners are
Two settings are selectable:
deployed, the vehicle is
automatically unlocked.
● All doors, load compartment and
fuel filler flap are unlocked by
pressing c once.
● Only the driver's door, load
Press e.
compartment and fuel filler flap
are unlocked by pressing c once.
If the driver's door is not closed
To unlock all doors, press c
properly, the central locking system
twice.
will not work.
The setting can be changed in the
menu Settings in the Info-Display.
Vehicle personalisation 3 111.