Pontiac Grand Prix (2005 year). Manual - part 13
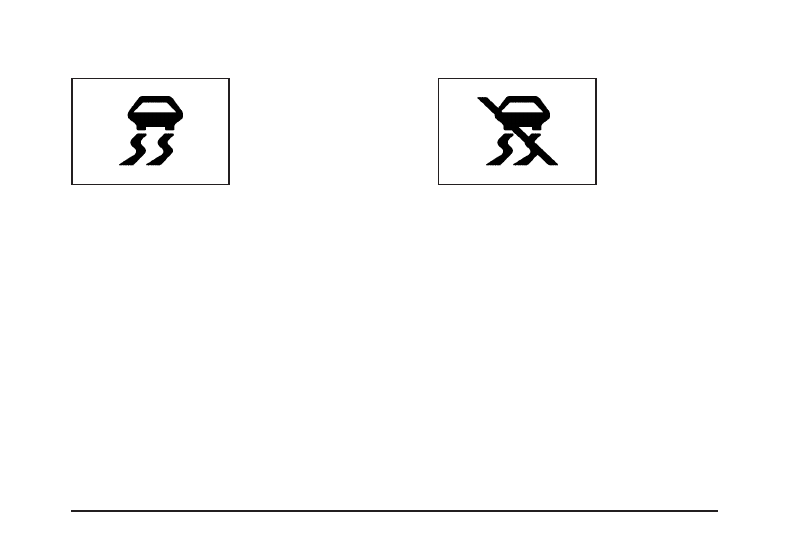
STABILITY CONTROL ACTIVE
This symbol comes on with
the STABILITY CONTROL
ACTIVE warning
message.
If the vehicle has the StabiliTrak
®
Plus system, this
warning message appears when the system is engaged
and actively assisting the driver with directional
control of the vehicle. Slippery road conditions may exist
when this warning message is displayed, so driving
should be adjusted accordingly. STABILITY CONTROL
ACTIVE will also appear in the Head-Up Display
(HUD), if equipped.
This message will display only while the ignition is in
RUN. This message stays on until road conditions
change and StabiliTrak
®
Plus is not active.
This message cannot be acknowledged and cleared
from the screen.
STABILITY CONTROL OFF
This symbol comes on with
the STABILITY CONTROL
OFF warning message.
If the vehicle has the StabiliTrak
®
Plus system, this
warning message will appear when the system turns off.
This message will display only while the ignition is in
RUN. A chime will sound once and the message will stay
on for three seconds and then disappear. A warning light
indicating that this system is deactivated will also appear
on the instrument panel cluster. See Traction Control
System (TCS) Warning Light on page 3-42 or Enhanced
Traction System Warning Light on page 3-42.
When the StabiliTrak
®
Plus system is off, the system
will not be engaged and will not actively assist the driver
with directional control of the vehicle. See StabiliTrak
Plus System on page 4-12.
Any of the following conditions may cause the
StabiliTrak
®
Plus system to turn off:
•
The battery is low.
•
There is a StabiliTrak
®
Plus system failure.
See your GM dealer for service.
3-89