Pontiac Aztek (2005 year). Manual - part 1
Front Seats
Manual Passenger Seat
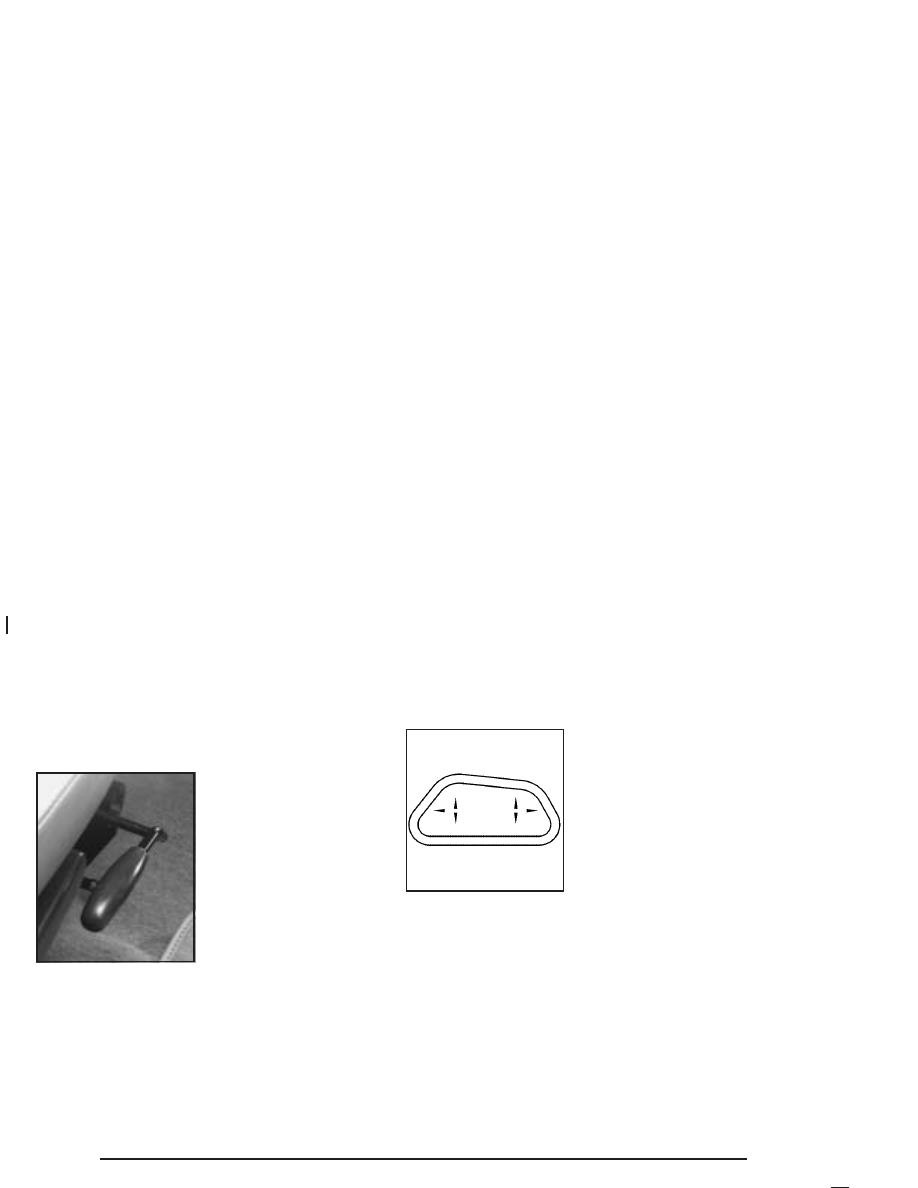
Pull up on the lever,
located on the front of
the seat, to unlock
and move the seat.
Slide the seat to where you want it and release the
lever. To make sure the seat is locked into place,
try to move the seat back and forth with your body.
Six-Way Power Seats
Your vehicle may have
this feature. If it does, the
six-way power seat control
is located on the outboard
sides of the driver’s and
front passenger’s seats.
•
Move the front of the control up or down to adjust the
front portion of the cushion up or down.
•
Move the rear of the control up or down to adjust the
rear portion of the cushion up or down.
•
Lift up or push down on the whole control to move
the entire seat up or down.
•
To move the whole seat forward or rearward, slide
the control forward or rearward.
1-2