Snowmobile Polaris Two Stroke (2007 year). Manual - part 67


  Index      Snowmobiles / ATV     Snowmobile Polaris Two Stroke - service manual 2007 year


Search            


Content   ..  65  66  67  68   ..


Snowmobile Polaris Two Stroke (2007 year). Manual - part 67


11.5

BATTERY & ELECTRICAL SYSTEMS

11

BATTERY TESTING

Testing Procedures

Batteries should be kept at or as near full charge as possible. If
the battery is stored or used in a partially charged condition, hard
crystal sulfication will form on the plates, reducing their
efficiency and possibly ruining the battery.

Open Circuit Voltage Test (OCV)

Check static battery voltage with multimeter. Voltage should be
no less than 12.8 Vdc. Charge battery if voltage is lower than
12.8 Vdc.

Load Test

A battery may pass the OCV test, but still not have the storage
capacity necessary to properly function.

1.

Connect multimeter to the battery as if performing the
OCV test. 

2.

Turn the engine over using the electric starter.

3.

Replace battery if Vdc drops below 9.5Vdc.

NOTE: Battery load test tools can be purchased
commercially. Follow the manufactures’ instructions
for use.

Specific Gravity Test (Conventional Battery)

NOTE:  Do not attempt to open the vent cover on a
fresh pack battery.

A battery hydrometer (PN 2870836) can be used to measure
electrolyte strength or specific gravity. As the battery goes
through the charge/discharge cycle, the electrolyte goes from a
heavy, more acidic state at full charge to a light, more water state
when discharged. The hydrometer can measure state of charge
and differences between cells in a multi-cell battery. Readings of
1.270 or greater should be observed in a fully charged battery.
Differences of more than 0.025 between the lowest and highest
cell readings indicate a need to replace the battery.

Off Season Storage

To prevent battery damage during extended periods of non-use,
the following maintenance items must be performed.

1.

Remove battery from machine and wash the case and
battery tray with a mild solution of baking soda and water.
Rinse with of fresh water after cleaning. 

2.

Using a wire brush or knife, remove any corrosion from the
cables and terminals.

3.

Charge at a rate no greater than 1/10 of the battery's amp/
hr. capacity.

4.

Store the battery in a cool, dry place.

NOTE:  Stored batteries lose their charge at the rate
of 1% per day. They should be fully recharged every
30 to 60 days during a non-use period. If stored
during winter months, the electrolyte will freeze at

higher temperatures as the battery discharges.
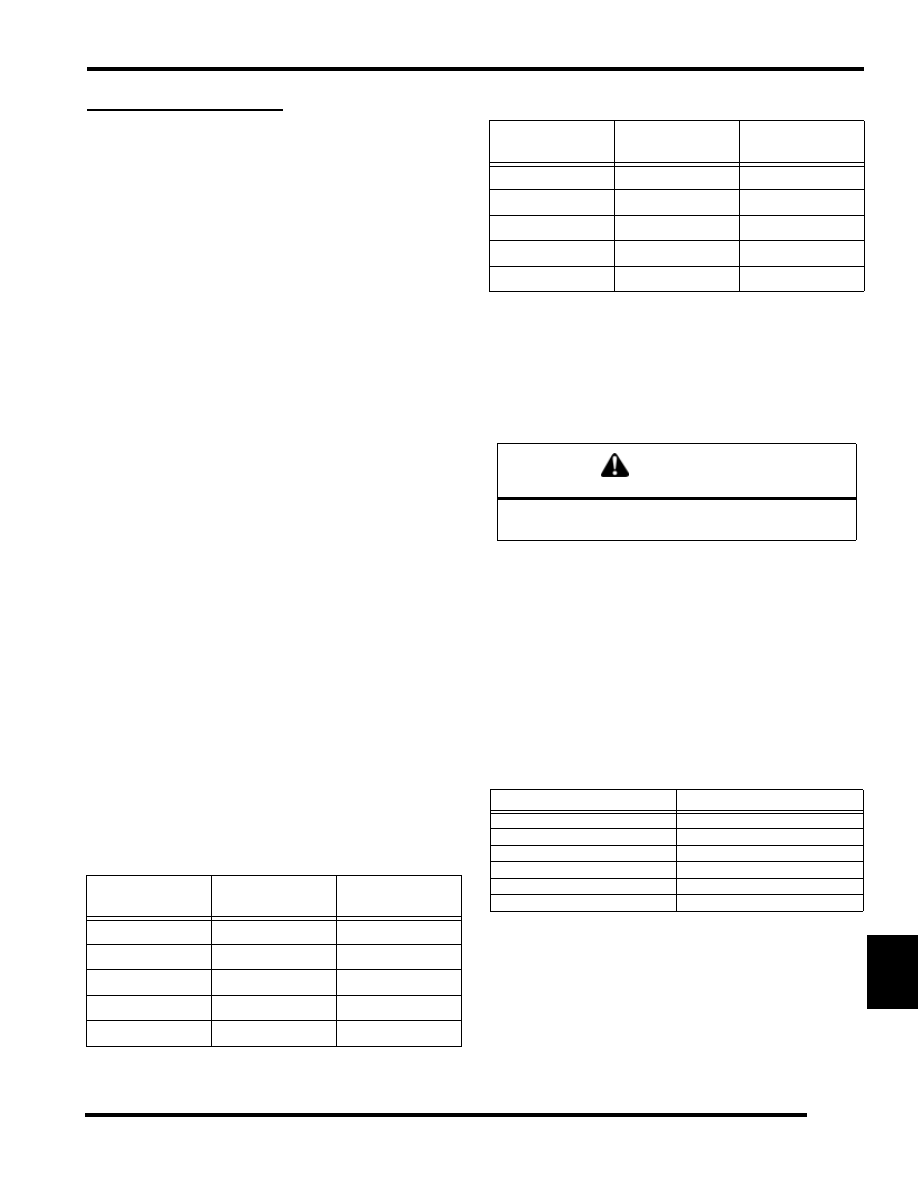
Battery Voltage

STATE OF CHARGE

CONVENTIONAL 

LEAD-ACID

YUMACRON TYPE

100% CHARGED

12.60v

12.70v

75% CHARGED

12.40v

12.50v

50% CHARGED

12.10v

12.20v

25% CHARGED

11.90v

12.00v

0% CHARGED

< 11.80v

< 11.90v

Battery Voltage Per Cell

STATE OF CHARGE

CONVENTIONAL 

LEAD-ACID

YUMACRON TYPE

100% CHARGED

1.265v

1.275v

75% CHARGED

1.210v

1.225v

50% CHARGED

1.160v

1.175v

25% CHARGED

1.120v

1.135v

0% CHARGED

< 1.100v

< 1.115v

CAUTION

D

O


NOT


ALLOW


ANY


OF


THE


BAKING


SODA


SOLUTION


TO


ENTER


THE


BATTERY


OR


THE


ACID


WILL


BE


NEUTRALIZED

.

Specific Gravity Freezing Point

Specific Gravity of Electrolyte

Freezing Point

1.265

-75_F (-59_C)

1.225

-35_F (-37_C)

1.200

-17_F (-27_C)

1.150

5_F (-15_C)

1.100

18_F (-8_C)

1.050

27_F (-3_C)

11.6

BATTERY & ELECTRICAL SYSTEMS

IGNITION TIMING

Timing Procedure - Carbureted Engines

NOTE: Always verify timing of engine at room
temperature (68
°F / 20°C), and at the specified RPM.
If applicable, make sure the key switch is in the
PREMIUM mode and the TPS is unplugged.

1.

Reference the timing specification chart.

2.

Install a dial indicator gauge into the MAG spark plug hole.

3.

Place the MAG piston in the proper timing position, then
mark the flywheel at this point.

EXAMPLE: 600 HO Carbureted = 26° @ 3500RPM. Place 
the MAG piston 4.0096mm (0.1579in.) BTDC.

NOTE: Each 10 degree mark is separated by lines
every 2 degrees (not shown). Acceptable timing
variance is +/- 2 degrees.

4.

Connect an accurate tachometer and a good quality timing
light to the engine according to manufacturer's instructions.

5.

Disconnect the throttle position sensor (TPS), if equipped.

6.

Start engine and increase RPM to the point specified in the
timing specifications. Hold the throttle to maintain
specified timing RPM.

7.

Point the timing light at the timing inspection hole.

8.

With your head positioned so there is a straight line between
your eye, the stationary pointer and the crankshaft center
line, note the relative position between the marked flywheel
line and the pointer. If the stationary pointer is aligned with
the mark made in Step 3, or within the acceptable variance,
ignition timing is correct.

9.

If the pointer is outside the variance, the stator will have to
be rotated either with crankshaft rotation (to retard the
timing) or against rotation to advance it. 

NOTE: Rotate stator plate approximately the same
distance as the marks must move. In most cases, the
recoil starter housing, recoil drive hub, and flywheel
must be removed to loosen the stator bolts and
change the timing. On some engines, the stator plate

retaining screws can be accessed through the
flywheel.

10. Torque stator plate screws and flywheel nut to specified

torque. Apply Loctite 262 (red) to crankshaft flywheel taper
if required. Refer to the Specifications section for torque
specifications and flywheel installation procedure for
engine type.

Flywheel
Rotation

11.7

BATTERY & ELECTRICAL SYSTEMS

11

Ignition Timing Chart

Convert the ignition timing specification from degrees BTDC to
either inches or millimeters, then use a dial indicator to verify
timing marks.

NOTE: Always disconnect the TPS on carbureted
engines prior to checking ignition timing.

EH122

EC34-2PM

EC50PL

EC55PM

S3303-5044-PFSC

S3273-6044-PF6F
S3274-6044-PF6F

S3206-6044-PF6H

S3305-7044-PF7J
S3322-7044-PF7J

ROD/STROKE 

(mm)

73mm ROD

43mm STROKE

103mm ROD

55.6mm STROKE

112mm ROD

60mm STROKE

120mm ROD65mm 

STROKE

128mm ROD

64mm STROKE

128mm ROD

68mm STROKE

Degrees BTDC

mm

inches

mm

inches

mm

inches

mm

inches

mm

inches

mm

inches

1

0.0042

0.0002

0.0054

0.0002

0.0058

0.0002

0.0063

0.0002

0.0061

0.0002

0.0066

0.0003

2

0.0170

0.0007

0.0215

0.0008

0.0232

0.0009

0.0252

0.0010

0.0244

0.0010

0.0262

0.0010

3

0.0381

0.0015

0.0484

0.0019

0.0521

0.0021

0.0566

0.0022

0.0548

0.0022

0.0590

0.0023

4

0.0678

0.0027

0.0860

0.0034

0.0926

0.0036

0.1006

0.0040

0.0974

0.0038

0.1048

0.0041

5

0.1059

0.0042

0.1343

0.0053

0.1447

0.0057

0.1571

0.0062

0.1522

0.0060

0.1637

0.0064

6

0.1524

0.0060

0.1933

0.0076

0.2083

0.0082

0.2261

0.0089

0.2190

0.0086

0.2356

0.0093

7

0.2073

0.0082

0.2630

0.0104

0.2833

0.0112

0.3076

0.0121

0.2979

0.0117

0.3205

0.0126

8

0.2706

0.0107

0.3432

0.0135

0.3698

0.0146

0.4016

0.0158

0.3889

0.0153

0.4184

0.0165

9

0.3422

0.0135

0.4341

0.0171

0.4677

0.0184

0.5079

0.0200

0.4919

0.0194

0.5291

0.0208

10

0.4222

0.0166

0.5355

0.0211

0.5770

0.0227

0.6265

0.0247

0.6068

0.0239

0.6528

0.0257

11

0.5104

0.0201

0.6474

0.0255

0.6976

0.0275

0.7575

0.0298

0.7336

0.0289

0.7892

0.0311

12

0.6068

0.0239

0.7698

0.0303

0.8294

0.0327

0.9006

0.0355

0.8723

0.0343

0.9383

0.0369

13

0.7114

0.0280

0.9025

0.0355

0.9724

0.0383

1.0559

0.0416

1.0227

0.0403

1.1001

0.0433

14

0.8242

0.0324

1.0456

0.0412

1.1265

0.0444

1.2232

0.0482

1.1849

0.0466

1.2745

0.0502

15

0.9450

0.0372

1.1989

0.0472

1.2917

0.0509

1.4026

0.0552

1.3586

0.0535

1.4614

0.0575

16

1.0738

0.0423

1.3624

0.0536

1.4678

0.0578

1.5938

0.0628

1.5439

0.0608

1.6606

0.0654

17

1.2106

0.0477

1.5359

0.0605

1.6548

0.0652

1.7969

0.0707

1.7406

0.0685

1.8722

0.0737

18

1.3552

0.0534

1.7195

0.0677

1.8526

0.0729

2.0117

0.0792

1.9487

0.0767

2.0960

0.0825

19

1.5077

0.0594

1.9130

0.0753

2.0611

0.0811

2.2380

0.0881

2.1681

0.0854

2.3319

0.0918

20

1.6679

0.0657

2.1163

0.0833

2.2802

0.0898

2.4759

0.0975

2.3986

0.0944

2.5798

0.1016

21

1.8358

0.0723

2.3294

0.0917

2.5098

0.0988

2.7252

0.1073

2.6402

0.1039

2.8395

0.1118

22

2.0112

0.0792

2.5521

0.1005

2.7497

0.1083

2.9857

0.1175

2.8927

0.1139

3.1110

0.1225

23

2.1941

0.0864

2.7843

0.1096

3.0000

0.1181

3.2574

0.1282

3.1560

0.1243

3.3941

0.1336

24

2.3844

0.0939

3.0260

0.1191

3.2603

0.1284

3.5401

0.1394

3.4300

0.1350

3.6887

0.1452

25

2.5821

0.1017

3.2769

0.1290

3.5307

0.1390

3.8336

0.1509

3.7146

0.1462

3.9946

0.1573

26

2.7869

0.1097

3.5370

0.1393

3.8110

0.1500

4.1379

0.1629

4.0096

0.1579

4.3117

0.1698

27

2.9989

0.1181

3.8062

0.1499

4.1010

0.1615

4.4528

0.1753

4.3149

0.1699

4.6399

0.1827

28

3.2178

0.1267

4.0843

0.1608

4.4007

0.1733

4.7782

0.1881

4.6303

0.1823

4.9789

0.1960

29

3.4437

0.1356

4.3712

0.1721

4.7098

0.1854

5.1138

0.2013

4.9558

0.1951

5.3287

0.2098

30

3.6763

0.1447

4.6667

0.1837

5.0282

0.1980

5.4595

0.2149

5.2911

0.2083

5.6891

0.2240

31

3.9156

0.1542

4.9708

0.1957

5.3559

0.2109

5.8152

0.2289

5.6361

0.2219

6.0598

0.2386

32

4.1615

0.1638

5.2832

0.2080

5.6926

0.2241

6.1807

0.2433

5.9907

0.2359

6.4408

0.2536

33

4.4139

0.1738

5.6039

0.2206

6.0381

0.2377

6.5559

0.2581

6.3546

0.2502

6.8318

0.2690

34

4.6725

0.1840

5.9326

0.2336

6.3924

0.2517

6.9405

0.2732

6.7278

0.2649

7.2326

0.2847

35

4.9374

0.1944

6.2693

0.2468

6.7552

0.2660

7.3343

0.2888

7.1099

0.2799

7.6431

0.3009

36

5.2083

0.2051

6.6138

0.2604

7.1263

0.2806

7.7372

0.3046

7.5010

0.2953

8.0632

0.3174

37

5.4852

0.2160

6.9658

0.2742

7.5057

0.2955

8.1491

0.3208

7.9007

0.3111

8.4925

0.3343

38

5.7679

0.2271

7.3253

0.2884

7.8931

0.3108

8.5696

0.3374

8.3089

0.3271

8.9308

0.3516

39

6.0562

0.2384

7.6920

0.3028

8.2883

0.3263

8.9986

0.3543

8.7254

0.3435

9.7381

0.3692

40

6.3501

0.2500

8.0659

0.3176

8.6912

0.3422

9.4360

0.3715

9.1501

0.3602

9.8340

0.3872

11.8

BATTERY & ELECTRICAL SYSTEMS

THROTTLE POSITION SENSOR (TPS)

The following models use a throttle position sensor (TPS):

• 500 XC SP

• 600 HO Carbureted (All Models)

• 600 HO CFI (All Models)

• 700 HO CFI (All Models)

The TPS is located on the carburetor rack (carbureted engines)
or on the throttle body (CFI engines). The TPS is set at the time
of manufacture and should only require adjustment when:

• When the TPS is replaced.

• When the carburetor rack or throttle body is replaced or 

adjusted.

• The TPS is suspected of being set incorrectly as part of 

troubleshooting.

The TPS test tool, PN 2201519, is used to accurately adjust the
TPS return signal settings.

TPS Test Tool Setup

The test tool must be always be used to inspect the TPS on
carbureted engines. On CFI models, either the test tool or Digital
Wrench can be used to test the TPS.

NOTE:  Signal readings can be affected if the 9 volt
battery is weak. Always verify the battery is in good
condition.

1.

Set the multimeter to read Vdc.

2.

Verify the 9 volt battery condition by inserting the black
multimeter probe into the black wire terminal and the red
multimeter probe into the pink wire terminal. Voltage
should read 4.99 to 5.01 Vdc. Use a new battery if voltage
is below 4.99 Vdc.

3.

Connect the test tool to the TPS on the carburetor or throttle
body.

NOTE: Always disconnect the 9 volt battery when
tool is not in use.

Using the TPS Test Tool

1.

Remove the wiring harness connector from the TPS.

2.

Verify the throttle cable is not kinked and the throttle flipper
is closed.

3.

Connect the test tool to the TPS.

4.

Insert the black multimeter probe into the black terminal
port, then insert the red multimeter probe into the yellow
terminal port.

5.

Reference the specifications to determine if the TPS
requires adjustment or replacement.

6.

To verify the TPS is sending a linear signal, slowly move
the throttle flipper from the closed to WOT position, then
back down to the closed position.

7.

The voltage readings displayed on the multimeter should
rise and fall without erratically jumping from high to low.

NOTE: The multimeter display may change scales
and show O.L. momentarily when throttle flipper is
moving.

8.

If the signal readings are erratic, replace the TPS sensor.

Black
Probe

Red
Probe

Red Pink

Black

TPS Setting Specifications

E

NGINES

V

OLTAGE

 S

ETTINGS

Carbureted Engines

4.00 +/- 0.1 Vdc @ WOT

CFI Engines

0.95 +/- 0.01 Vdc @ Idle


Content   ..  65  66  67  68   ..