BMW Motorcycle (R1100RT, R1100RS, R850/1100GS, R850/1100R). Manual - part 48
 

  Index      Manuals     BMW AG Motorcycle (R1100RT, R1100RS, R850/1100GS, R850/1100R). Repair Manual


Search            


Content   ..  46  47  48  49   ..


BMW Motorcycle (R1100RT, R1100RS, R850/1100GS, R850/1100R). Manual - part 48


46.39

Raise the motorcycle with stand, 
BMW No. 00 1 520.

Disconnect tension springs.

Unfasten left/right retaining screws (1).

Take out pivot bushes (2) together with M10 
screw.

Remove center stand.

Disconnect plug from side stand switch.

Remove left/right bearing mount (3).

Install in the reverse order of work..

Lubricant................... e.g. Staburags NBU 30 PTM

X

 Tightening torque:

Center stand to carrier plate
(clean thread + Loctite 2701)........................ 21 Nm
Carrier plate to engine block, M 12
(clean thread + Loctite 2701)........................ 72 Nm
Carrier plate at engine block, M 8 countersunk 
screw (clean thread + Loctite 2701) ............. 21 Nm
Side stand at bearing mount
(clean thread + Loctite 2701)........................ 42 Nm

00 1 520

RS460170

46.40

[RS] Removing and installing rear 
footrest plate

X

 Tightening torque:

Footrest to footrest plate .............................. 42 Nm
Muffler (silencer) to footrest plate ................. 35 Nm
Footrest plate to rear frame .......................... 21 Nm

RS460180

46.41

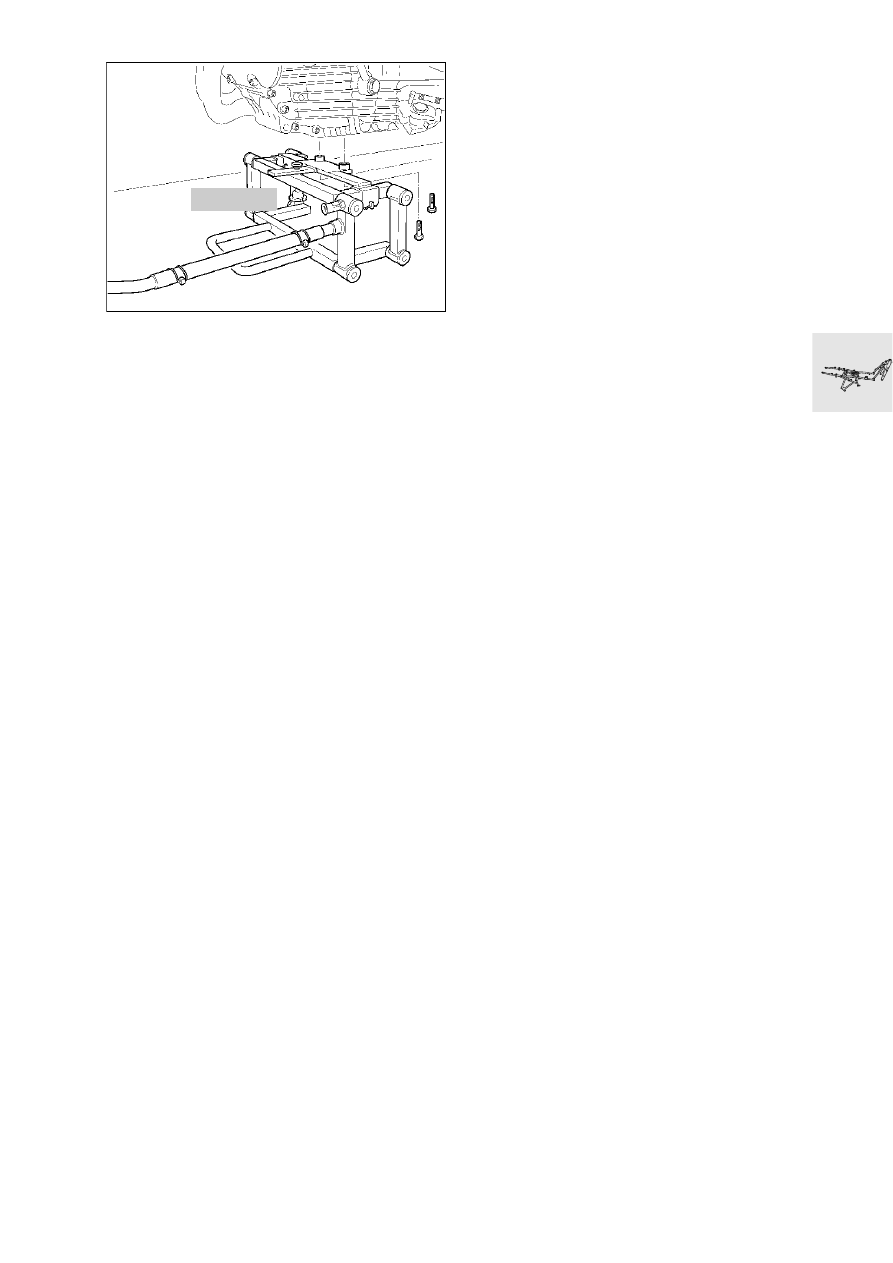
[RS/R] Removing and installing front 
footrest plate

X

 Tightening torque:

Footrest plate to gearbox ............................. 22 Nm
Master cylinder to footrest plate ....................  7 Nm
Brake pedal to footrest plate ........................ 37 Nm

RS460190

46.42

[GS/R] Removing and installing front 
mudguard

Remove front wheel.

GS460021

46.43

[GS] Removing and installing 
windshield

GS460091

46.44

[GS] Removing and installing front 
fairing

e

 Caution:

Switch off ignition.
Disconnect ground (earth) lead from battery.
Insulate ground (earth) lead.

Remove side sections of fairing.

Remove top mudguard.

Remove windshield.

Remove headlight insert.

Detach instrument cluster.

L

 Note:

Center retaining screw (1) is inside headlight 
housing.

Remove headlight holder.

Remove indicator glasses, pull off cable connec-
tor and draw cable through indicator holder.

Remove indicators.

Pull front trim section/top cover upwards to re-
move.

Install in the reverse order of work.

GS460230

GS620020

1

46.45

[GS] Removing and installing fairing 
holder

e

 Caution:

Switch off ignition.
Disconnect ground (earth) lead from battery.
Insulate ground (earth) lead.

Remove side sections of fairing.

Remove top mudguard.

Remove windshield.

Remove headlight insert.

Detach instrument cluster.

L

 Note:

Center retaining screw (1) is inside headlight 
housing.

Remove headlight holder.

Remove indicator glasses, pull off cable connec-
tor and draw cable through indicator holder.

Remove indicators.

Pull front section of fairing/top cover upwards to 
remove.

Detach wiring harness from trim holder.

Detach oil cooler mount.

Remove trim support bracket.

Install in the reverse order of work.

X

 Tightening torque:

Fairing holder to frame ................................. 20 Nm

1

GS460121

46.46

[GS] Removing and installing 
luggage rack

GS460240


Content   ..  46  47  48  49   ..