Volvo XC60 (2021 year). Manual in english - page 9
LIGHTING
}}
* Option/accessory.
159
US models
: When
mode is selected,
the daytime running lights can be deactivated
in the center display. The parking lights will
also be deactivated. In weak daylight or dark
conditions, the parking lights and low beams
will be illuminated.
US models
: With the lighting ring in the
or
position, the daytime running lights
will be
off
.
Canadian models
: With the lighting ring in
the
or
position, the daytime run-
ning lights will be on.
Volvo recommends use of Daytime
Running Lights in the US. Its use is man-
datory in Canada.
WARNING
The system is an energy saving aid – it
cannot in all situations determine when the
daylight is too weak or not strong enough,
e.g. when there is fog or rain.
The driver is always responsible for driving
the vehicle with lighting that is safe for the
traffic conditions and as specified by appli-
cable traffic regulations.
Related information
•
Lighting control and panel (p. 156)
•
•
Low beams
When driving with the lighting ring in the
position, low beam will be automati-
cally activated in weak daylight or dark condi-
tions, when the ignition is in the
II
position.
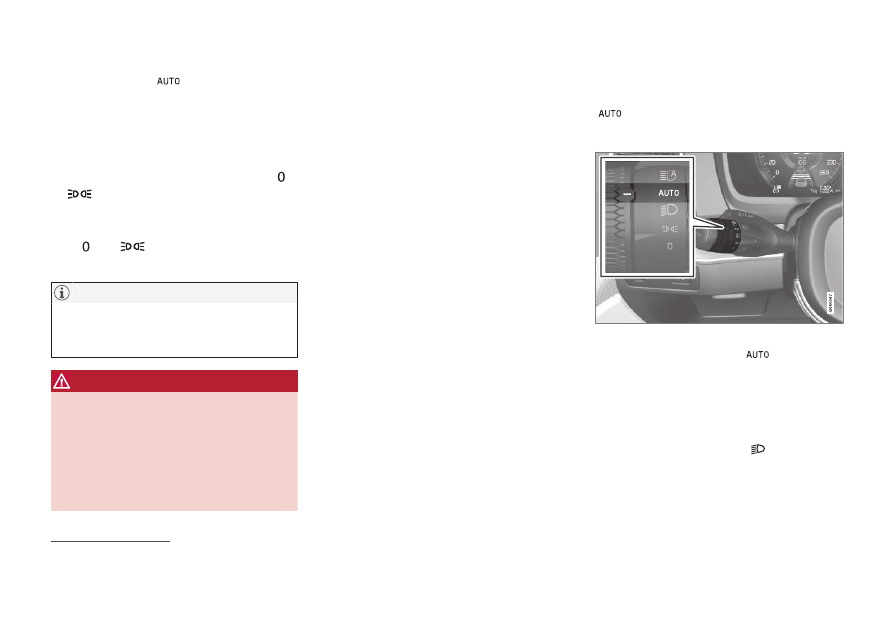
Lighting ring in
AUTO
position.
With the lighting ring in the
position, the
low beams will be automatically activated if:
•
the front fog lights
*
are activated
•
the rear fog light is activated
•
the rear and front fog lights are activated.
With the lighting ring in the
position,
low beams will always be on when the ignition
is in the
II
position.
1
Daytime Running Lights