Opel Frontera UE. Manual - part 65
 

  Index      Opel     Opel Frontera UE - service repair manual 1999-2001 year


Search            


Content   ..  63  64  65  66   ..


Opel Frontera UE. Manual - part 65


REAR SUSPENSION

3D–13

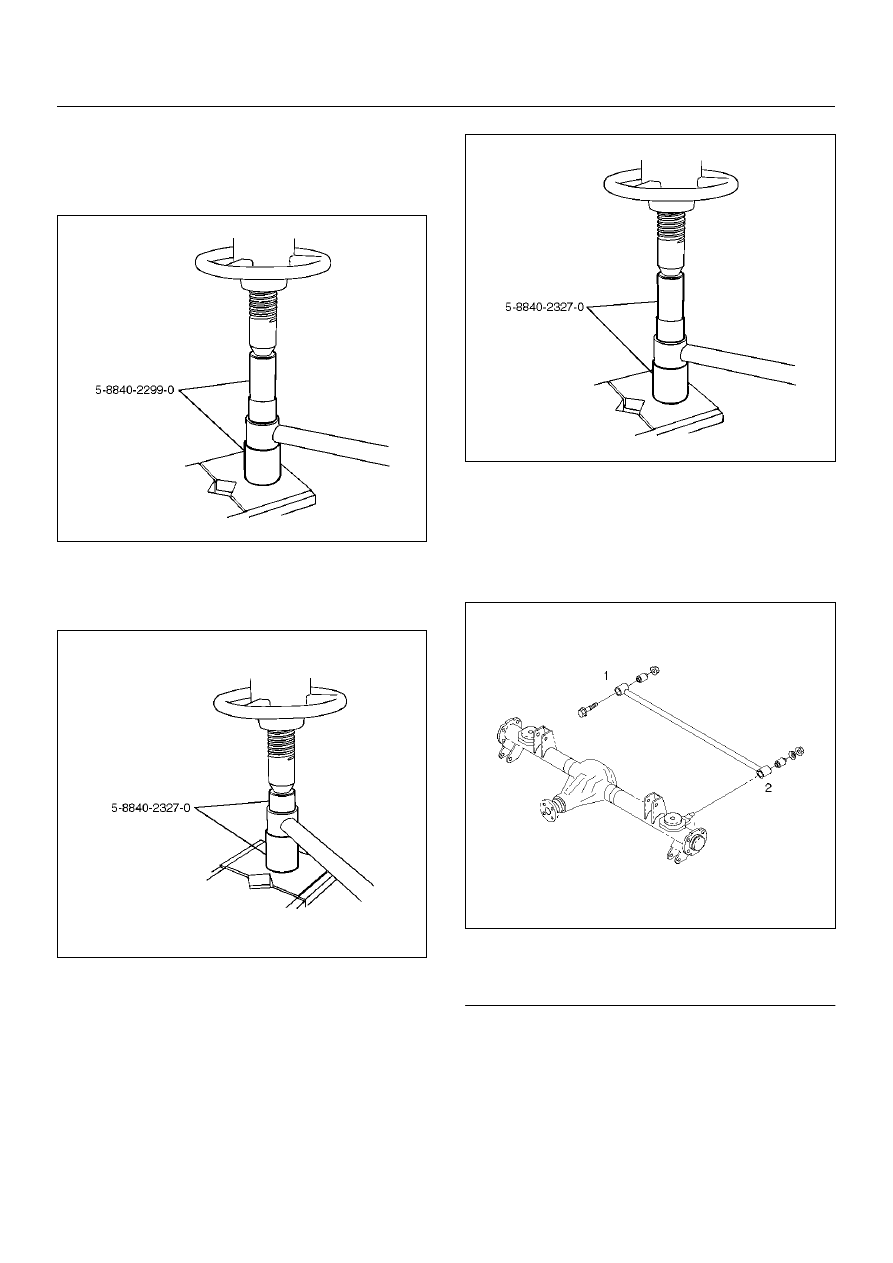
• Install the rubber bushing (Frame side) by using 

Installer 5–8840–2299–0.

NOTE:  When mounting rubber bushings, do not use 
grease on bushings or any other nearby parts.

901RW285

3. Rubber bushing (Axle side)

• Remove the rubber bushing (Axle side) by using 

remover 5–8840–2327–0.

901RW287

• Install the rubber bushing (Axle side) by using 

installer 5–8840–2327–0.

901RW286

Installation

1. Install lateral rod and make sure that the lateral rod 

is in its correct position.

NOTE:  When mounting lateral rod, be sure not to use 
grease on bushings or any other nearby part.

460RW035

Legend

EndOFCallout

2. Install bolt and nut. Tighten the bolt and nut lightly, 

then retighten them to the specified torque after the 
vehicle is at curb height.

Torque: 137N·m (14.0kg·m/101lbft)

3. Install nut and washer. Tighten the nut lightly, then 

retighten the nut to the specified torque after the 
vehicle is at curb height.

Torque: 78N·m (8.0kg·m/58lbft)

(1) Frame Side
(2) Axle Side

3D–14

REAR SUSPENSION

Stabilizer Bar

Stabilizer Bar and Associated Parts

460RW009

Legend

EndOFCallout

Removal

1. Raise the vehicle and support the frame with 

suitable safety stands.

2. Remove wheel and tire assembly. Refer to Wheel in 

this section.

3. Remove bolt and nut.

4. Remove link.

CAUTION:  Be careful not to damage the ball joint 
boot.

5. Remove bracket.

6. Remove rubber bushing.

Inspection and Repair

Make necessary correction or parts replacement if 
wear, damage, corrosion or any other abnormal 
condition are found through inspection.
Check the following parts:

• Stabilizer bar

• Rubber bushing

• Link

(1) Bracket
(2) Link
(3) Bolt and Nut

(4) Stabilizer Bar
(5) Rubber Bushing

REAR SUSPENSION

3D–15

Installation

1. Install rubber bushing.

2. Install bracket to axle housing and tighten to the 

specified torque.

Torque: 25N·m (2.5kg·m/19lbft)

3. Install link.

4. Install bolt and nut, then tighten the nut to the 

specified torque.

Torque: 31N·m (3.2kg·m/27lbft)

460RW010

3D–16

REAR SUSPENSION

Main Data and Specifications

General Specifications

Rear suspension

Type

5–Link, coil spring type with stabilizer bar.

Coil spring

Long wheel base

Short wheel base

Free length

379.0mm (14.92in)

383.0mm (15.08in)

Spring diameter

12.4mm (0.49in)

12.5mm (0.49in)

Coil diameter (inner)

105mm (4.13in)

105mm (4.13in)

Effective No. of turns

5.62

6.59

Total No. of turns

7.12

8.09

Shock absorber

Type

Hydraulic, double acting, telescopic

Piston diameter

30mm (1.18in)

Stroke

175mm (6.89in)

Extended length

473.5mm (18.64in)

Compressed length

298.5mm (11.75in)

Stabilizer bar

Diameter

19mm (0.75in)


Content   ..  63  64  65  66   ..