Content .. 1122 1123 1124 1125 ..
Nissan Frontier D40. Manual - part 1124
VTL-10
< ON-VEHICLE REPAIR >
VARIABLE BLOWER CONTROL
VARIABLE BLOWER CONTROL
Removal and Installation
INFOID:0000000005275971
Variable Blower Control
REMOVAL
1.
Disconnect the variable blower control electrical connector.
2.
Remove the two screws and remove the variable blower control.
INSTALLATION
Installation is in the reverse order of removal.
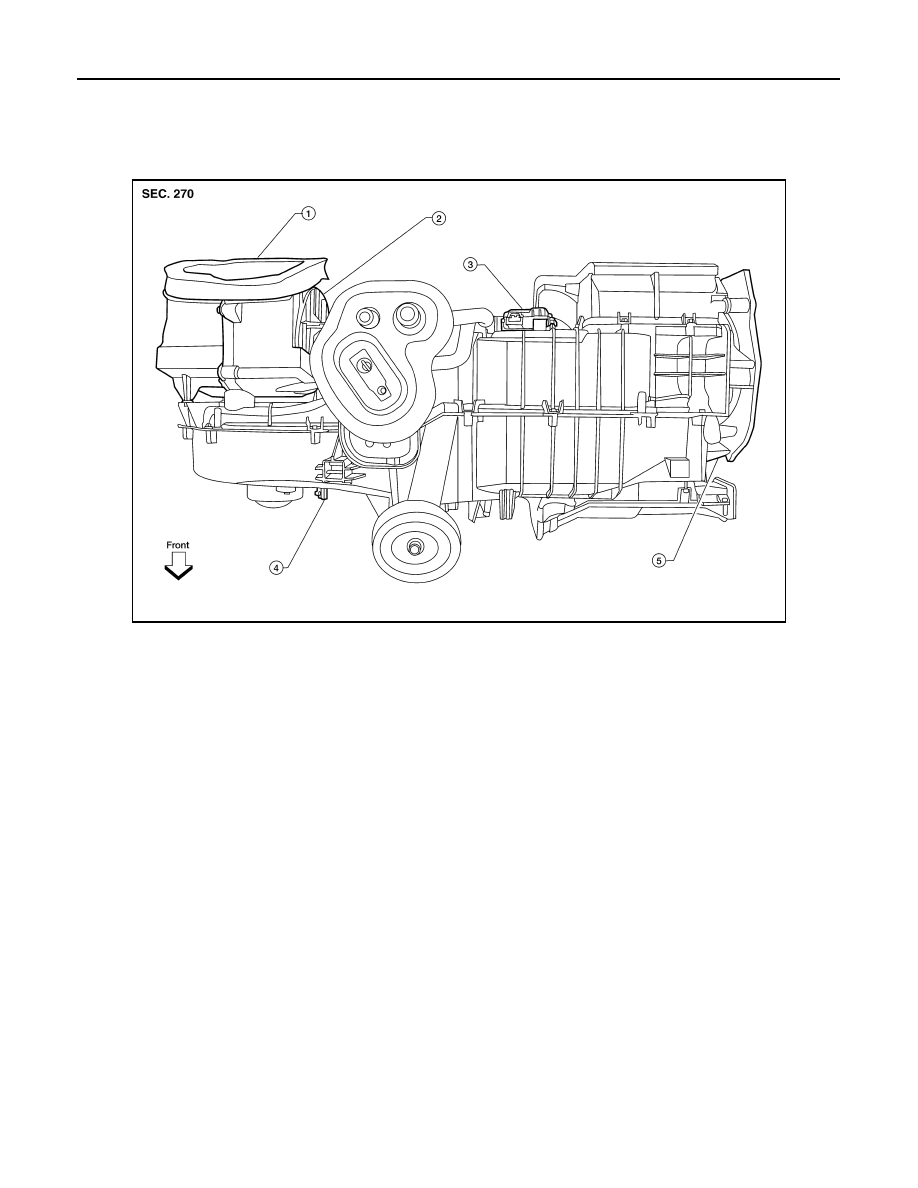
WJIA1480E
1.
Heater and cooling unit assembly
2.
Intake door motor
3.
Air mix door motor
4.
Variable blower control
5.
Mode door motor