содержание .. 913 914 915 916 ..
Nissan Murano. Manual - part 915
LUGGAGE FLOOR TRIM
INT-37
< REMOVAL AND INSTALLATION >
C
D
E
F
G
H
I
K
L
M
A
B
INT
N
O
P
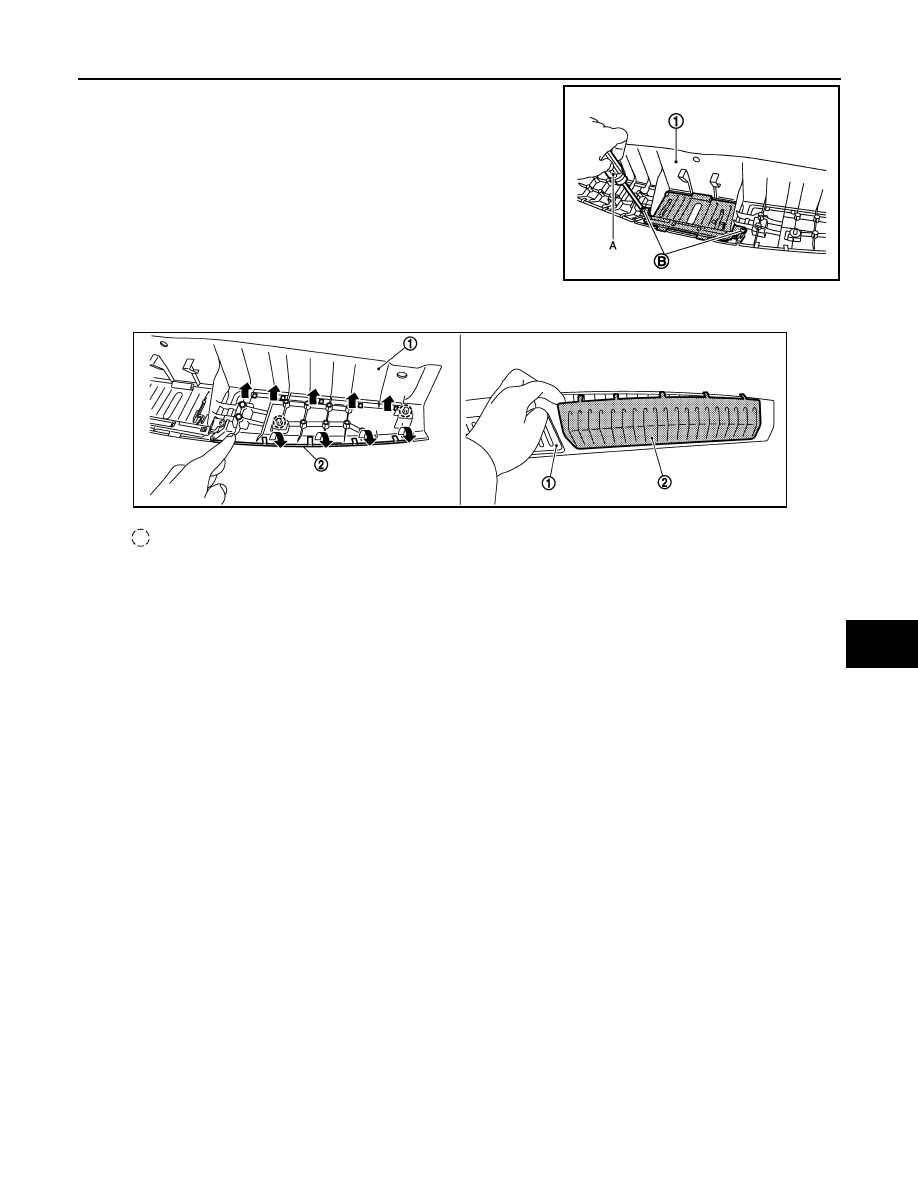
4.
After removal, place the luggage rear plate (1) as shown in the
figure, then with a screwdriver (A) remove the luggage rear plate
cap fixing bolts (B) and then remove the cap.
5.
Remove the rear plate ornament (2) from the rear plate (1) as shown in the figure below.
6.
Remove the bolts located inside the luggage floor spacer and remove luggage floor spacer (LH and RH).
INSTALLATION
Note the following item, and then install in the reverse order of removal.
CAUTION:
Check that clips, pawls, metal clips are securely fitted in panel holes on body when installing, and then
press them in.
JMJIA1406ZZ
: Clip
JMJIA1407ZZ