Nissan Tiida C11. Manual - part 1068


  Главная      Nissan     Nissan Tiida C11 - Service Manual


поиск по сайту            


содержание   ..  1066  1067  1068  1069   ..


Nissan Tiida C11. Manual - part 1068


ENGINE MAINTENANCE (HR16DE)

MA-29

< ON-VEHICLE MAINTENANCE >

C

D

E

F

G

H

I

J

K

L

M

B

MA

N

O

A

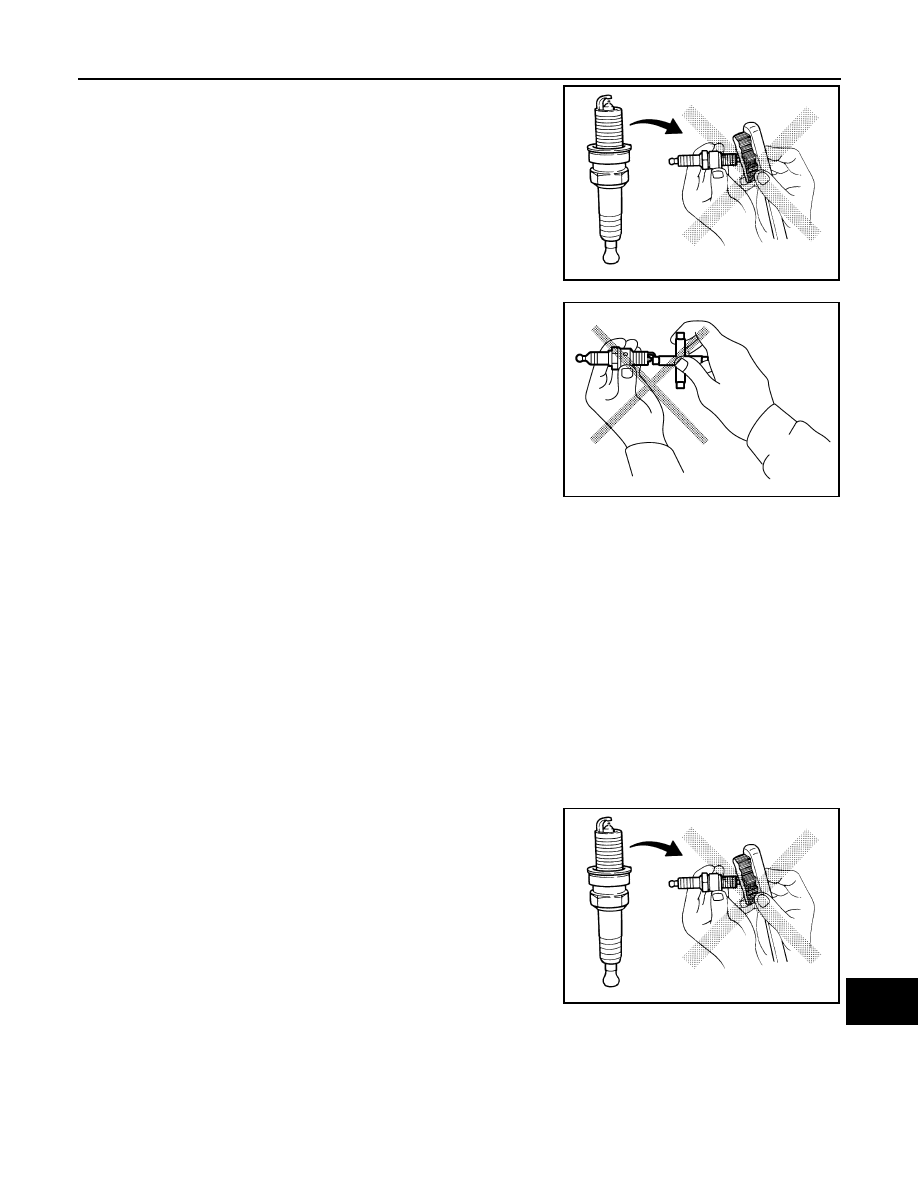
• Never drop or shock spark plug.
• Never use a wire brush for cleaning.
• If plug tip is covered with carbon, spark plug cleaner may be

used.

• Checking and adjusting plug gap is not required between

change intervals.

INSTALLATION

Installation is the reverse order of removal.

SPARK PLUG : Inspection

INFOID:0000000001277617

INSPECTION AFTER REMOVAL

Use the standard type spark plug for normal condition.

CAUTION:

• Never drop or shock spark plug.
• Never use a wire brush for cleaning.
• If plug tip is covered with carbon, spark plug cleaner may be

used.

Cleaner air 
pressure:

Less than 588 kPa (6 kg/cm

2

, 85 psi)

Cleaning time:

Less than 20 seconds

SMA773C

JPBIA0031ZZ

Plug type

: Platinum tipped

Make

: NGK

Part number

: PLZKAR6AP-11

Gap (nominal)

: 1.1 mm (0.043 in)

Spark plug (Standard type):

: PLZKAR6AP-11

Cleaner air pressure:

Less than 588 kPa (6 kg/cm

2

, 85 psi)

Cleaning time:

Less than 20 seconds

SMA773C

MA-30

< ON-VEHICLE MAINTENANCE >

ENGINE MAINTENANCE (HR16DE)

• Checking and adjusting plug gap is not required between

change intervals.

EVAP VAPOR LINES

EVAP VAPOR LINES : Inspection

INFOID:0000000001277618

Refer to 

FL-10, "Removal and Installation"

 .

JPBIA0031ZZ

ENGINE MAINTENANCE (MR18DE)

MA-31

< ON-VEHICLE MAINTENANCE >

C

D

E

F

G

H

I

J

K

L

M

B

MA

N

O

A

ENGINE MAINTENANCE (MR18DE)

DRIVE BELTS

DRIVE BELTS : Component

INFOID:0000000001730859

DRIVE BELTS : Checking Drive Belts

INFOID:0000000001730860

WARNING:

Be sure to perform this step when the engine is stopped.
• Make sure that the indicator (notch on fixed side) of drive belt auto-tensioner is within the possible use range

(A).
NOTE:
• Check the drive belt auto-tensioner indication when the engine is cold.
• When new drive belt is installed, the indicator (notch on fixed side) should be within the range (B).

• Visually check entire drive belt for wear, damage or cracks.
• If the indicator (notch on fixed side) is out of the possible use range or belt is damaged, replace drive belt.

DRIVE BELTS : Tension Adjustment

INFOID:0000000001730861

Belt tension is not necessary, as it is automatically adjusted by drive belt auto-tensioner.

ENGINE COOLANT

ENGINE COOLANT : Inspection

INFOID:0000000001730869

LEVEL CHECK

• Check if the reservoir tank engine coolant level is within the “MIN”

to “MAX” range when engine is cool.

• Adjust the engine coolant level as necessary.

CHECKING COOLING SYSTEM FOR LEAKS

1.

Generator

2.

Drive belt auto–tensioner

3.

Crankshaft pulley

4.

A/C compressor (models with A/C)
Idler pulley (models without A/C)

5.

Water pump

6.

Drive belt

A.

Possible use range

B.

Range when new drive belt is installed C.

Indicator

PBIC3137J

SMA412B

MA-32

< ON-VEHICLE MAINTENANCE >

ENGINE MAINTENANCE (MR18DE)

To check for leaks, apply pressure to the cooling system using suit-
able tool.

WARNING:

Never remove the radiator cap when the engine is hot. Serious
burns could occur from high pressure coolant escaping from
the radiator.

CAUTION:

Higher pressure than specified may cause radiator damage.

ENGINE COOLANT : Changing Engine Coolant

INFOID:0000000001730870

WARNING:

• To avoid being scalded, do not change engine coolant when engine is hot.
• Wrap a thick cloth around radiator cap and carefully remove the cap. First, turn the cap a quarter of a

turn to release built-up pressure. Then turn the cap all the way.

• Be careful not to allow engine coolant to contact drive belt. 

DRAINING ENGINE COOLANT

1.

Open radiator drain plug (1) at the bottom of radiator, and then
remove radiator cap. 

 Front

When drain all of engine coolant in the system, open water
drain plug on cylinder block. Refer to 

EM-211, "Compo-

nent"

.

CAUTION:

• Perform this step when engine is cold. 
• Do not spill engine coolant on drive belt.

2.

Remove reservoir tank as necessary, and drain engine coolant and clean reservoir tank before installing.
Refer to 

CO-35, "Changing Engine Coolant"

.

3.

Check drained engine coolant for contaminants such as rust, corrosion or discoloration.
 If contaminated, flush the engine cooling system. Refer to 

CO-35, "Changing Engine Coolant"

.

REFILLING ENGINE COOLANT 

1.

Install reservoir tank if removed.

2.

Install radiator drain plug.
• If water drain plug on cylinder block is removed, install and tighten it. Refer to 

EM-211, "Compo-

nent"

.

CAUTION:

Be sure to clean radiator drain plug and install with new O-ring. Refer to 

CO-40, "Component"

.

3.

Make sure that each hose clamp has been firmly tightened.

4.

Remove air duct assembly. Refer to 

EM-154, "Component"

.

5.

Disconnect heater hose (1) at position (

) as shown. 

 Front

• Reposition heater hose as high as possible.

Testing pressure

: 157 kPa (1.6 kg/cm

2

, 23 psi)

WBIA0568E

PBIC3799E

PBIC3802E


содержание   ..  1066  1067  1068  1069   ..