Content .. 1023 1024 1025 1026 ..
Mitsubishi Outlander XL. Manual - part 1025
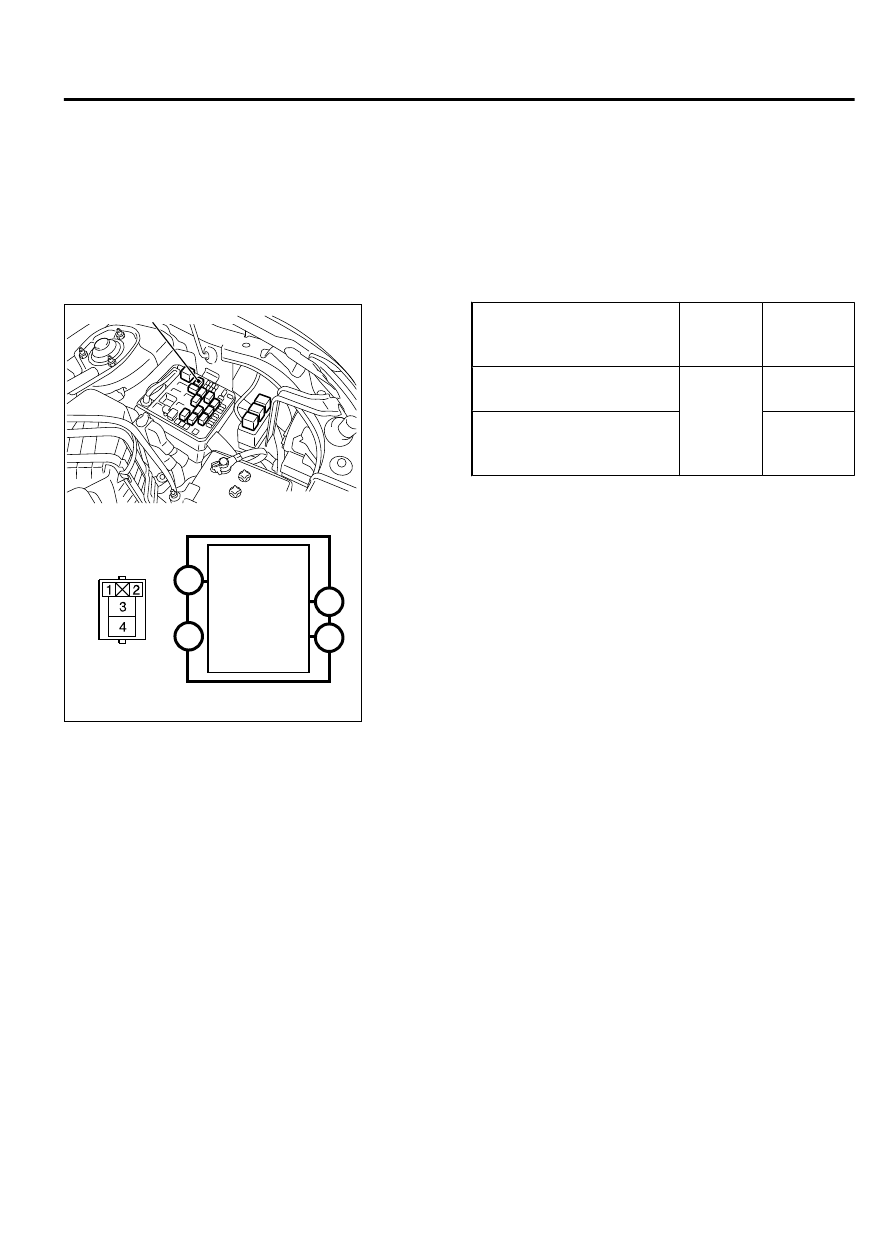
INSPECTION
HEADLIGHT RELAY CHECK
M15410900028USA0000010000
HEADLIGHT RELAY (LOW) CHECK
ZC603676
2
3
4
1
0000
Headlight relay (LOW)
Headlight relay
(LOW)
A-28X
FEELD
EFFECT
TRANSISTOR
Battery voltage
Terminal
number
Normal
condition
s
Not energized
3 - 4
No
continuity
With
current
supply
[terminal 4 (+), terminal 1
(-)]
Continuity
exists (2 Ω
or less)
LIGHTING
54Ac-173
HEADLIGHT