Mitsubishi Montero (1991+). Manual - part 193
4) If control arm bushing needs replacing, use press and
Bushing Remover/Installer (MB990883-01). Press bushing from control
arm. See Fig. 4.
5) Coat bushing and control arm with soapy solution. Using
press and bushing remover/installer, press bushing into control arm.
Position bushing so there is equal distance from bushing-to-control
arm at both ends.
6) Reverse bushing remover/installer to install bushing.
Position bushing so there is equal distance from bushing-to-control
arm at both ends.
CAUTION: Tighten lower control arm shaft and pivot bolt to
specification with vehicle at normal operating height.
INSTALLATION
1) To install, reverse removal procedure. Ensure White mark,
located on lower mounting end of shock absorber, faces toward outside
of vehicle. Tighten lower control arm shaft and pivot bolt to
specification with vehicle at normal operating height.
2) Tighten bolts to specification. See TORQUE SPECIFICATIONS
table at end of article. Install new nut on stabilizer bar-to-control
arm bolt. Tighten stabilizer bar-to-control arm bolt until distance
from threaded end of bolt to nut is .24-.31" (6.0-7.8 mm).
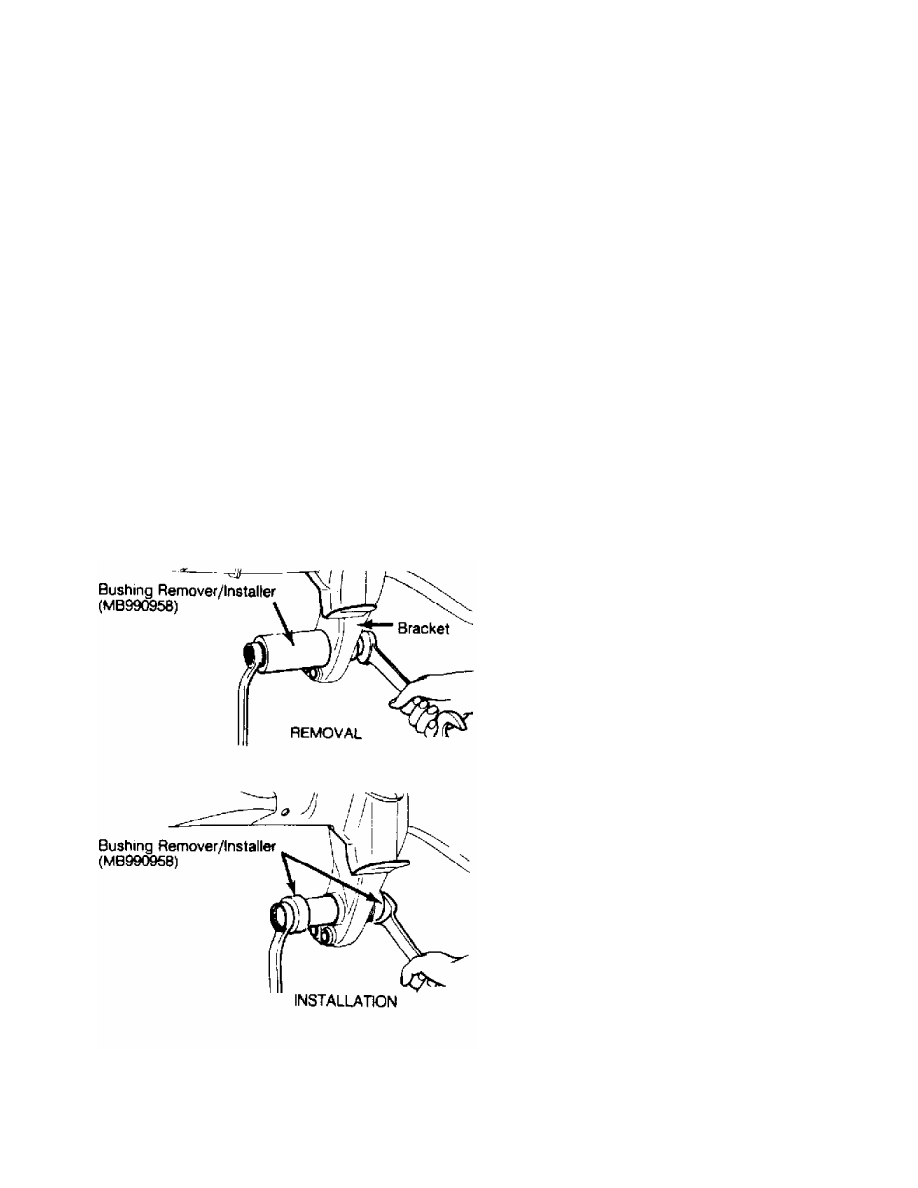
Fig. 3: Replacing Bracket Bushing
Courtesy of Mitsubishi Motor Sales of America.