Mazda CX 7. Manual - part 45
 

  Index      Mazda     Mazda CX 7 - service repair manual 2007 year


Search            


Content   ..  43  44  45  46   ..


Mazda CX 7. Manual - part 45


ON-BOARD DIAGNOSTIC [L3 WITH TC]

01-02–135

01-02

End Of Sie

DTC P0421[L3 WITH TC]

id010239807300

Diagnostic procedure

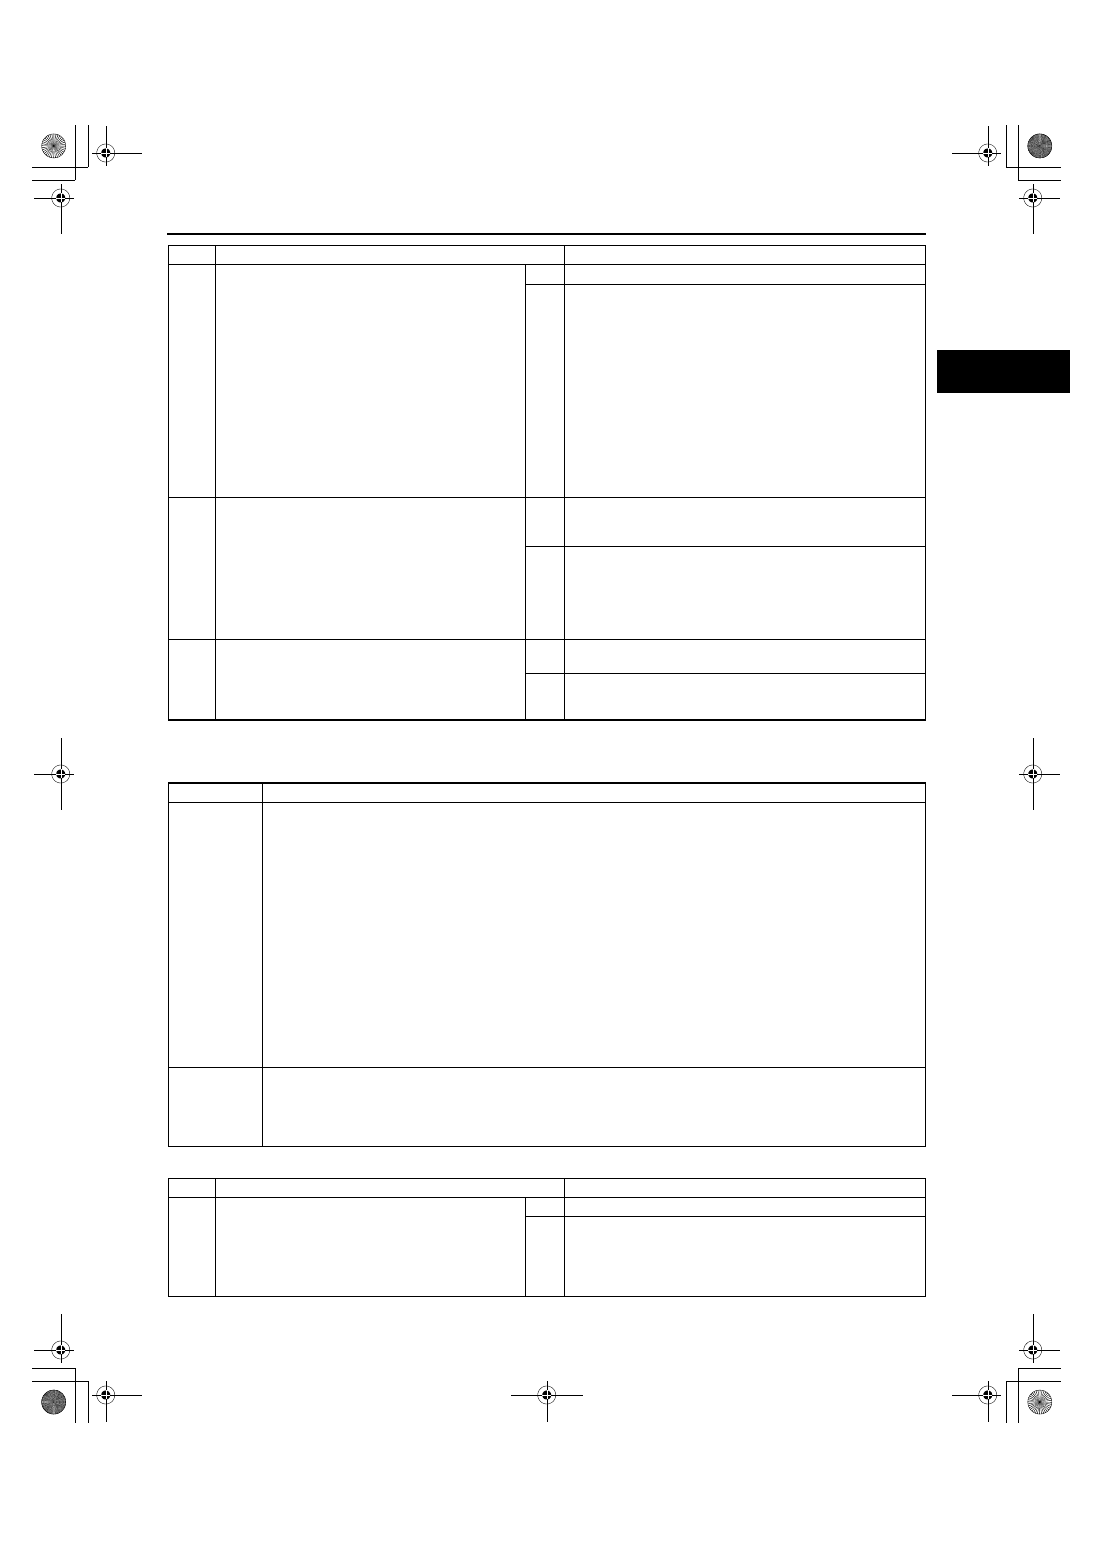
9

INSPECT CONTROL CIRCUIT FOR OPEN 
CIRCUIT

• Remove the PCM with PCM connector 

connected.

• Inspect for continuity between the following 

terminals (harness-side):
— Between EGR valve terminal E and PCM 

terminal 2AQ

— Between EGR valve terminal A and PCM 

terminal 2AM

— Between EGR valve terminal B and PCM 

terminal 2AR

— Between EGR valve terminal F and PCM 

terminal 2AN

• Is there continuity?

Yes

Go to the next step.

No

Repair or replace harness for open circuit then go to the 
next step.

10

VERIFY TROUBLESHOOTING OF DTC P0403 
COMPLETED

• Make sure to reconnect all disconnected 

connectors.

• Clear the DTC from the PCM memory using 

the M-MDS.

• Turn the ignition switch off.

• Start the engine and warm it up completely.

• Is the PENDING CODE for this DTC present?

Yes

Replace the PCM, then go to the next step.
(See01-40-6 PCM REMOVAL/INSTALLATION[L3 WITH 
TC].)

No

Go to the next step.

11

VERIFY AFTER REPAIR PROCEDURE

• Perform the “AFTTER REPAIR PROCEDURE”.

(See01-02-10 AFTER REPAIR 
PROCEDURE[L3 WITH TC].)

• Are any DTCs present?

Yes

Go to the applicable DTC inspection.
(See01-02-13 DTC TABLE[L3 WITH TC].)

No

Troubleshooting completed.

STEP

INSPECTION

ACTION

DTC P0421

Warm up catalyst system efficiency below threshold

DETECTION 

CONDITION

• The PCM compares the number of front HO2S and rear HO2S inversions for a predetermined time. The 

PCM monitors the number of inversions the rear side performs while the front side inverts for a specified 
number of times when the following monitoring conditions are met. The PCM detects the inversion ratio. If 
the inversion ratio is below the threshold, The PCM determines that the catalyst system has deteriorated.

MONITORING CONDITIONS

— Engine speed:1,500— 3,000 rpm

— Calculated TWC temperature: above 400 

°C {752 °F}

— LOAD:15— 48% (at engine speed of 2,000 rpm)

Diagnostic support note

• This is an intermittent monitor (Catalyst).

• The MIL illuminates if the PCM detects the above malfunction condition in two consecutive drive cycles or 

in one drive cycle while the DTC for the same malfunction has been stored in the PCM.

• PENDING CODE is available if the PCM detects the above malfunction condition during the first drive 

cycle.

• DIAGNOSTIC MONITORING TEST RESULTS is available.

• FREEZE FRAME DATA is available.

• The DTC is stored in the PCM memory.

POSSIBLE 

CAUSE

• TWC deterioration or malfunction

• Exhaust gas leakage

• Loose front HO2S

• Loose rear HO2S

• PCM malfunction

STEP

INSPECTION

ACTION

1

VERIFY FREEZE FRAME DATA AND 
DIAGNOSTIC MONITORING TEST RESULTS 
HAVE BEEN RECORDED

• Have the FREEZE FRAME DATA and 

DIAGNOSTIC MONITORING TEST RESULTS 
(Catalyst related) been recorded?

Yes

Go to the next step.

No

Record the FREEZE FRAME DATA and DIAGNOSTIC 
MONITORING TEST RESULTS on the repair order, then 
go to the next step.

1871-1U-06B(01-02).fm  135 ページ  2006年3月15日 水曜日 午前10時32分

ON-BOARD DIAGNOSTIC [L3 WITH TC]

01-02–136

End Of Sie

2

VERIFY RELATED REPAIR INFORMATION 
AVAILABILITY

• Verify related Service Bulletins and/or on-line 

repair information availability.

• Is any related repair information available?

Yes

Perform the repair or diagnosis according to the available 
repair information.

• If the vehicle is not repaired, go to the next step.

No

Go to the next step.

3

VERIFY RELATED PENDING CODE OR 
STORED DTC

• Turn the ignition switch off, then to the ON 

position (Engine off).

• Verify the related PENDING CODE or stored 

DTCs.

• Are other DTCs present?

Yes

Go to the applicable DTC inspection.
(See01-02-13 DTC TABLE[L3 WITH TC].)

No

Go to the next step.

4

INSPECT EXHAUST SYSTEM FOR EXHAUST 
GAS LEAKAGE

• Visually inspect for exhaust gas leakage in the 

exhaust system.

• Is there exhaust gas leakage?

Yes

Repair or replace the malfunctioning part, then go to Step 
7.

No

Go to the next step.

5

INSPECT INSTALLATION OF FRONT AND 
REAR HO2S

• Inspect the front and rear HO2S for looseness.

• Is it normal?

Yes

Go to the next step.

No

Retighten the sensor, then go to Step 7.
(See01-15-2 EXHAUST SYSTEM REMOVAL/
INSTALLATION[L3 WITH TC].)

6

INSPECT TWC

• Clear the DTC using the M-MDS generic OBD 

function.

• Turn the ignition switch off then back to the ON 

position.

• Inspect the TWC.

(See01-16-14 WARM-UP THREE-WAY 

CATALYTIC CONVERTER (WU-TWC) 
INSPECTION[L3 WITH TC].)

• Is it normal?

Yes

Replace the heated oxygen sensor, then go to the next 
step.

No

Replace the TWC, then go to the next step.

7

VERIFY TROUBLESHOOTING OF DTC P0421 
COMPLETED

• Make sure to reconnect all disconnected 

connectors.

• Turn the ignition switch to the ON position 

(Engine off).

• Clear the DTC from the memory using the M-

MDS.

• Perform the HO2S heater, HO2S, and TWC 

Repair Verification Drive Mode.
(See01-02-10 OBD-II DRIVE MODE[L3 WITH 
TC].)

• Is the PENDING CODE for this DTC present?

Yes

Replace the PCM, then go to the next step.
(See01-40-6 PCM REMOVAL/INSTALLATION[L3 WITH 
TC].)

No

Go to the next step.

8

VERIFY AFTER REPAIR PROCEDURE

• Perform the “AFTER REPAIR PROCEDURE”.

(See01-02-10 AFTER REPAIR 
PROCEDURE[L3 WITH TC].)

• Are any DTCs present?

Yes

Go to the applicable DTC troubleshooting.
(See01-02-13 DTC TABLE[L3 WITH TC].)

No

Troubleshooting completed.

STEP

INSPECTION

ACTION

1871-1U-06B(01-02).fm  136 ページ  2006年3月15日 水曜日 午前10時32分

ON-BOARD DIAGNOSTIC [L3 WITH TC]

01-02–137

01-02

DTC P0441[L3 WITH TC]

id010239041100

Diagnostic procedure

DTC P0441

Evaporative emission control system incorrect purge flow

DETECTION 

CONDITION

• PCM measures the purge line pressure under the following conditions. If the vacuum between the charcoal 

canister and the intake manifold does not reach the specification, PCM determines that the EVAP system is 
clogged.

MONITORING CONDITION

— Engine speed: 1,500— 3,000 rpm

— Vehicle speed: 53— 136 km/h {32.9— 84.5 mph}

Diagnostic support note

• This is an intermittent monitor (Evaporative emission system).

• The MIL illuminates if the PCM detects the above malfunction condition in two consecutive drive cycles or 

in one drive cycle while the DTC for the same malfunction has been stored in the PCM.

• PENDING CODE is available if the PCM detects the above malfunction condition during the first drive 

cycle.

• FREEZE FRAME DATA is available.

• DTC is stored in the PCM memory.

• DIAGNOSTIC MONITORING TEST RESULT is available.

POSSIBLE 

CAUSE

• Purge solenoid valve malfunction

• Evaporative emission system leak detection pump malfunction

• Charcoal canister malfunction

• EVAP hose damaged or loose

• EVAP pipe damaged

• PCM malfunction

STEP

INSPECTION

ACTION

1

VERIFY FREEZE FRAME DATA AND 
DIAGNOSTIC MONITORING TEST RESULTS 
HAVE BEEN RECORDED

• Have the FREEZE FRAME DATA and 

DIAGNOSTIC MONITORING TEST RESULTS 
(Evaporative emission system related) been 
recorded?

Yes

Go to the next step.

No

Record FREEZE FRAME DATA and DIAGNOSTIC 
MONITORING TEST RESULTS on the repair order, then 
go to the next step.

2

VERIFY RELATED REPAIR INFORMATION 
AVAILABILITY

• Check for related Service Bulletins and/or on-

line repair information availability.

• Is any related repair information available?

Yes

Perform the repair or diagnosis according to the available 
repair information.

• If the vehicle is not repaired, go to the next step.

No

Go to the next step.

3

VERIFY RELATED PENDING CODE OR 
STORED DTCS

• Turn the ignition switch off then to the ON 

position (Engine off).

• Verify related pending code or stored DTCs.

• Is DTC P0443 present?

Yes

Go to the appropriate DTC inspection.

No

Go to the next step.

4

DETERMINE IF LEAK CONCERN OR 
BLOCKAGE CONCERN

• Perform the evaporative system leak 

inspection.
(See01-03-78 ENGINE CONTROL SYSTEM 
OPERATION INSPECTION[L3 WITH TC].)

• Does the system inspection fail?

Yes

Go to Step 6.

No

Go to the next step.

5

INSPECT IF PURGE SOLENOID VALVE STUCK 
CLOSED

• Inspect if the purge solenoid valve is stuck 

closed.
(See01-16-9 PURGE SOLENOID VALVE 
INSPECTION[L3 WITH TC].)

• Is the purge solenoid valve normal?

Yes

Inspect the following parts for clogging.

• Vacuum hoses between the intake manifold to the 

charcoal canister

• Catch tank

• Charcoal canister

Repair or replace the part, then go to Step 11.

No

Replace the purge solenoid valve, then go to Step 11.

1871-1U-06B(01-02).fm  137 ページ  2006年3月15日 水曜日 午前10時32分

ON-BOARD DIAGNOSTIC [L3 WITH TC]

01-02–138

End Of Sie

6

LOCATE LEAK POINT

• Inspect the following for leakage using the 

ultrasonic leak detector.

— Charcoal canister

— Catch tank

— Fuel filler cap

— EVAP hoses and pipes

— Fuel tank

• Is leakage found?

Yes

Repair leakage or replace the part, then go to Step 10.

No

Go to the next step.

7

INSPECT EVAP SYSTEM LEAK DETECTION 
PUMP

• Connect all disconnected connectors and 

hoses.

• Place a clamp on the EVAP system leak 

detection pump hose between the EVAP 
system leak detection pump and air filter.

• Perform the evaporative system leak 

inspection.
(See01-03-78 ENGINE CONTROL SYSTEM 
OPERATION INSPECTION[L3 WITH TC].)

• Does the test result fail (red light turns on)?

Yes

Go to Step 9.

No

Go to the next step.

8

CONFIRM EVAP SYSTEM LEAK DETECTION 
PUMP LEAKAGE

• Remove the clamp.

• Perform the evaporative system leak 

inspection.
(See01-03-78 ENGINE CONTROL SYSTEM 
OPERATION INSPECTION[L3 WITH TC].)

• Does the test result fail (red light turns on)?

Yes

Replace the EVAP system leak detection pump, then go to 
Step 10.

No

Go to the next step.

9

INSPECT FUEL PUMP UNIT INSTALLATION

• Remove the fuel tank.

• Visually inspect for damage, insufficient sealing 

or a poorly installed pump unit.

• Is it normal?

Yes

Go to the next step.

No

Repair or replace the fuel tank or sealing, then go to the 
next step.

10

PERFORM LEAK INSPECTION

• Connect all disconnected connectors and 

hoses.

• Perform the evaporative system leak 

inspection.
(See01-03-78 ENGINE CONTROL SYSTEM 
OPERATION INSPECTION[L3 WITH TC].)

• Does the test result fail (red light turns on)?

Yes

Leakage still exists. Locate leak the point and repair.
Then go to the next step.

No

Go to the next step

11

VERIFY TROUBLESHOOTING OF DTC P0441 
COMPLETED

• Start the engine and let it idle.

• Clear the DTC using the M-MDS.

• Turn the ignition switch off.

• Perform the “EVAP System Repair Verification 

Drive Mode”.
(See01-02-10 OBD-II DRIVE MODE[L3 WITH 
TC])

• Is the PENDING CODE for this DTC present?

Yes

Replace the PCM, then go to the next step.

No

Go to the next step.

12

VERIFY AFTER REPAIR PROCEDURE

• Perform the “AFTER REPAIR PROCEDURE”.

(See01-02-10 AFTER REPAIR 
PROCEDURE[L3 WITH TC].)

• Are any DTCs present?

Yes

Go to the applicable DTC inspection.
(See01-02-13 DTC TABLE[L3 WITH TC].)

No

Troubleshooting completed.

STEP

INSPECTION

ACTION

1871-1U-06B(01-02).fm  138 ページ  2006年3月15日 水曜日 午前10時32分


Content   ..  43  44  45  46   ..