Jeep Grand Cherokee WK. Manual - part 1560


  Index      Jeep     Jeep Grand Cherokee WK - service repair manual 2005 year


Search            


Content   ..  1558  1559  1560  1561   ..


Jeep Grand Cherokee WK. Manual - part 1560


56. Install the sector roller (1) onto the shift rail (2).

57. Using a suitable punch, align the holes in the sec-

tor roller with the hole in the shift rail and install
the roll-pin to secure the sector roller to the shft
rail.

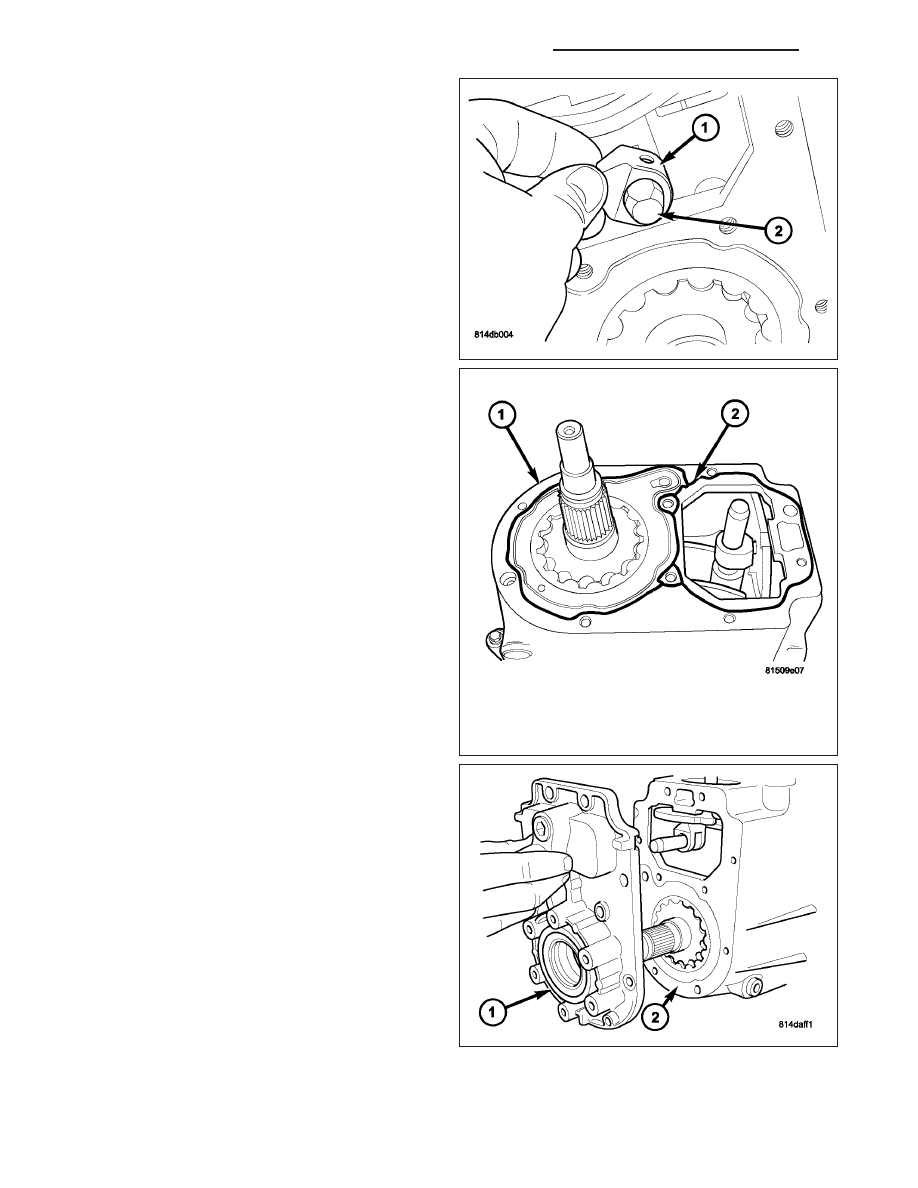
58. Apply bead of Mopar

T

Gasket Maker, or equiva-

lent, to mating surface of rear housing as shown
(2). Keep sealer bead width to maximum of 3 mm
(1/8 inch). Do not use excessive amount of sealer
as excess could be displaced into the oil pump.

59. Install a new rear output shaft seal into the rear

cover with Installer C-3972A.

60. Install the rear cover (1) onto the rear housing (2).

21 - 1050

TRANSFER CASE - NV245 - SERVICE INFORMATION

WK

61. Install the bolts (3) holding the rear cover (2) onto

the rear housing (1). Tighten the bolts to 25-28
N·m (18.5-20.5 ft.lbs.).

62. Install the shift motor and mode sensor assembly

(1) onto the shift sector (2) and the transfer case
(3).

WK

TRANSFER CASE - NV245 - SERVICE INFORMATION

21 - 1051

63. Install the bolts (1) to hold the shift motor and

mode sensor assembly (2) to the transfer case.
Tighten the bolts to 25-28 N·m (18.5-20.5 ft.lbs.).

64. Install the rear output shaft flange (1) onto the

output shaft (2).

65. Using Holder C-3281 (1), install the rear compan-

ion flange (2) nut. Tighten the bolts to 122-176
N·m (90-130 ft.lbs.).

21 - 1052

TRANSFER CASE - NV245 - SERVICE INFORMATION

WK

INSTALLATION

1. Mount transfer case (1) on a transmission jack.

2. Secure transfer case to jack with chains.

3. Position transfer case under vehicle.

4. Align transfer case (2) and transmission (3) shafts

and install transfer case onto transmission.

5. Install and tighten transfer case attaching nuts (2)

to 35 N·m (26 ft. lbs.) torque.

6. Connect the transfer case vent hose (4) to the

transfer case.

7. Install

rear

crossmember

and

skid

plate,

if

equipped.

8. Remove transmission jack and support stand.

9. Connect front propeller shaft and install rear pro-

peller shaft. (Refer to 3 - DIFFERENTIAL & DRIV-
ELINE/PROPELLER SHAFT/PROPELLER SHAFT
- INSTALLATION)

10. Fill transfer case with correct fluid. Check trans-

mission fluid level. Correct as necessary.

11. Install the transfer case fill plug (1). Tighten the

plug to 20-34 N·m (15-25 ft.lbs.).

12. Connect the shift motor and mode sensor wiring

connector.

13. Lower vehicle and verify transfer case shift

operation.

WK

TRANSFER CASE - NV245 - SERVICE INFORMATION

21 - 1053


Content   ..  1558  1559  1560  1561   ..