Jaguar X-Type Sedan and Estate (Wagon). Manual - part 640


  Index      Jaguar     Jaguar X-Type Sedan and Estate (Wagon) (2.0 L, 2.5 L and 3.0 L Gasoline; 2.0 L and 2.2 L, Diesel) - manual 2001-2009 year


Search            


Content   ..  638  639  640  641   ..


Jaguar X-Type Sedan and Estate (Wagon). Manual - part 640


8. Remove the tape from the inner edge of the roof panel.

9. Remove the protective sheet and the protective board from the parcel

shelf.

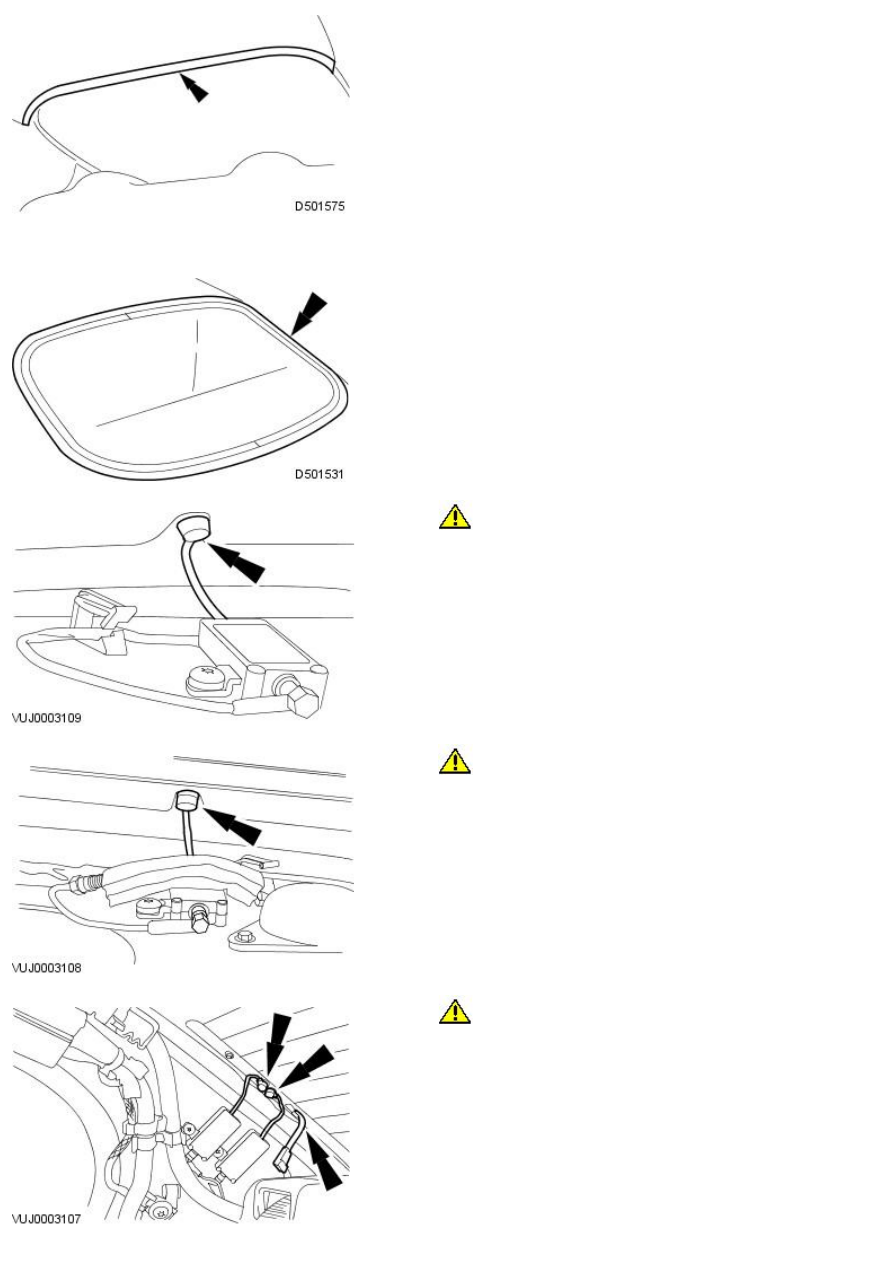
10. Remove the protective tape from around the windshield glass

aperture.

11. 

CAUTION: Do not connect the electrical connector for at least 1

hour after installation of the windshield glass. Failure to follow these
instructions may result in damage to the windshield glass adhesive.

Connect the electrical connector.

12. 

CAUTION: Do not connect the electrical connector for at least 1

hour after installation of the windshield glass. Failure to follow these
instructions may result in damage to the windshield glass adhesive.

Connect the electrical connector.

13. 

CAUTION: Do not connect the electrical connectors for at least 1

hour after installation of the windshield glass. Failure to follow these
instructions may result in damage to the windshield glass adhesive.

Connect the electrical connectors.

14. 

CAUTION: Do not connect the electrical connectors for at least 1

hour after installation of the windshield glass. Failure to follow these
instructions may result in damage to the windshield glass adhesive.

Connect the electrical connectors.

15. Attach the parcel shelf trim panel.

16. Install the rear seat backrest latch covers.

17. Attach the seat belt reel trim panels.

18. Install the high level stop lamp. For additional information, refer to

Section

 417-01 Exterior Lighting

.

19. 

CAUTION: Make sure the windshield glass adhesive is set before

removing the protective tape.

Remove the protective tape from the top of the windshield glass.

Published: 11-May-2011

Glass, Frames and Mechanisms - Window Control Switch

Removal and Installation

Removal

1. Remove the front door trim panel. For additional information, refer to

Section

 501-05 Interior Trim and Ornamentation

.

2. Remove the window control switch.

Installation

1. To install, reverse the removal procedure.

Published: 11-May-2011

Glass, Frames and Mechanisms - Windshield Glass Using Cheese Wire

Removal and Installation

Removal

1. Remove the sun visors.

For additional information, refer to Section 

 501-05 Interior Trim and

Ornamentation

.

2. Remove the cowl vent screen cover.

For additional information, refer to Section 

 501-02 Front End Body

Panels

.

3. Remove the interior mirror.

For additional information, refer to Section 

 501-09 Rear View Mirrors

.

4. NOTE: Left-hand shown, right-hand similar.

Disconnect the heated windshield glass electrical connectors.

5. Remove the A-pillar exterior trim.

6. Apply suitable protective tape around the windshield glass aperture to

protect the paintwork.

7. Place a suitable protective sheet over the fascia and place a protective

board over the sheet.

8. Apply suitable protective tape to the leading inner edge of the roof

panel.

9. Prepare the cheese wire and the cutting handle.

Position the cutting handle central tube fully upwards in the


Content   ..  638  639  640  641   ..