Isuzu Amigo / Axiom / Trooper / Rodeo / VehiCross. Manual - part 1651


  Index      Isuzu     Isuzu Amigo / Axiom / Trooper / Rodeo / VehiCross - service repair manual 1999-2002 year


Search            


Content   ..  1649  1650  1651  1652   ..


Isuzu Amigo / Axiom / Trooper / Rodeo / VehiCross. Manual - part 1651


8F–46

BODY STRUCTURE

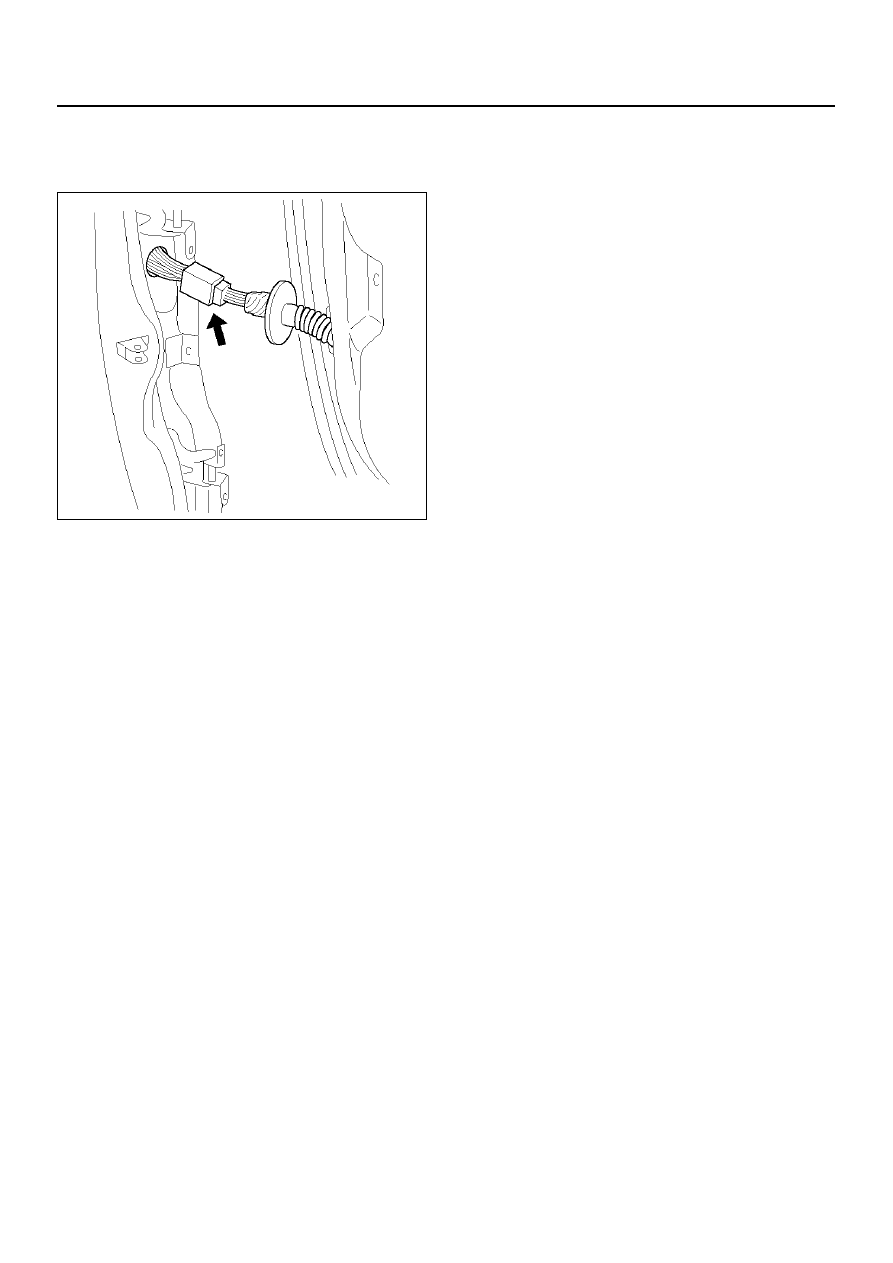
5. Remove the door harness connection.

• Pull the door harness grommet out in order to

disconnect the door harness connection.

630RW004

6. Remove the rear door assembly.

Installation

To install, follow the removal steps in the reverse order,
noting the following points:

1. Align the door fitting to the body by referring to Front

Door Assembly in this section.

2. Tighten the door hinge bolts to the specified torque.

Torque : 34 N·m (25 lb ft)

3. Apply chassis grease to the check arm pin and the

door hinge moving surface.

BODY STRUCTURE

8F–47

Front Window Regulator, Glass and Glass Run

Parts Location

635R100001

EndOFCallout

Legend

(1) Glass Run
(2) Glass
(3) Window Regulator
(4) Waist Seal
(5) Outside Handle
(6) Locking Link
(7) Door Lock Assembly
(8) Waterproof Sheet
(9) Door Trim Panel

(10) Courtesy Light Lens

(11) Speaker Grille

(12) Grip Cover
(13) Inside Handle
(14) Power Window Switch/Window Regulator 

Handle

(15) Speaker Assembly
(16) Tweeter
(17) Door Mirror Cover
(18) Door Mirror Assembly

8F–48

BODY STRUCTURE

Removal

1. Disconnect the battery ground cable.

2. Remove the power window switch/regulator handle.

• Pry out the power window switch and remove the

connectors.

635RW004

• To remove the regulator handle (1), remove the

clip (2) at the root of the handle by using wire with
hook.

631RW004

3. Remove the screw while pulling the inside lever

toward you and then remove the inside handle.

632RW003

4. Remove the speaker grille (3).

• Pull out the front side of the grille.

5. Remove the speaker assembly (2).

• Remove the 4 screws and disconnect the

speaker harness connector (1).

635RW002

BODY STRUCTURE

8F–49

6. Remove the door mirror cover.

7. Remove the grip cover.

8. Remove the 5 screws (1), (3) and pull out the trim

panel at the 6 clip positions (2).

635RW007

9. Remove the waterproof sheet.

10. Remove the 2 screws through the access hole and

pull out the glass upward.

631RW006

631RW007

11. Remove the window regulator.

• Disconnect the window regulator motor harness

connector, if equipped with power windows.

12. Remove the glass run.

• Pull the glass run (6) out from the door frame

groove.

631RS007


Content   ..  1649  1650  1651  1652   ..