Infiniti QX56 (JA60). Manual - part 571
GW-10
< PREPARATION >
PREPARATION
PREPARATION
PREPARATION
Special Service Tool
INFOID:0000000005147157
The actual shapes of Kent-Moore tools may differ from those of special service tools illustrated here.
Commercial Service Tool
INFOID:0000000005147158
Tool number
(Kent-Moore No.)
Tool name
Description
—
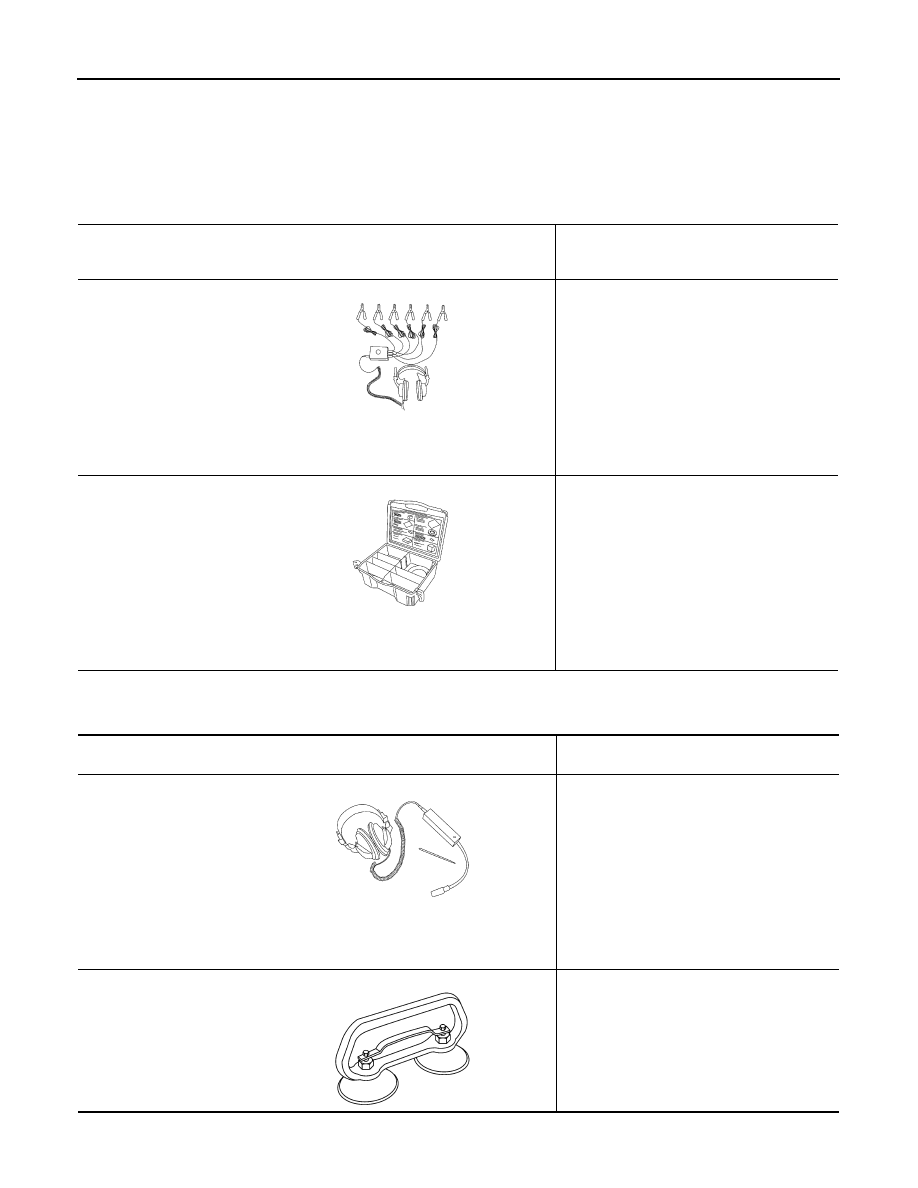
(J-39570)
Chassis ear
Locating the noise
—
(J-43980)
NISSAN Squeak and Rattle
Kit
Repairing the cause of noise
SIIA0993E
SIIA0994E
(Kent-Moore No.)
Tool name
Description
(J-39565)
Engine ear
Locating the noise
(
—
)
Suction Lifter
Holding door glass
SIIA0995E
LIIA1991E