Chrysler Pacifica Hybrid (2019 year). Manual - part 1
FRONT VIEW
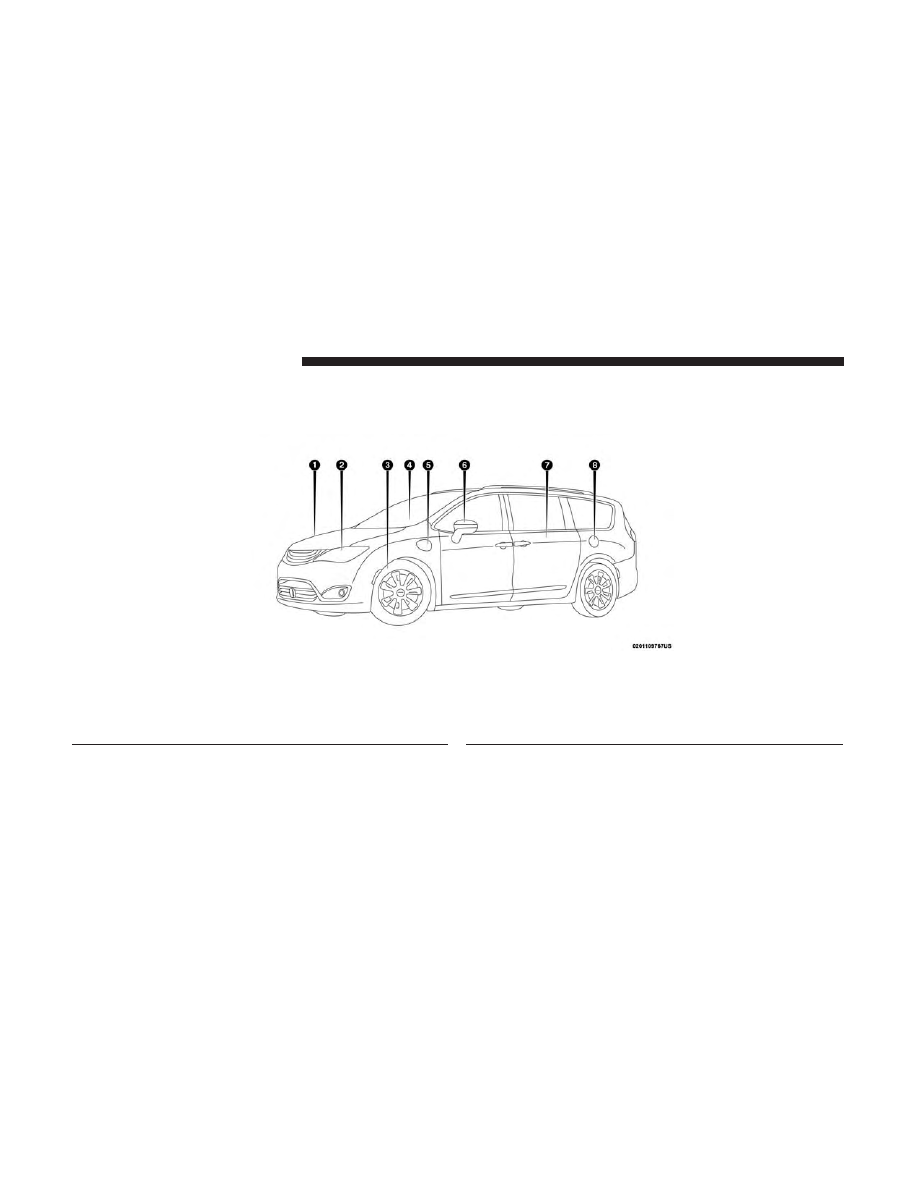
Front View
1 — Hood/Engine Compartment
2 — Headlights
3 — Wheels/Tires
4 — Windshield
5 — Charging Port Door
6 — Exterior Mirrors
7 — Doors
8 — Fuel Door
8
GRAPHICAL TABLE OF CONTENTS