Chery QQ6 (S21) / S12LHD. Manual - part 168
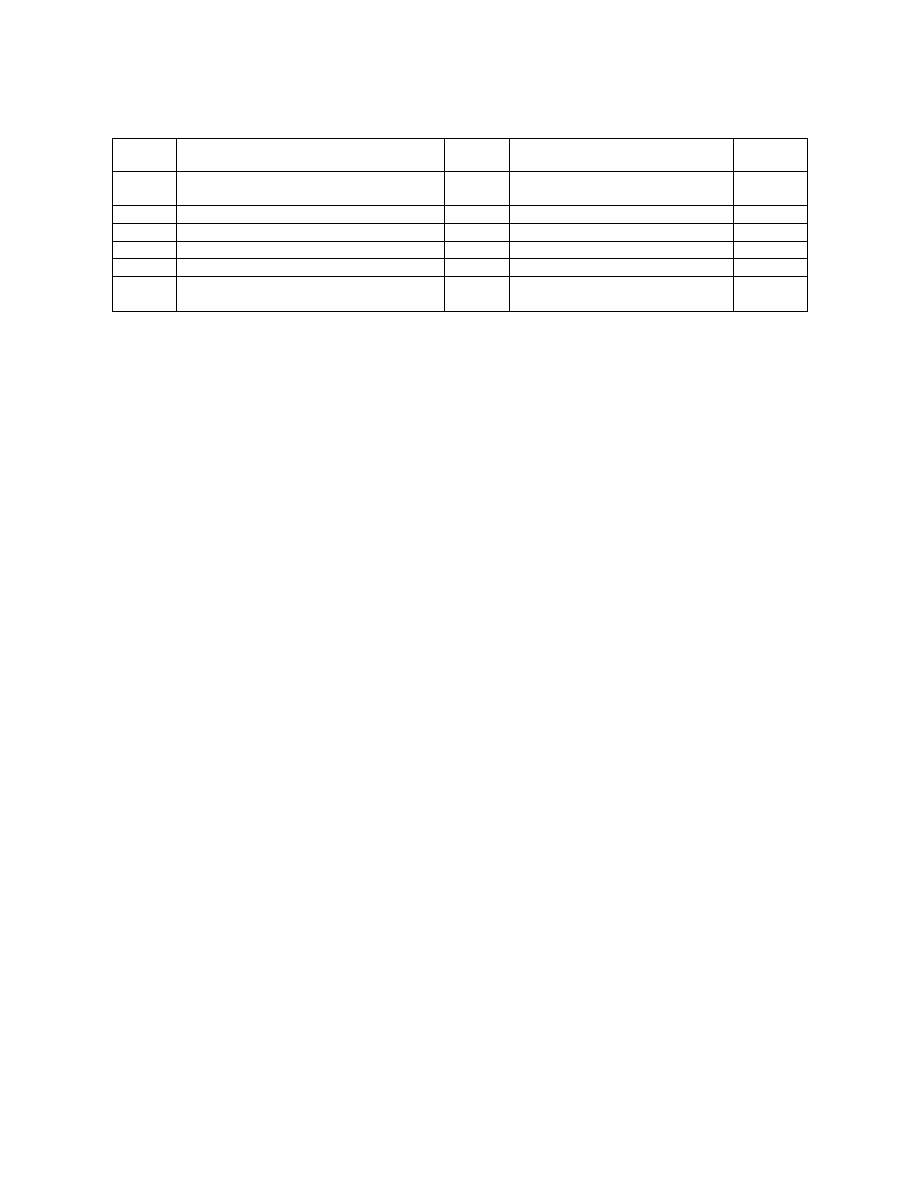
II. Instructions on Main Connectors
III. Removal and Installation of Right-front Door In-door Harness
Part number: S21-3724080
1. Removal
See Removal of Left-front Door In-door harness.
2. Installation
The installation steps are reverse to those for removal.
No
Connector Name
Pins
Connection
Remark
1
Right-front
door
in-door
harness
connector
16
In-door harness
2
Right-front window motor connector
2
Right-front window motor
3
Right-front window switch connector
10
Right front window switch
4
Right-front door lock connector
4
Right-front door lock
5
Right-front speaker connector
2
Right-front speaker
6
Power rearview mirror motor / right
turning light connector
6
Power rearview mirror motor /
right turning light