Engine 2.0 (Chery Fora, A21). Manual - part 9
CHERY A21 SERVICE MANUAL
MECHANISM OF 2.0NALC ENGINE
33
2 Replace the engine oil strainer
2.1
Needed tools and auxiliary materials
10# open end wrench, 10#, 15#, 17# sleeve,
ratchet wheel and ratchet rod, Le Tai 5901
Glue, engine oil
2.2
Process of replacement
2.2.1
Process of removal
1)
Remove the oil pan.
(See “replace oil
pan” for details
)
2)
Remove the connecting bolt between
engine oil strainer and frame with 10#
sleeve wrench.
(total 8 bars)
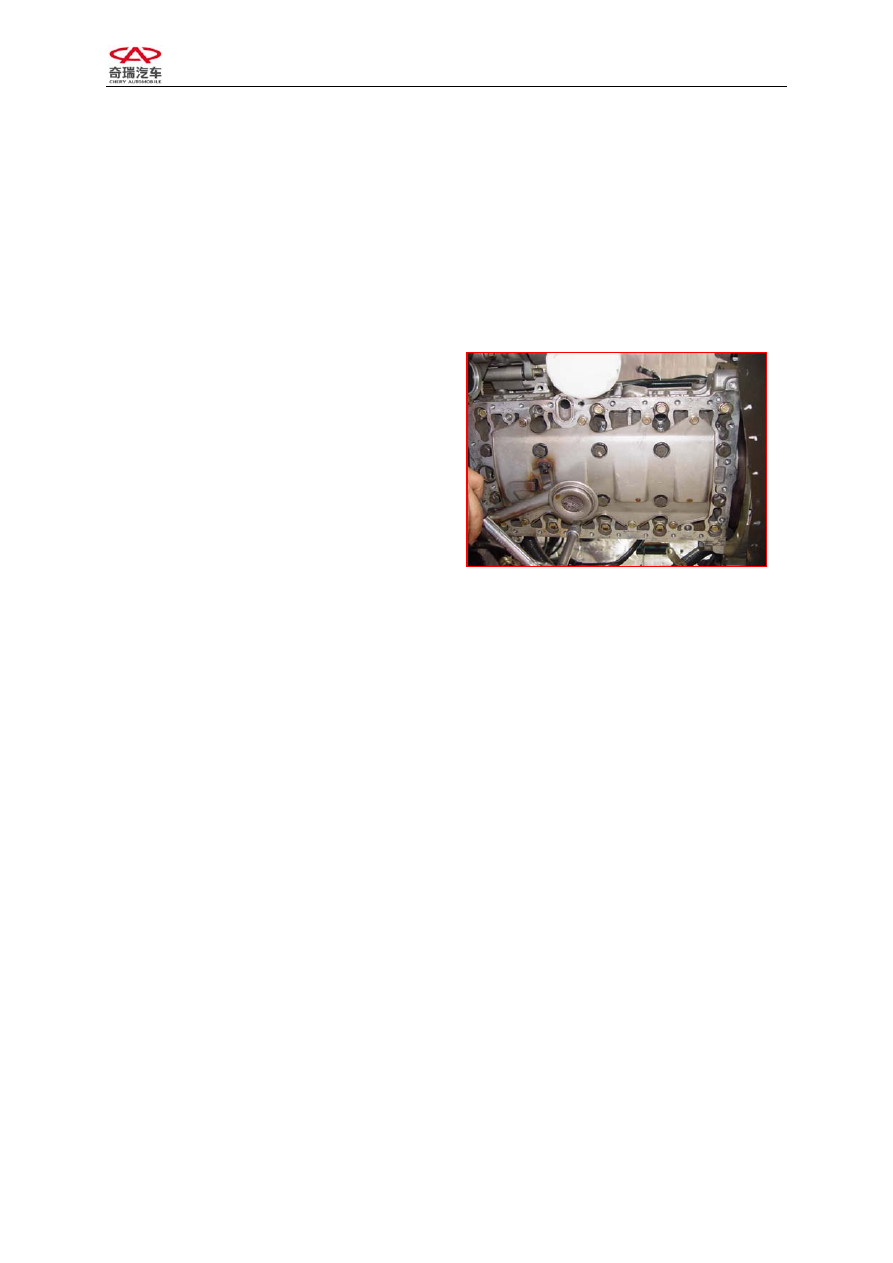
3)
Draw out the engine oil strainer
carefully.
2.2.2
Installation
1)
Spin the nozzle of engine oil strainer
into the frame carefully.
2)
Mount the 8 bolts for the strainer and
fasten them.
Note: the bolts should be mounted with Le
Tai 243 glue.
Torque: 8±3Nm
3)
Install oil pan (See “installation of oil
pan” for details).