Chery A15 / 480 LHD model. Manual - part 24
—Align lock core of the trunk with the hole, so as to match the guard plate with the car body
properly;
—Tighten 2 self-tapping screw, pay attention to adjust the facial gap, spacing and other
differences between the car body and the movable part, feel the difference in height with
hand and make necessary adjustment while tightening;
—Open the trunk lid;
—Tighten 2 square nuts of the fixing bolt;
—Assemble the linkage rod, lid, etc. of the lock hole (see instruction of car body), and then
put down the trunk lid.
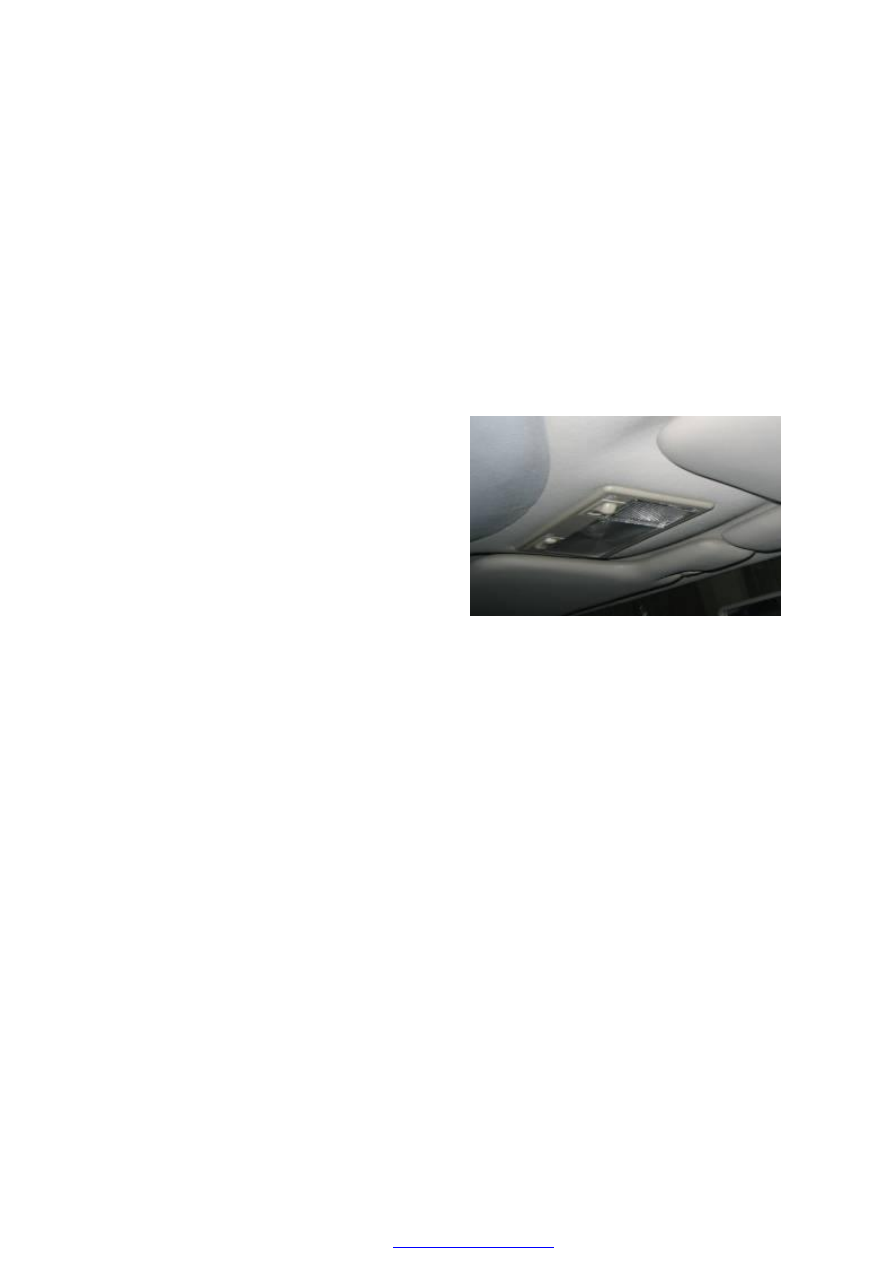
7. Removal/installation of interior ceiling
lamp
—Connect the connector of the wiring harness
properly;
—Place it right into the installation hole of the
ceiling towards the correct direction, firstly
align one end with the ceiling and then press
the ceiling light into the proper position with
hand.
8. Removal/installation of trunk lamp
—Open the trunk lid;
—Connect the connector of the wiring harness properly;
—Use the clipping end side to latch with cover of the back loudspeaker, after that just press
the light into it with hand. Put down the trunk lid;
9. Removal/installation of high mounted stop lamp
—Press the two ends so as to separate the lamp holder and the lamp housing, and then pull out
the conducting wire connector;
—Plug both of the single-terminal sockets of the conducting wires into the inserting plates of
the windscreen;
—Install the lamp housing according to the combination structure of the clipping slot, pay
attention to the matching of the inverted slot with the fixing pin, so as to ensure that the
lamp housing is firmly clipped to the position;
—Plug the conducting wire and lamp holder properly, and ensure that the lamp holder and
housing are assembled in the proper position.