Porshe 911 (997). Manual - part 358
Cleaning the welding areas
2. Cleaning the welding
areas
2.1. Grind both sides of the connecting flanges of the windscreen frame in the marked areas -A, B, C, D-
until bare using a rotary brush.
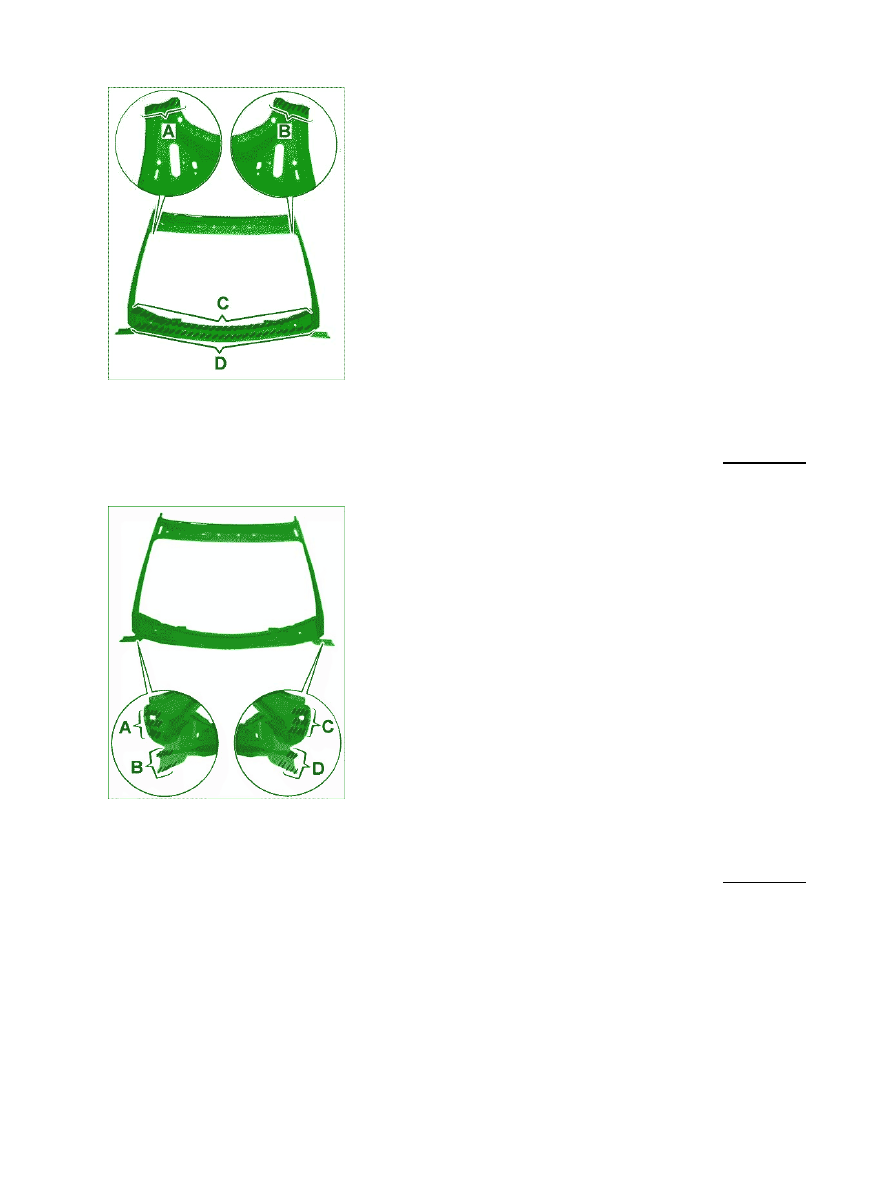
Cleaning the welding areas
3. Cleaning the welding
areas
3.1. Grind both sides of the connecting flanges of the windscreen frame in the marked areas -A, B, C, D-
until bare using a rotary brush.
Diagnostic system: reading out fault memory and activating systems
Fitting in windscreen frame and preparing for installation
1589