Land Rover Engine 2.0 Litre L Series. Manual - part 9


  Index      Land Rover     Land Rover Engine 2.0 Litre L Series Diesel - service manual 2000 year


Search            


Content   ..  7  8  9  10   ..


Land Rover Engine 2.0 Litre L Series. Manual - part 9


ENGINE

26

OVERHAUL

29. Fit a new gasket to camshaft cover ensuring

that raised holes in gasket are towards the
cover and are located on the two spigots.

CAUTION: Gasket must be fitted dry.

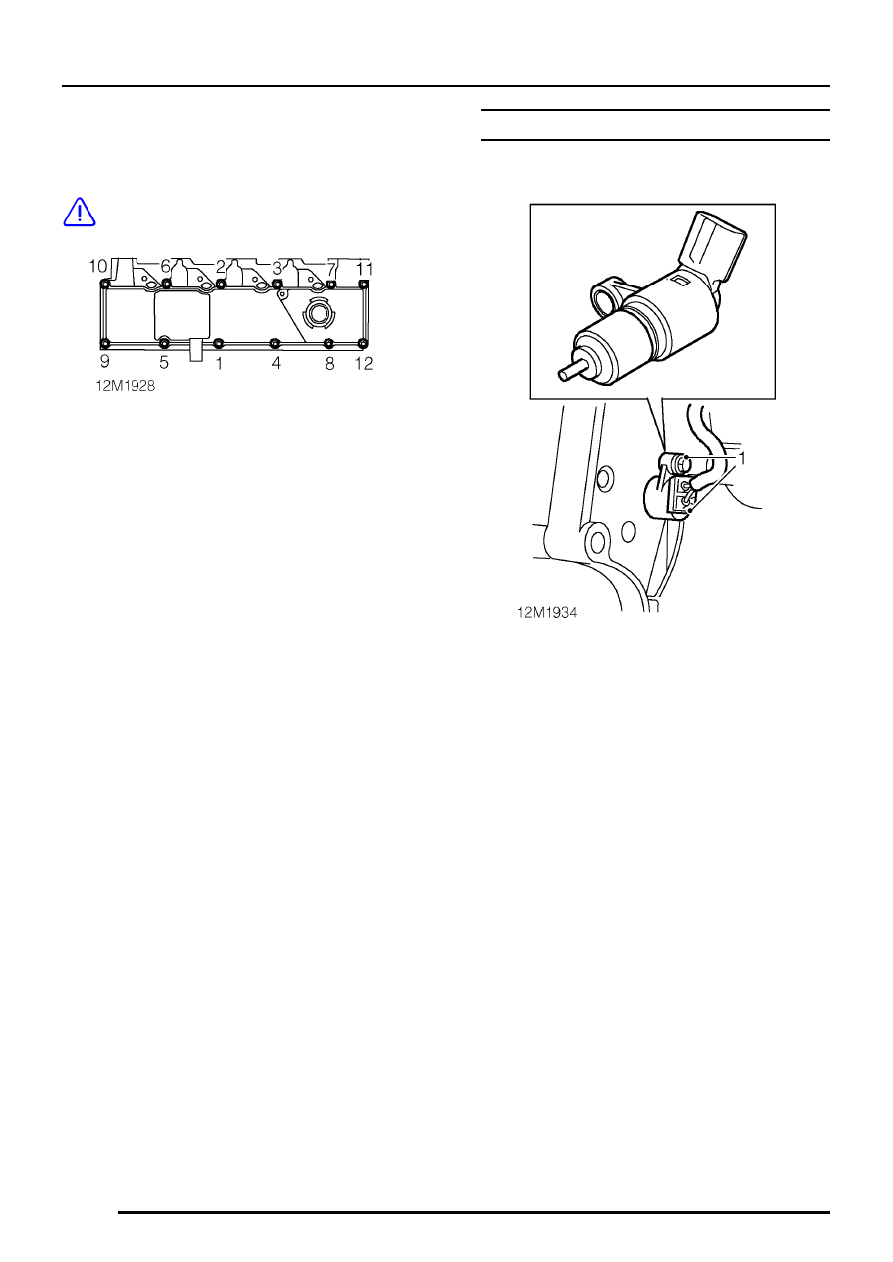
30. Fit camshaft cover bolts and tighten in

sequence shown to 12 Nm.

FLYWHEEL AND STARTER RING GEAR

Flywheel - remove

1. Remove bolt securing crankshaft sensor to

gearbox adaptor plate. Remove sensor.

ENGINE

OVERHAUL

27

2. Hold timing pin LRT-12-058 in contact with

flywheel and using assistance, rotate
crankshaft clockwise by means of crankshaft
pulley bolt until timing pin can be felt to enter
hole in flywheel.

CAUTION: Do not rotate crankshaft with
timing belt removed and cylinder head
fitted.

3. Remove and discard 6 bolts securing flywheel

to crankshaft.

4. Remove timing pin LRT-12-058.
5. 
Using assistance, remove flywheel.

NOTE: Dowel located.

Starter ring gear - remove

1. Remove flywheel.
2. Drill a 3 mm diameter hole at the root of 2

teeth.

3. Apply a cold chisel to root of teeth, break ring

gear and remove from flywheel.

WARNING: Suitable eye protection must
be worn.

ENGINE

28

OVERHAUL

Starter ring gear - refit

1. Heat ring gear evenly to 350

°

C indicated by

light blue colour. Locate ring gear on flywheel
and press on to flange.

WARNING: Handle hot ring gear with care.

2. Allow ring gear to air cool.
3. Fit flywheel.

Flywheel - refit

1. Clean threads in crankshaft using an old

flywheel bolt having 2 saw cuts at 45

°

along

thread of bolt.

CAUTION: Do not use a tap to clean
threads.

2. Clean flywheel faces.
3. Using assistance, position flywheel on

crankshaft, fit and lightly tighten new Patchlok
bolts.

4. Insert timing pin LRT-12-058 into flywheel.
5. Tighten bolts to 15 Nm then a further 90

°

.

6. Position crankshaft sensor to gearbox adaptor

plate, fit and tighten bolt to 8 Nm.

ENGINE

OVERHAUL

29

GEARBOX ADAPTOR PLATE

Remove

1. Remove 4 Torx screws securing adaptor plate

to cylinder block. Remove plate.

Refit

1. Check condition of foam rubber pad, replace if

necessary.

2. Remove all traces of Loctite from Torx screws.
3. Ensure tapped holes in cylinder block are clean

and dry.

4. Apply Loctite 275 to threads of Torx screws.
5. Position adaptor plate to cylinder block, fit and

tighten Torx screws to 45 Nm.

SUMP AND OIL STRAINER

Sump - remove

1. Remove dipstick.
2. Remove oil pump.
3. Remove and discard crankshaft rear oil seal

and housing.

4. Using sequence shown, remove 17 bolts

securing sump to cylinder block.

5. Remove sump.

Later engines

NOTE: Later engines are fitted with a
modified sump gasket which has an
additional locating/sealing area retained

by the oil strainer flange. This gasket should be
used as a replacement for all engines. In order to
fit the modified gasket, it will be necessary to
remove the oil strainer and pick-up pipe.

6. Remove oil strainer and pick-up pipe.

All engines

7. Remove and discard sump gasket.


Content   ..  7  8  9  10   ..